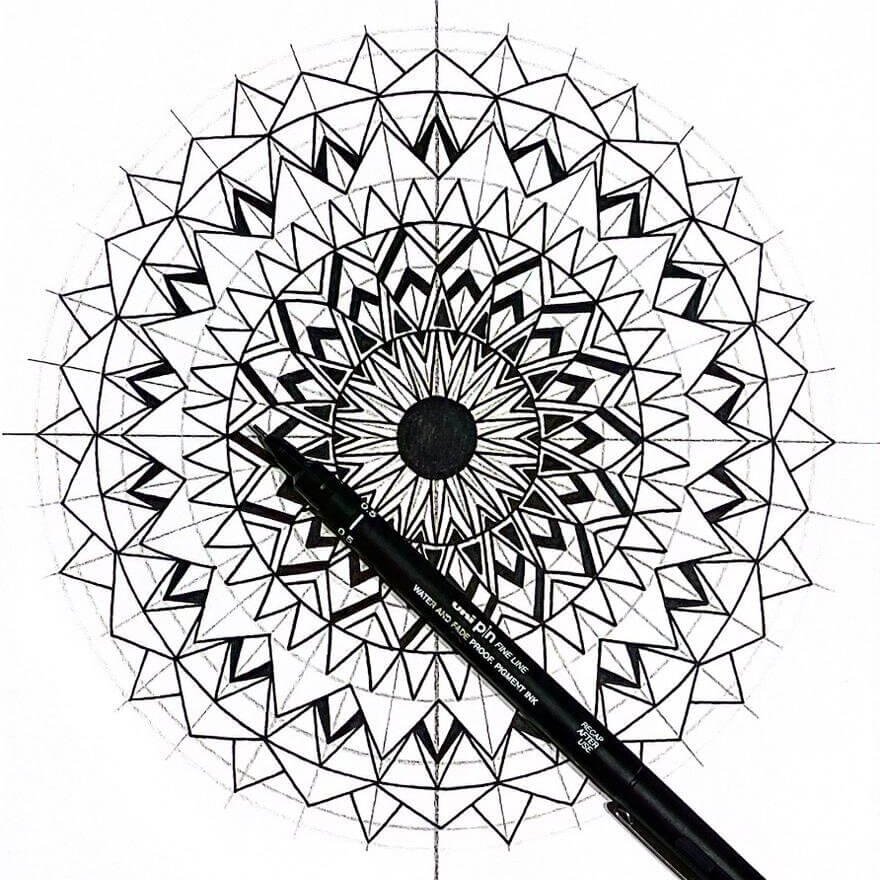
Creating a mandala with triangles is a fascinating way to combine creativity and geometry. Mandalas, known for their intricate and symmetrical designs, take on a unique aesthetic when built around the triangular shape, symbolizing balance, harmony, and focus.
Whether you’re a beginner or an experienced artist, drawing a mandala with triangles allows you to explore endless possibilities, from simple patterns to complex arrangements. In this guide, we’ll break down the process step by step, showing you how to transform basic triangles into a stunning mandala that reflects your personal style.
The List of Materials Needed for the Mandala with Triangles
- A4 white cardboard or paper
- Sharpened Pencil
- Compass
- 12″ Ruler
- 0.5 black drawing pen
- Eraser
- Protractor
Directions
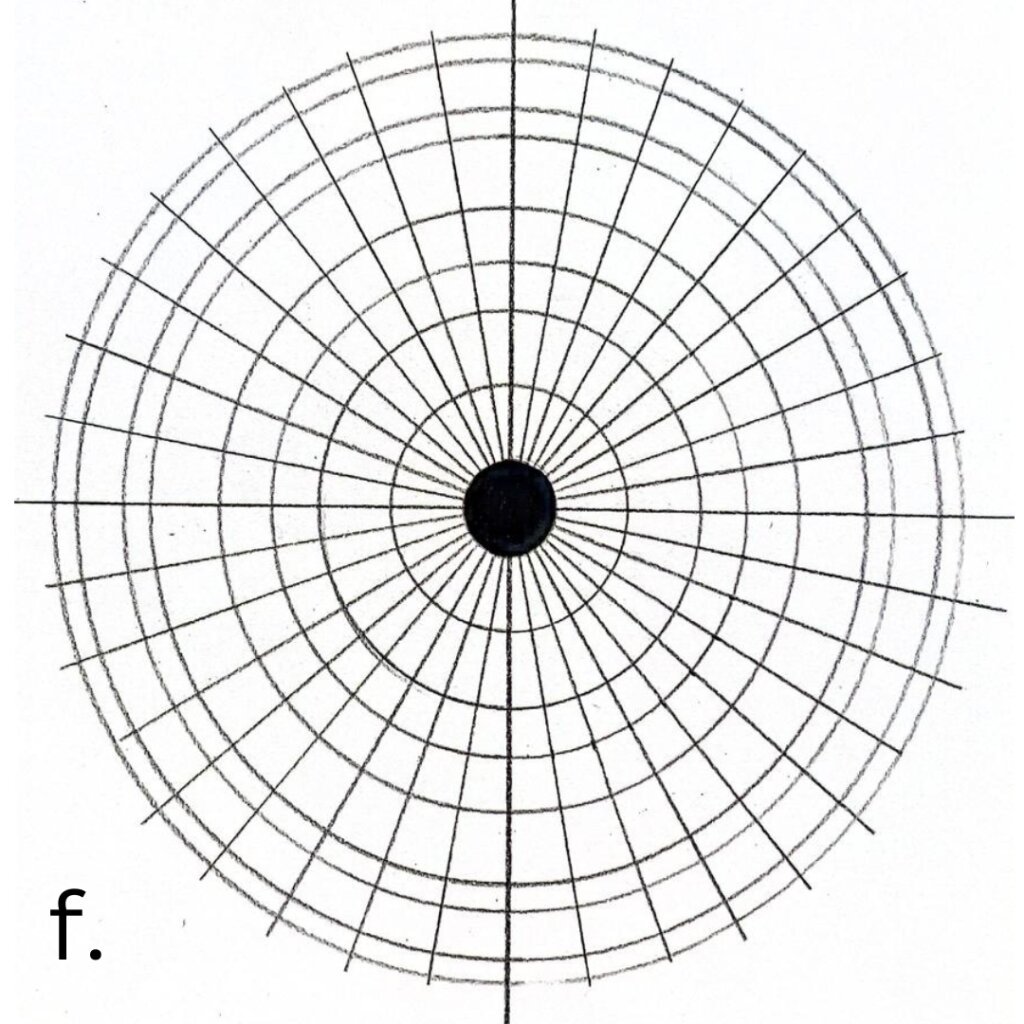
1-Create the grid of your mandala
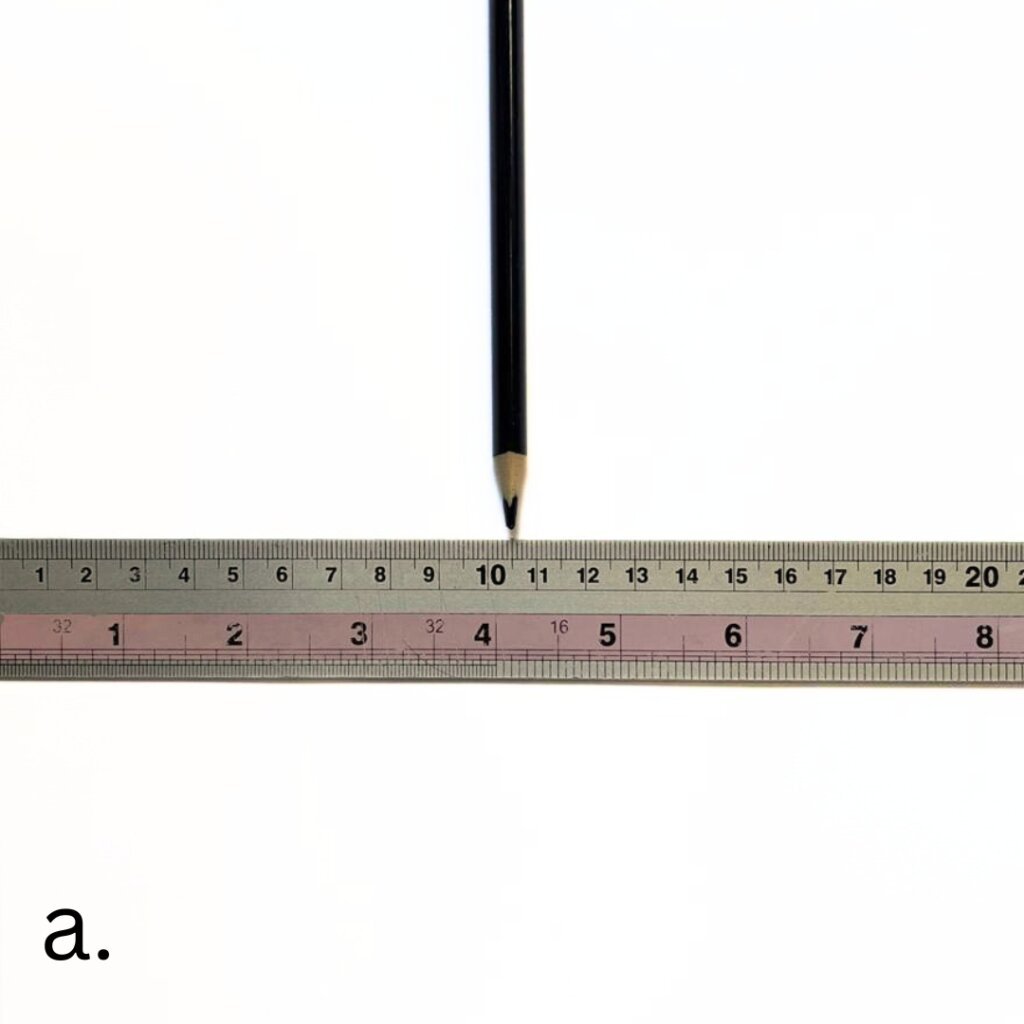
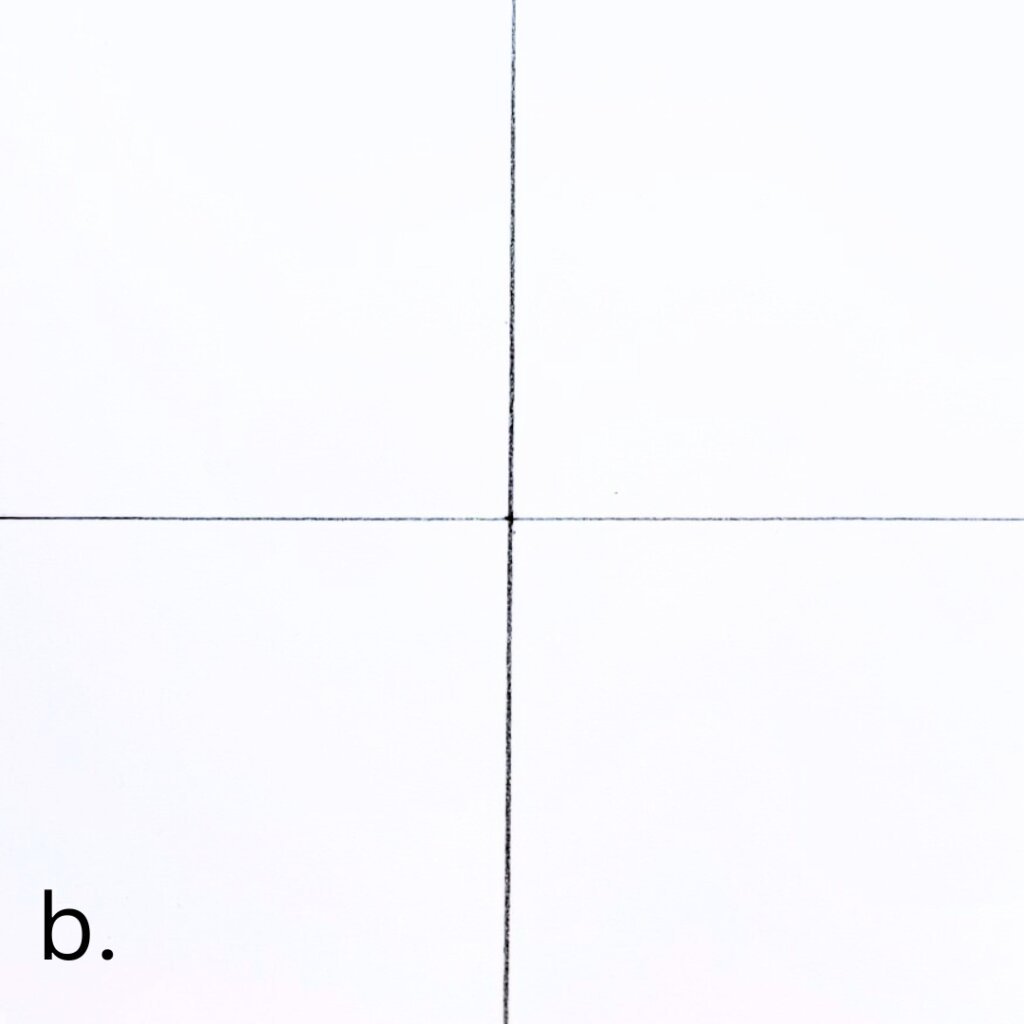
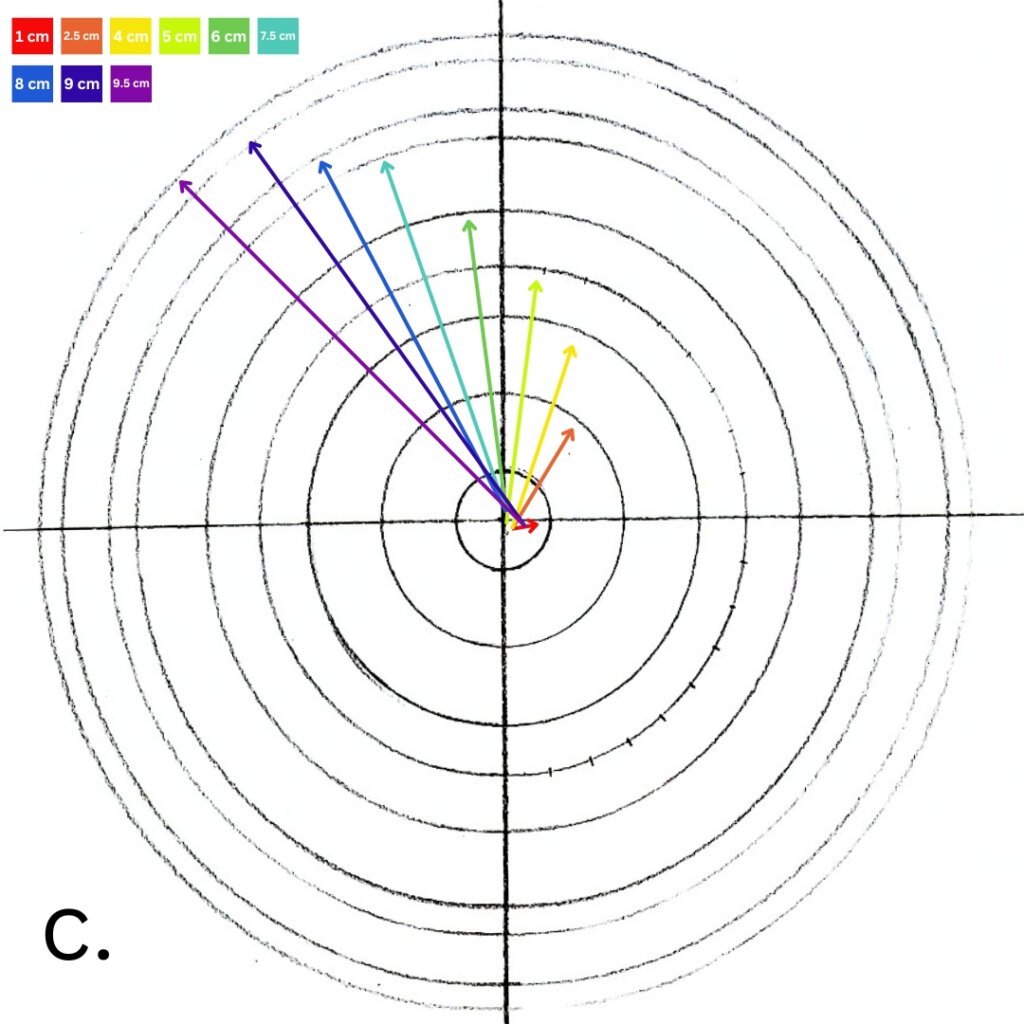
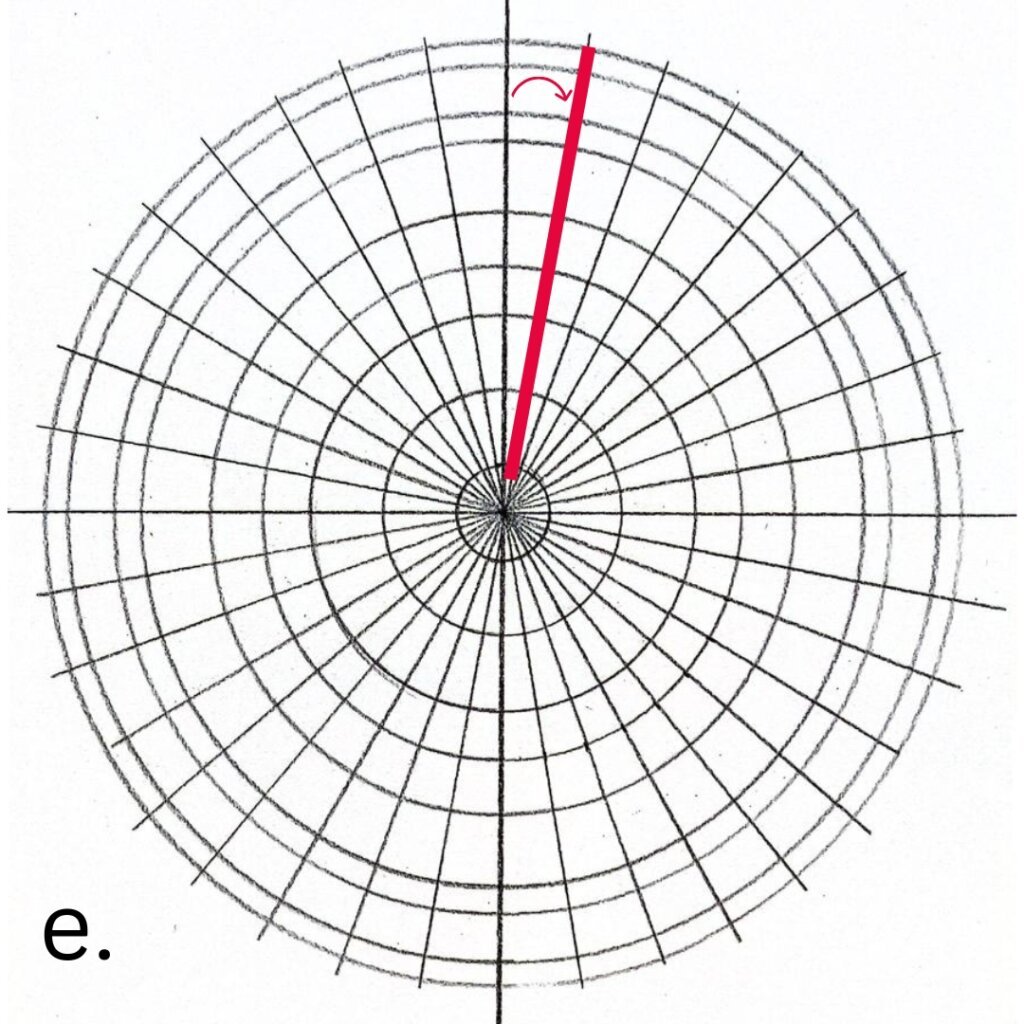
Creating the grid of your mandala with triangles is a fundamental step that sets the stage for your design. First, the grid serves as a guiding framework, ensuring symmetry and balance throughout. It not only maintains precision but also helps visualize the structure of your mandala. Moreover, planning the placement of shapes and details becomes much easier with a clear grid.
This step is rewarding because it combines technical accuracy with creative freedom. Additionally, drawing the grid can be a calming and meditative process. The repetition of lines and circles encourages focus and mindfulness.
Furthermore, the grid is essential for achieving the harmonious flow of the mandala. While it may seem technical, it is also a creative opportunity. A carefully constructed grid ensures a strong foundation for your artwork. With patience and attention to detail, every layer will fall into place perfectly.
2-Start filling the mandala with triangles
Filling the mandala with triangles is where the true creativity begins, and it’s also one of the most enjoyable parts of the process.
a. The importance of this step
First and foremost, this step allows you to fully immerse yourself in the art, as each triangle contributes to the overall harmony of the design. Moreover, the repetitive nature of adding triangles can feel incredibly calming, almost like a meditative rhythm that helps you stay present in the moment.
In addition, the flexibility of triangles makes it even more exciting, as you can experiment with their size, orientation, and spacing to create a unique and personalized pattern.
b. What does this process offer
Not only does this process encourage creativity, but it also fosters a sense of accomplishment as the design gradually comes to life. Ultimately, this is a moment to savor, as the symmetry and balance of the triangles bring a sense of order and beauty to your mandala. Therefore, take your time, enjoy the journey, and let the shapes guide your artistic flow.
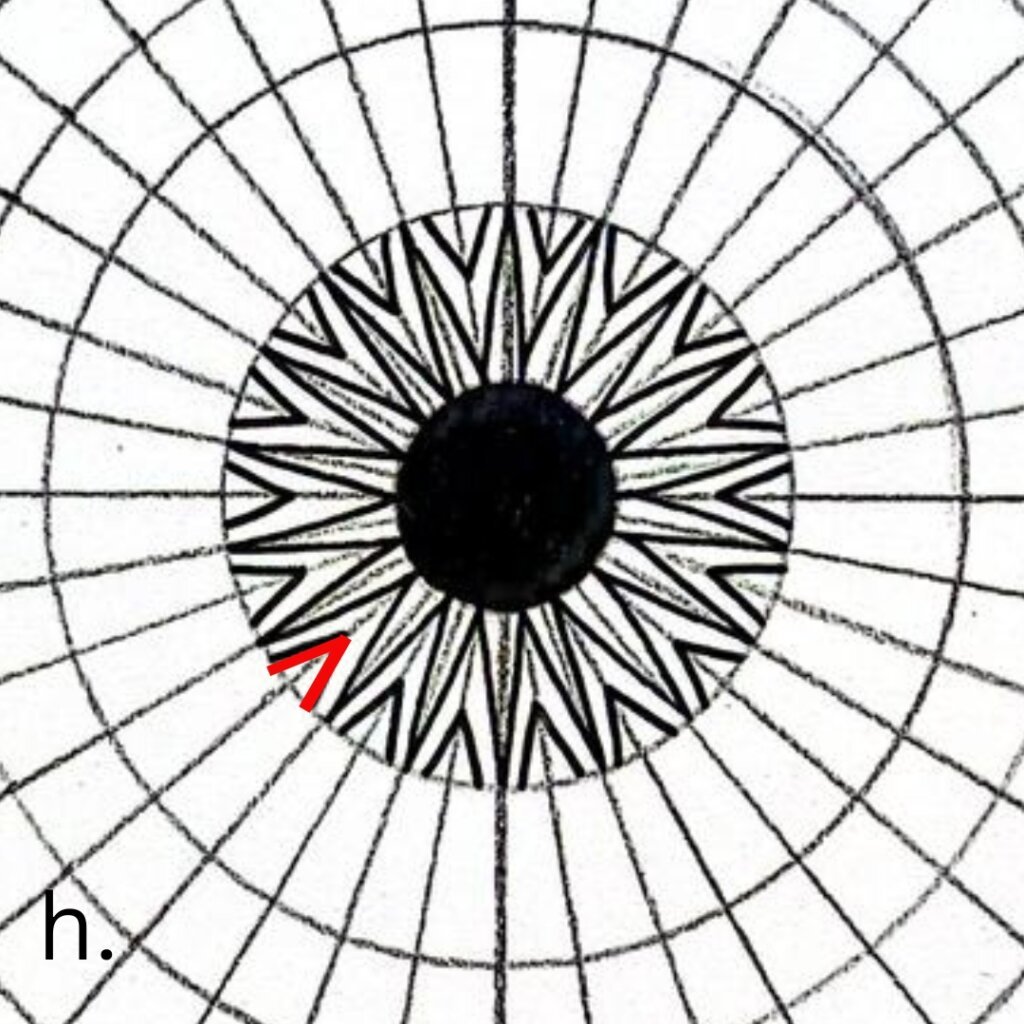
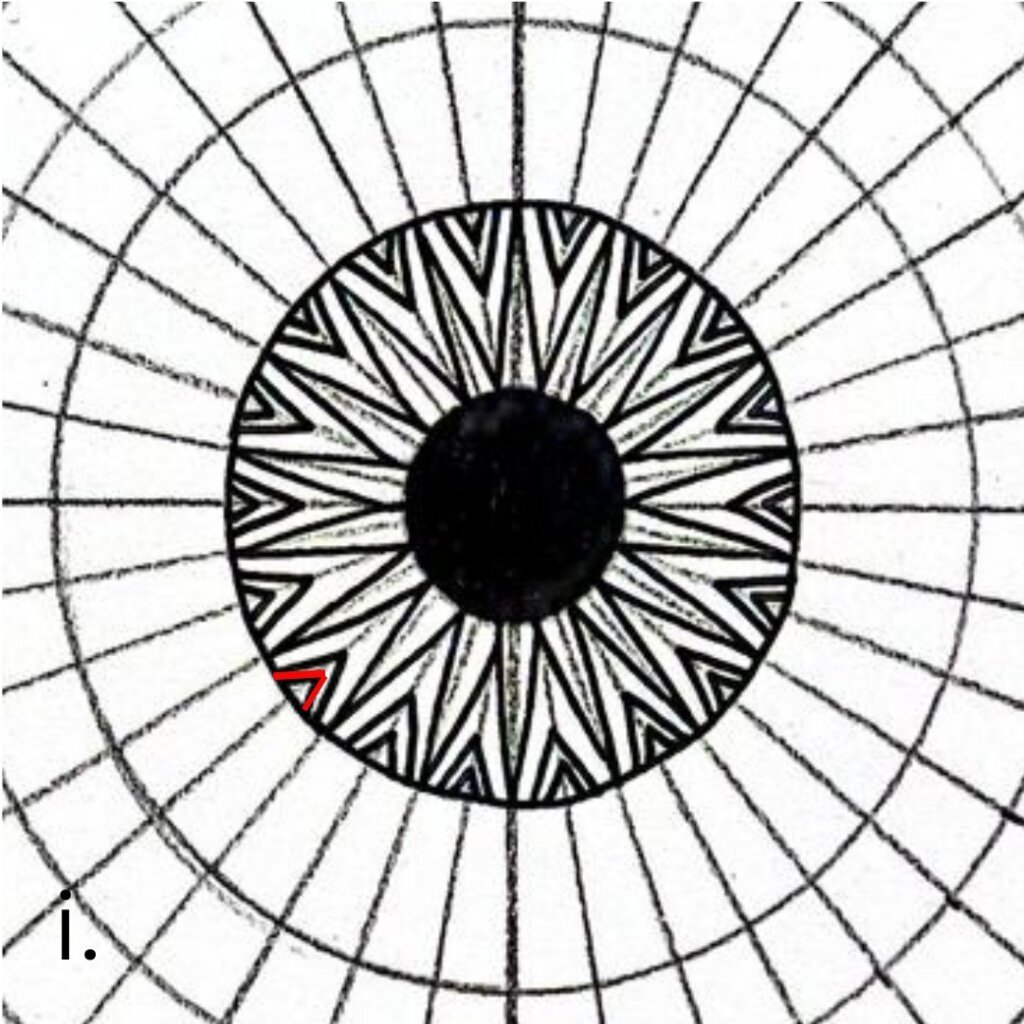
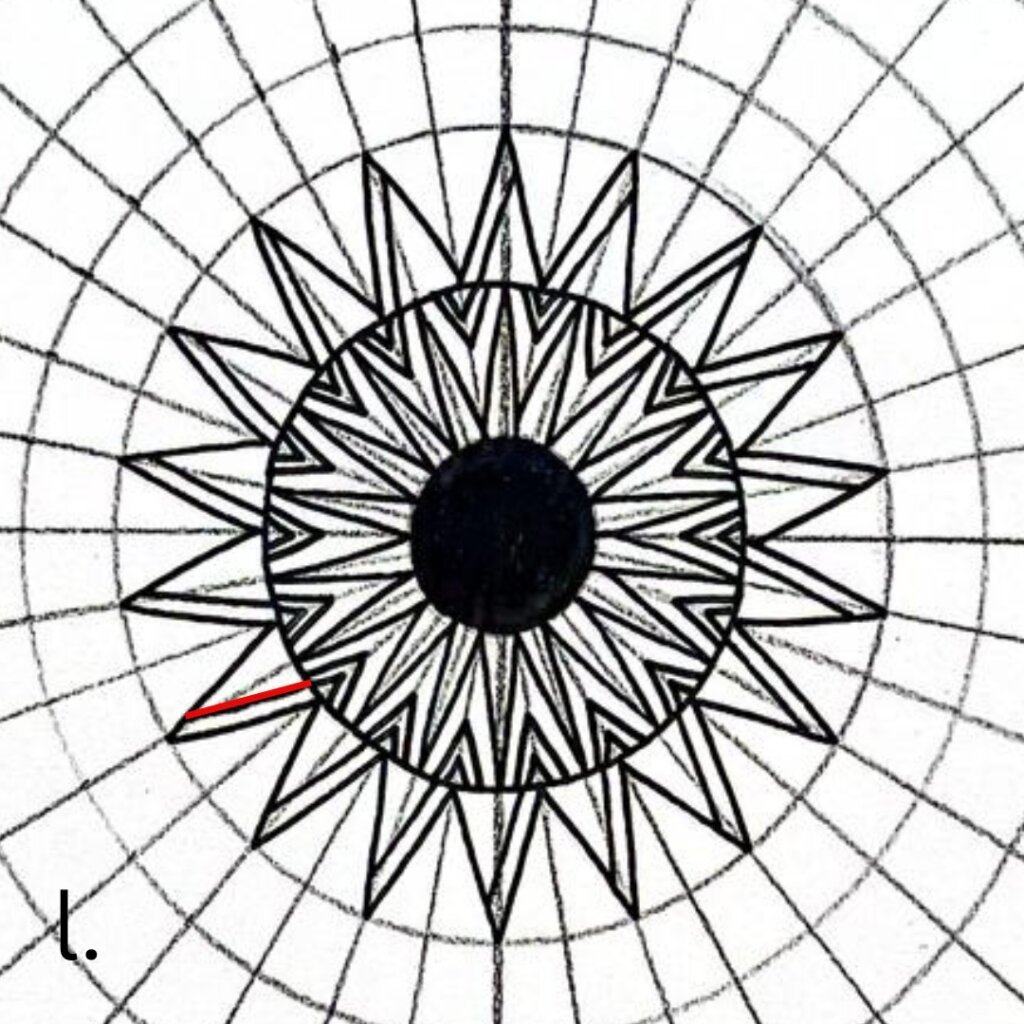
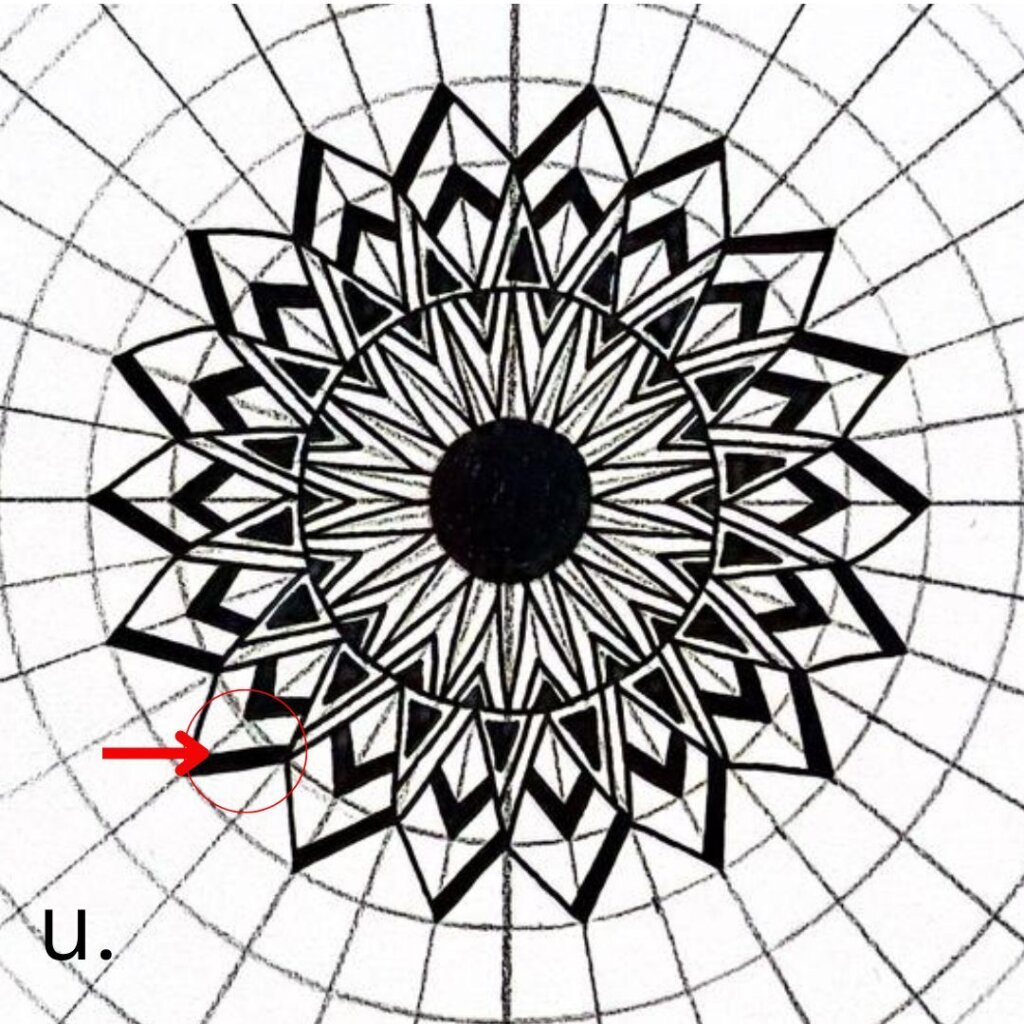
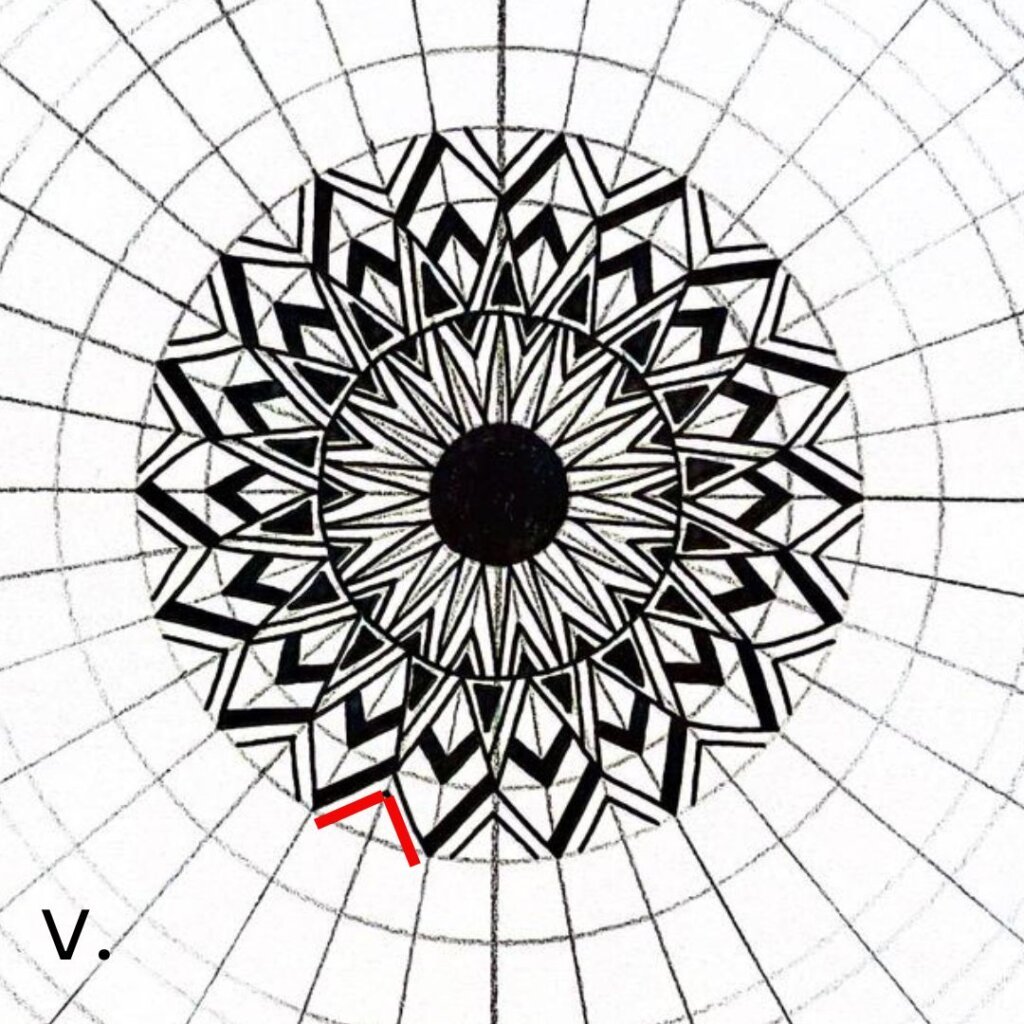
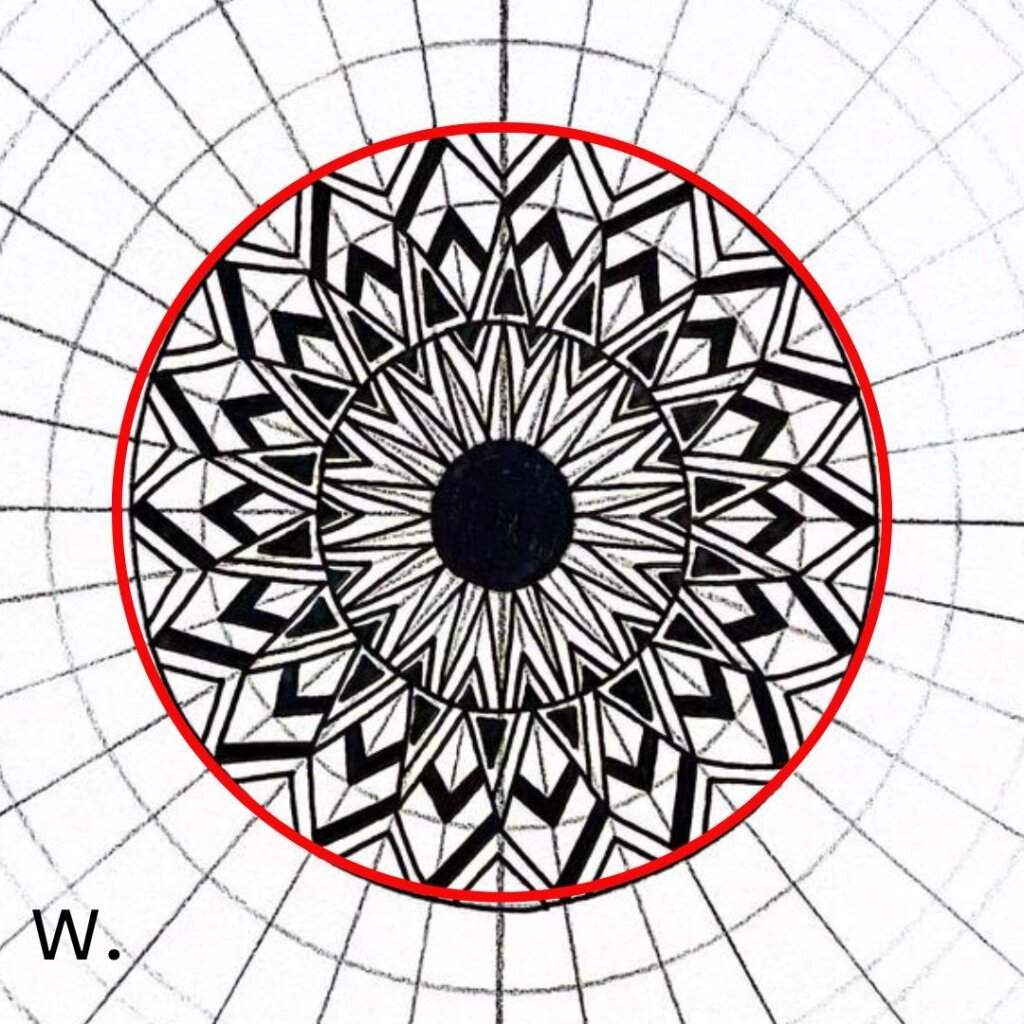
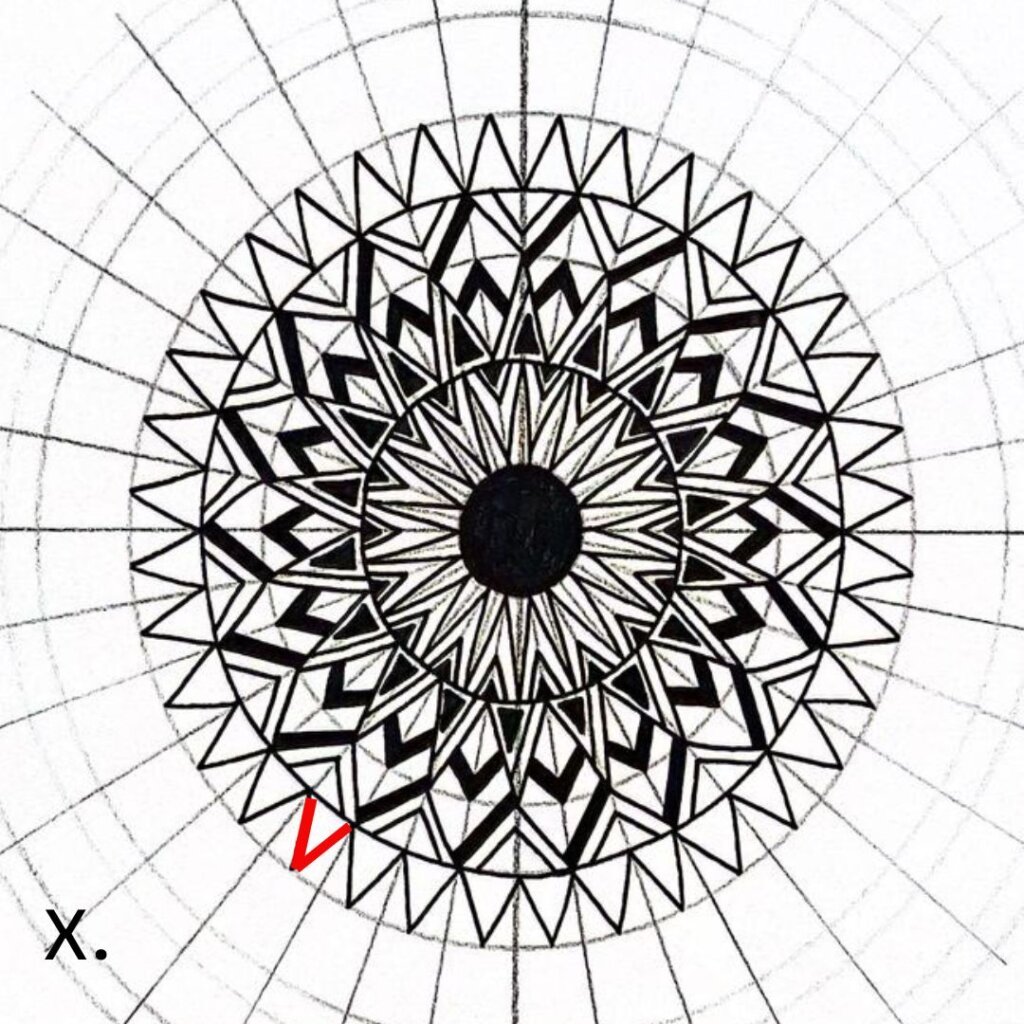
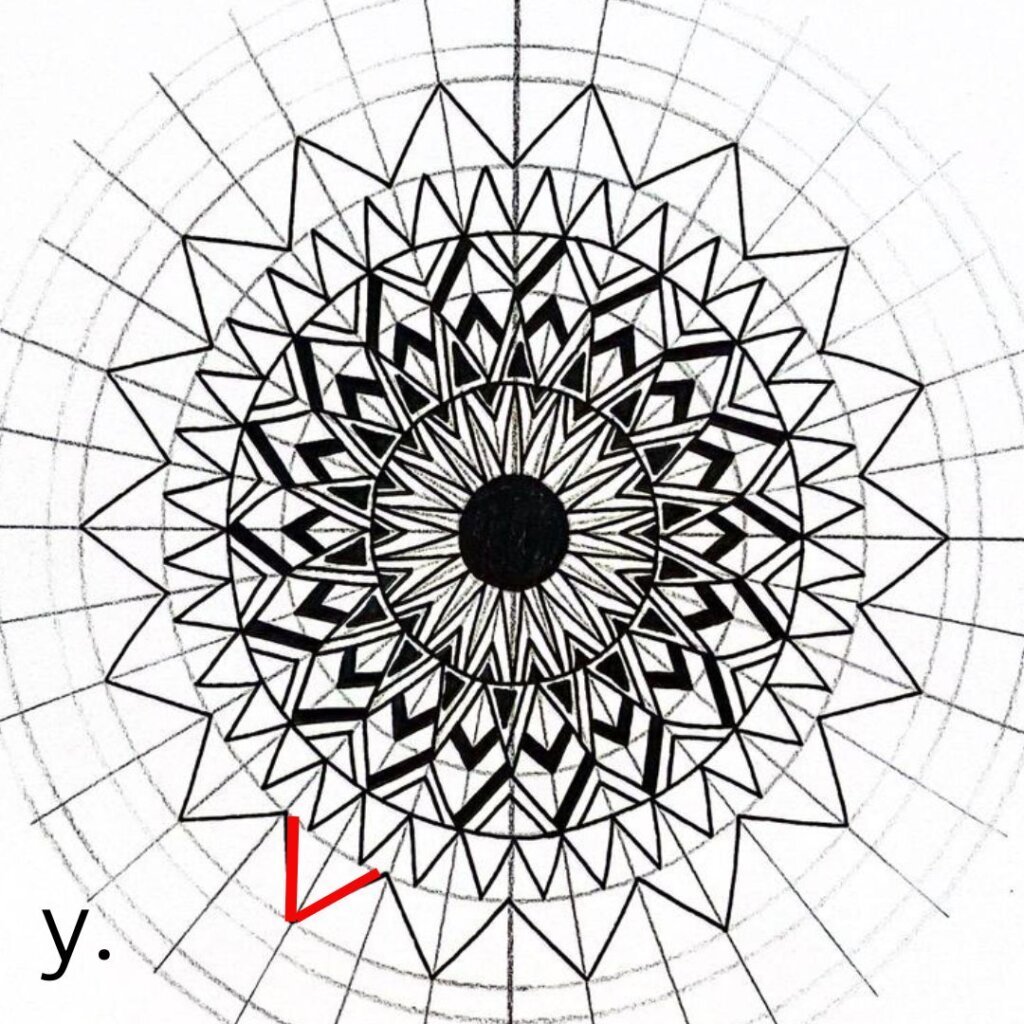
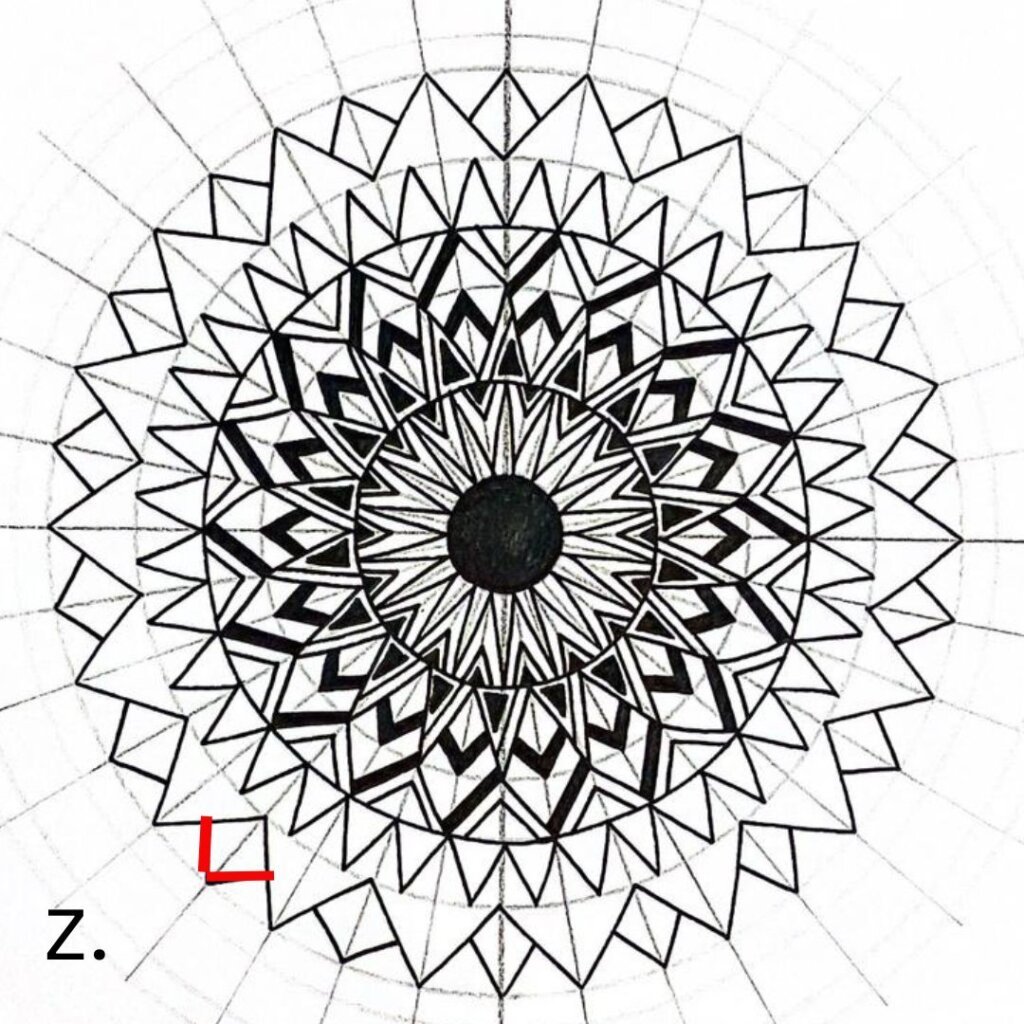
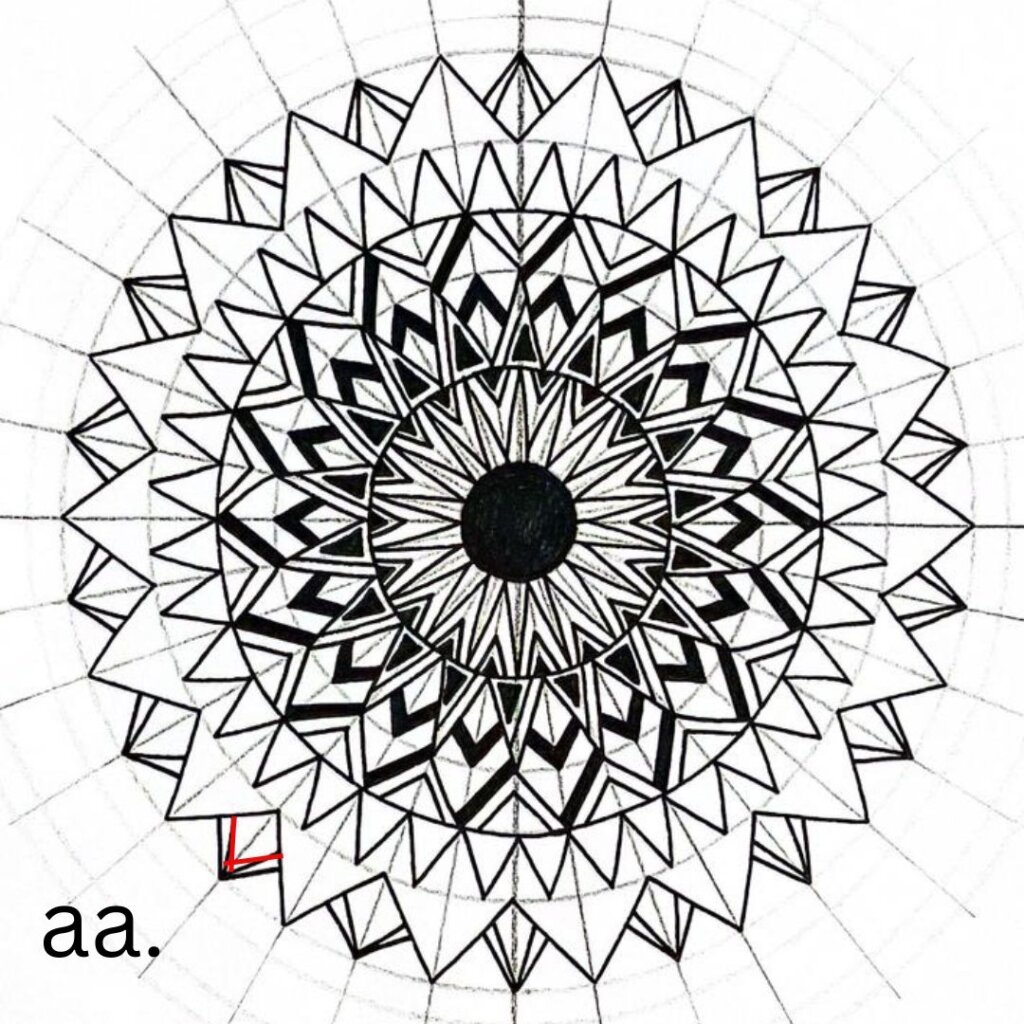
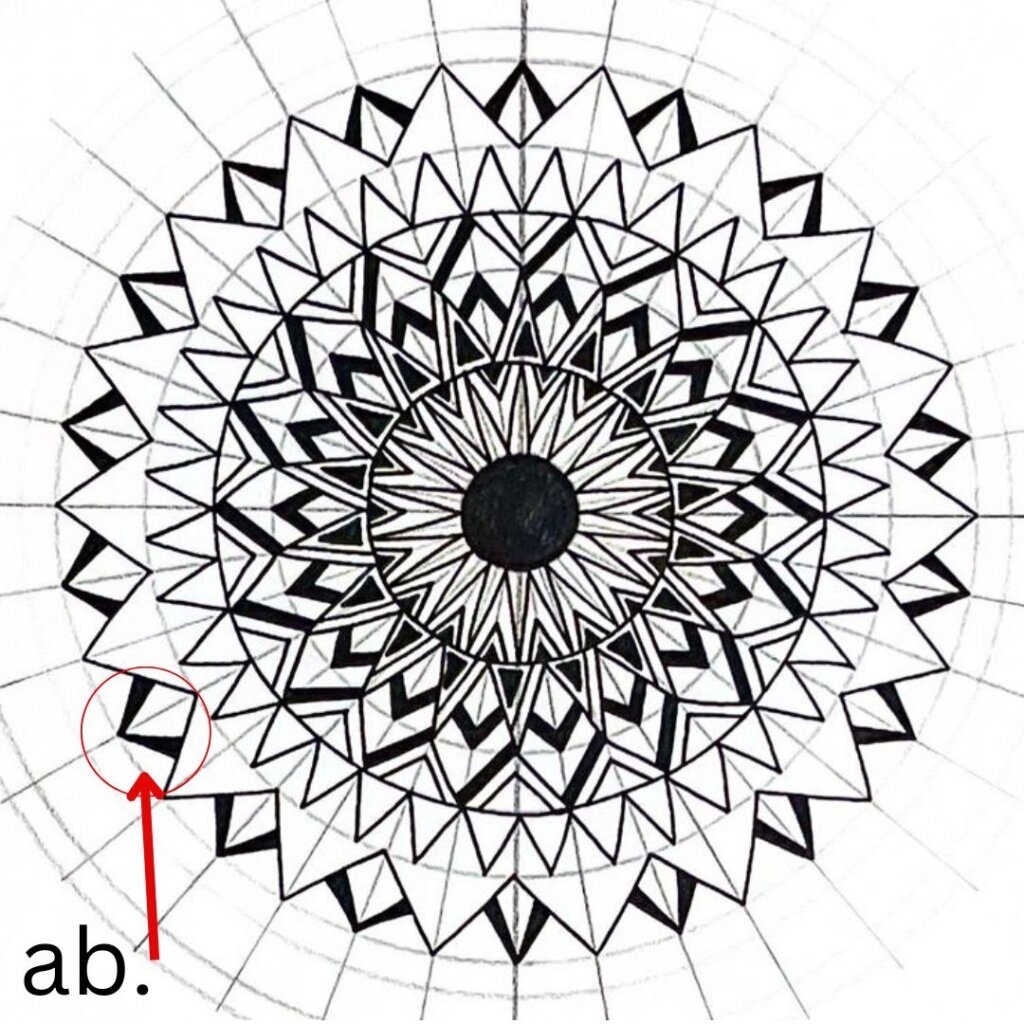
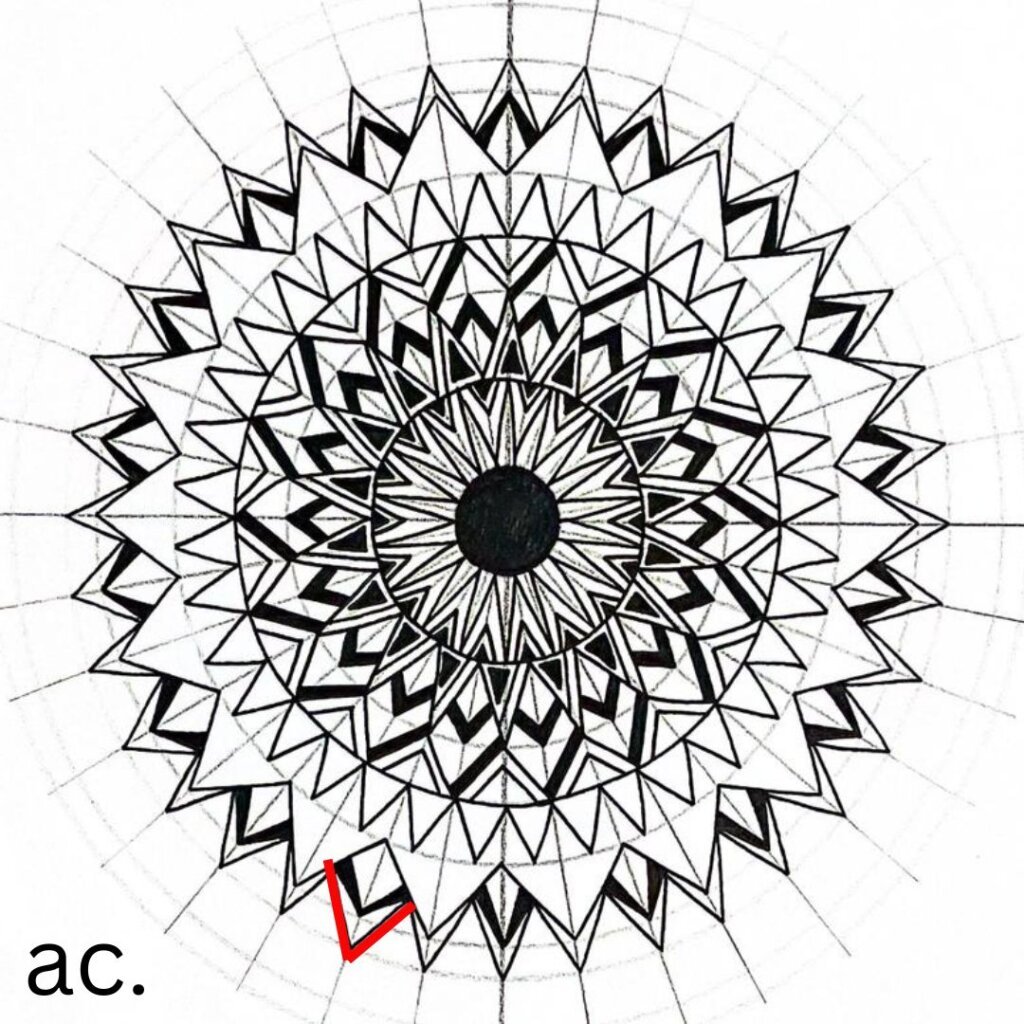
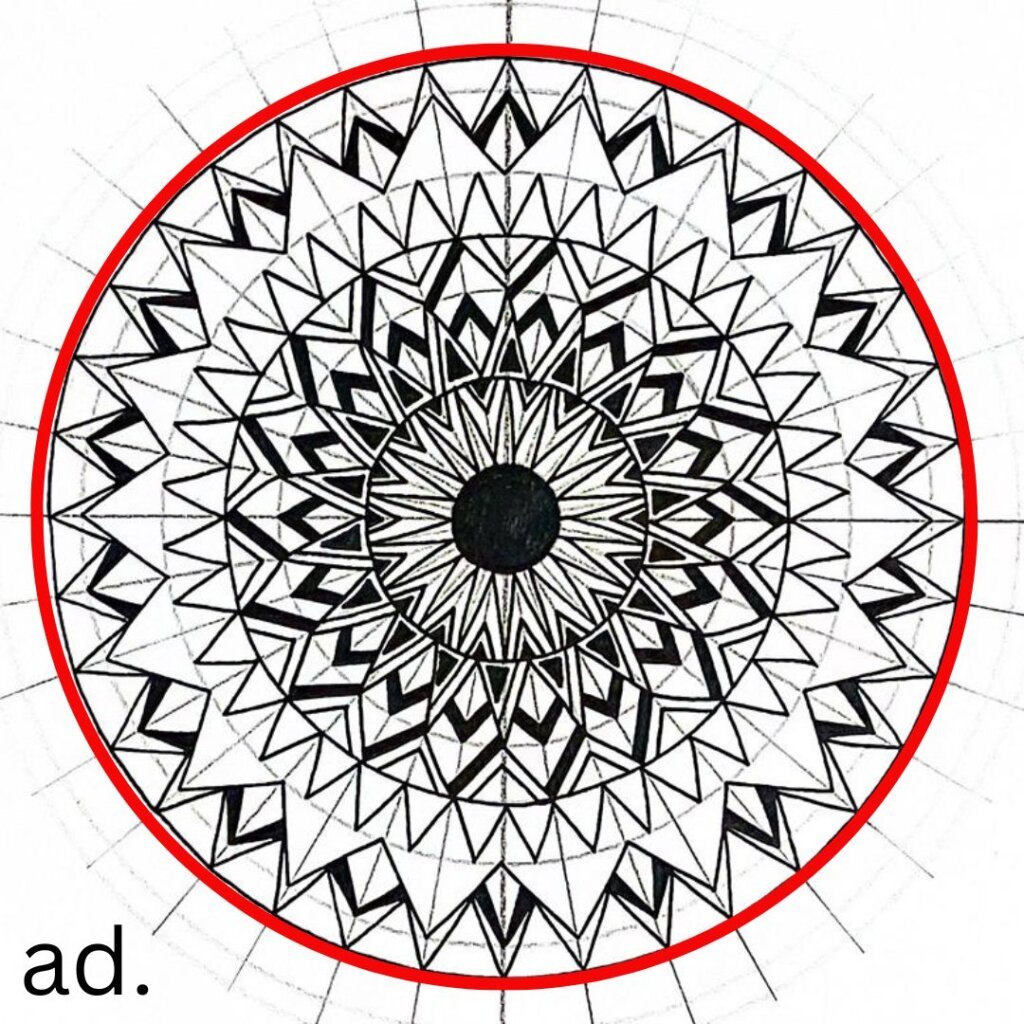
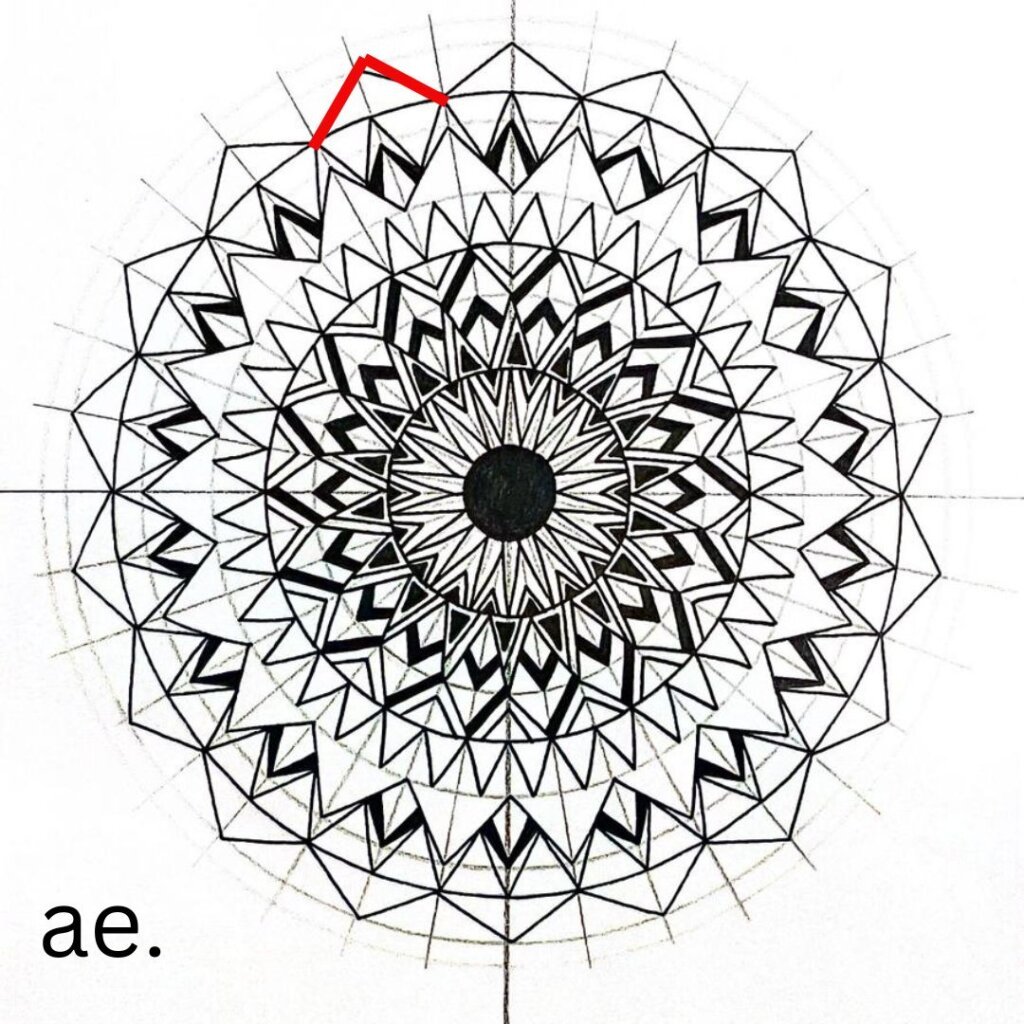
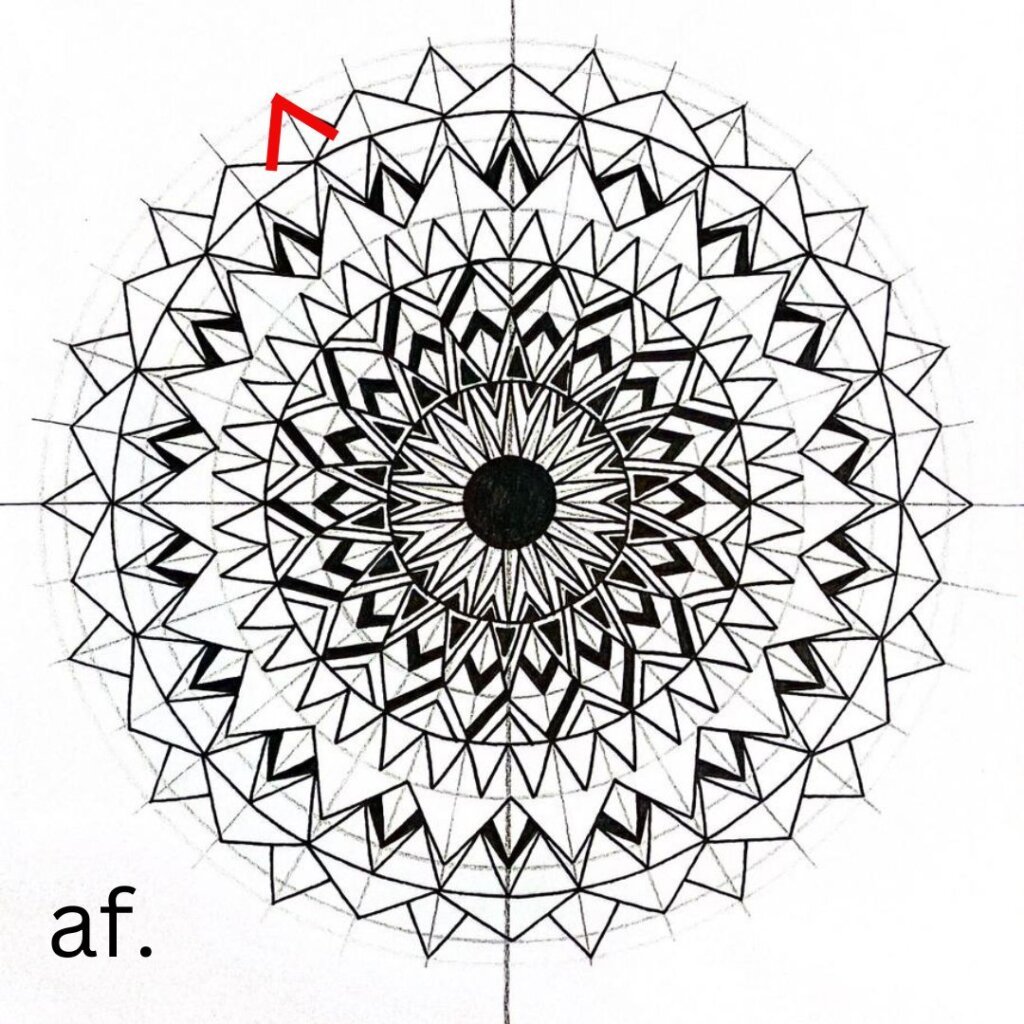
c. The step-by-step illustrated tutorial
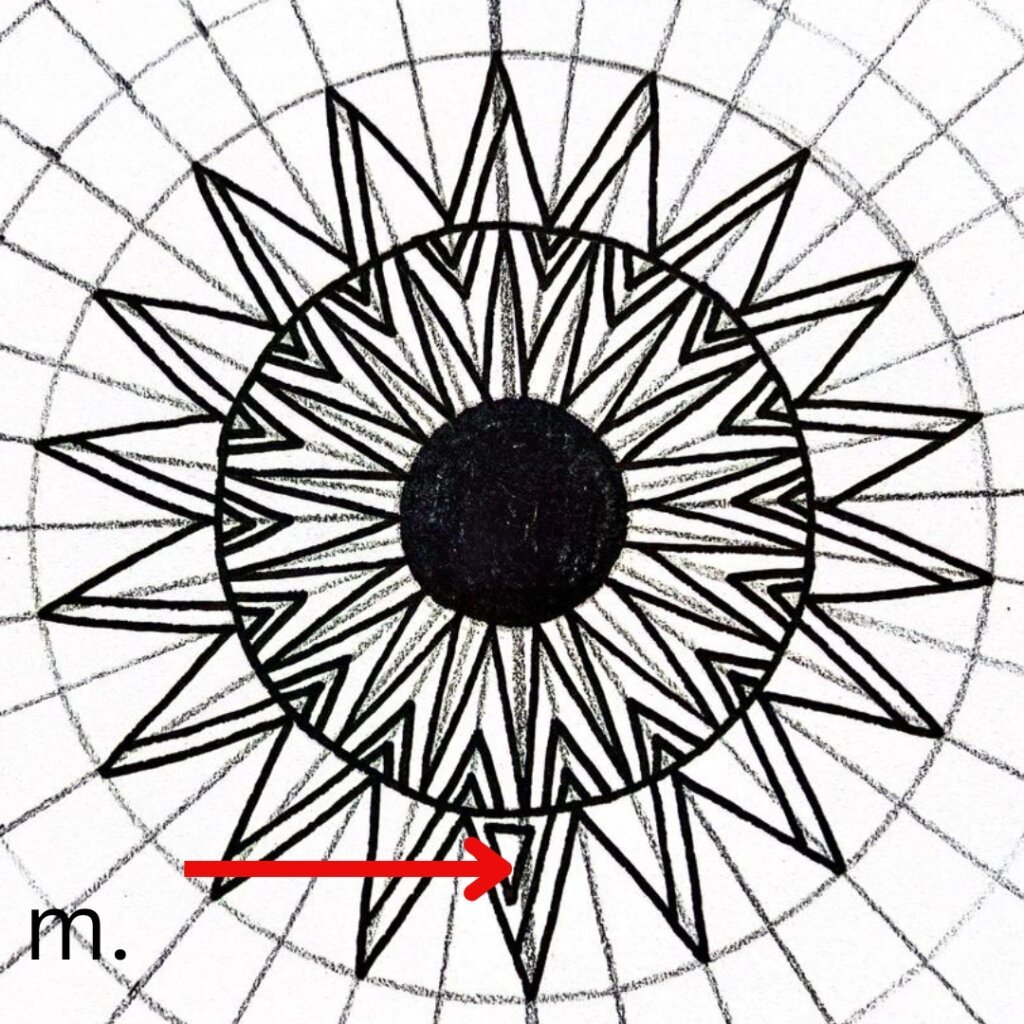
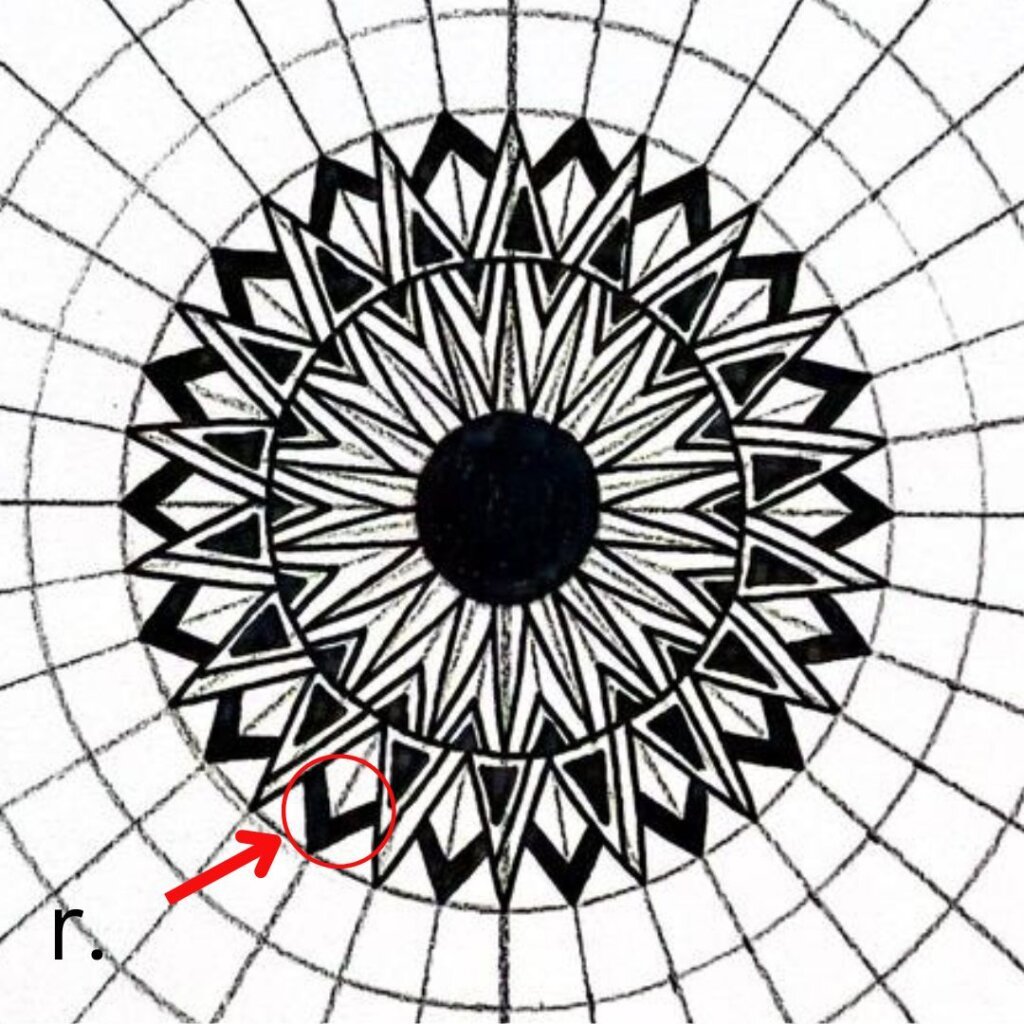
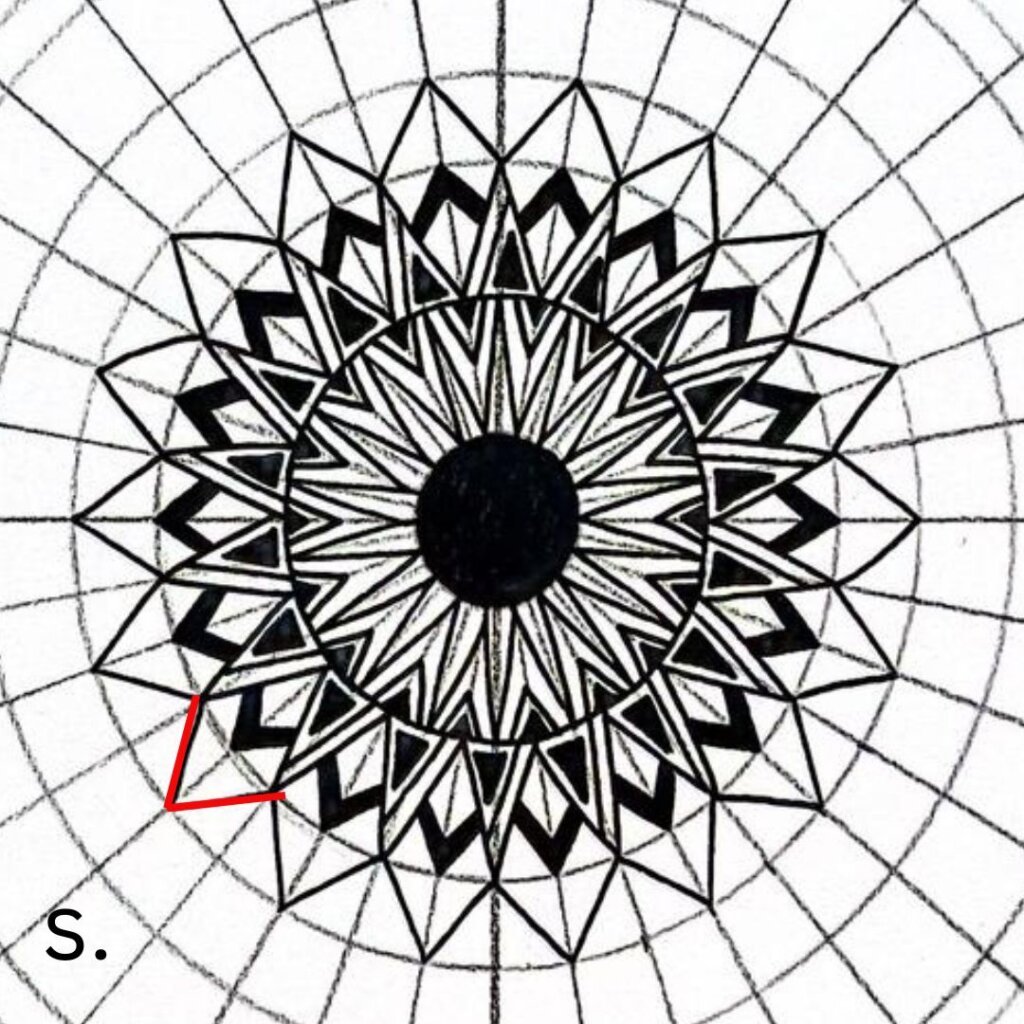
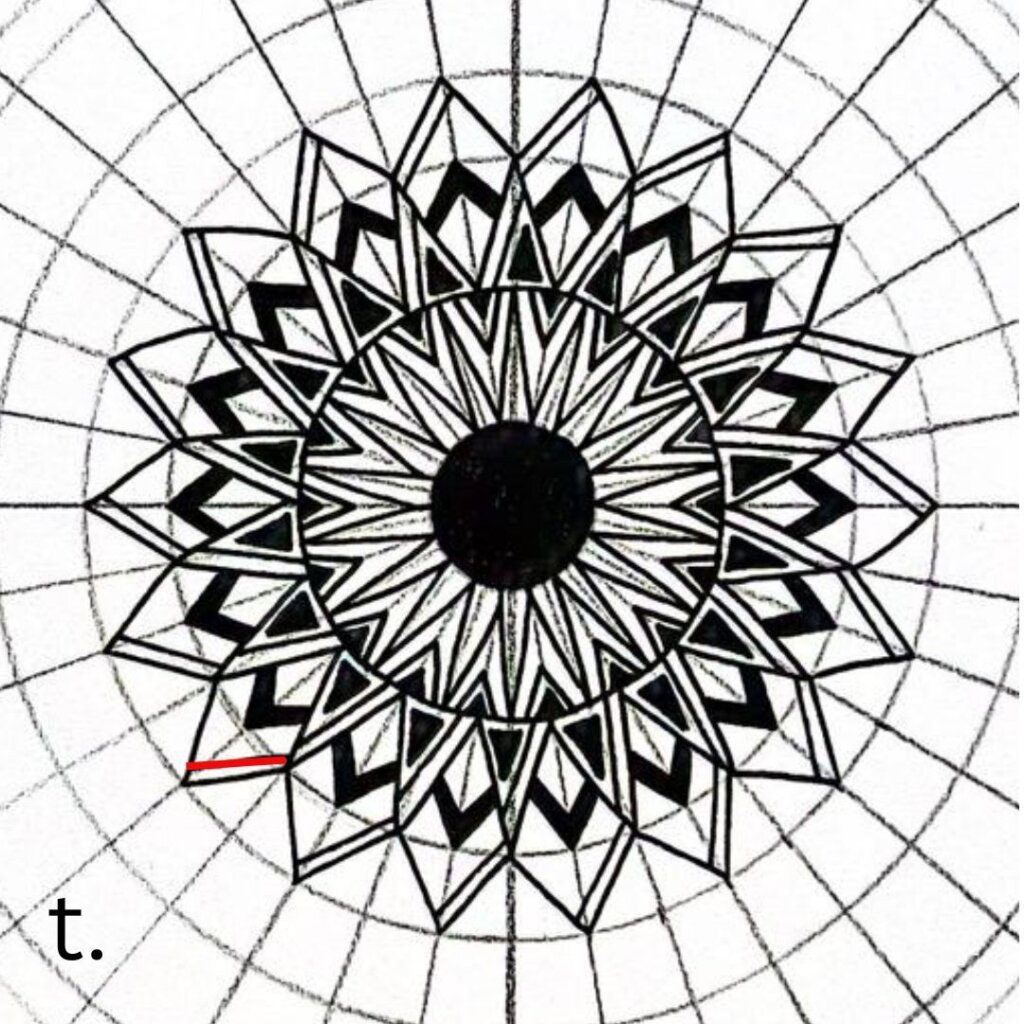
Fill the first three rows
Fill the remaining rows with triangles
Video Tutorial
Here is the video tutorial for this mandala with triangles, designed to guide you through every step.
First, this video provides clear, detailed instructions to help you create a stunning design. Additionally, it highlights essential techniques for drawing triangles and maintaining symmetry. Moreover, you will see how each step builds upon the last, bringing your mandala to life. In addition to being informative, this tutorial encourages creativity and experimentation with your own unique touches. Furthermore, it demonstrates how small adjustments can significantly enhance the overall harmony of your design.
Not only is it easy to follow, but it also makes the process enjoyable and meditative. As a result, you’ll find creating this mandala both relaxing and fulfilling. Finally, whether you’re a beginner or experienced, this tutorial ensures you can master the art of mandalas with ease.
Conclusion
Creating a mandala is a journey of both creativity and mindfulness. Throughout this process, each step adds value to your design. First, you start with a simple grid that sets the foundation. Then, you bring the mandala to life by filling it with intricate patterns. Additionally, the repetition of shapes and lines brings a sense of calm and focus.
Moreover, this art form is not just about the final result. It is also about the experience of creating. As you draw, you connect with your creativity and explore new possibilities. In addition to being meditative, it allows you to express yourself in a unique way.
Furthermore, mandalas are more than just beautiful designs. They symbolize balance, harmony, and unity. By creating your own, you tap into these deeper meanings. This makes the process both relaxing and meaningful.
Finally, remember that every mandala is a reflection of your personal journey. Each line, triangle, and detail contribute to a story that is uniquely yours. Therefore, take your time, enjoy the process, and let your creativity shine. In conclusion, creating mandalas is an enriching experience that combines art, relaxation, and self-expression.
