A Basic Mandala Tutorial That Will Unlock Your Creativity
Have you ever wondered how a simple circle filled with patterns could lead to profound self-discovery? Basic mandala drawing is more than just a fun artistic activity—it’s a powerful tool for exploring your inner world. In fact, this ancient art form has been used for centuries as a way to meditate, reflect, and connect with the self. But why are mandalas so effective in revealing hidden thoughts and emotions? And how can drawing them help you better understand who you are? Well, the answers are simpler than you might think.
To begin with, mandalas allow you to express your thoughts and feelings without words. As you draw each shape and pattern, you create a visual representation of your inner state. Whether you’re feeling joyful, anxious, or reflective, these emotions naturally flow onto the paper. Moreover, the repetitive patterns and symmetry bring a sense of balance and calmness, helping you feel more grounded. This makes mandala drawing not only a creative outlet but also a meditative experience that promotes self-awareness.
But that’s not all! The process of drawing mandalas encourages you to be present in the moment. This mindfulness helps quiet the noise of daily life, making it easier to tune in to your true thoughts and feelings. Consequently, you gain clarity about your desires, fears, and dreams, which is essential for self-discovery. Additionally, experimenting with different colors and patterns lets you explore new aspects of your personality, unlocking parts of yourself you never knew existed.
Check Out the List of Basic Mandala Tutorials
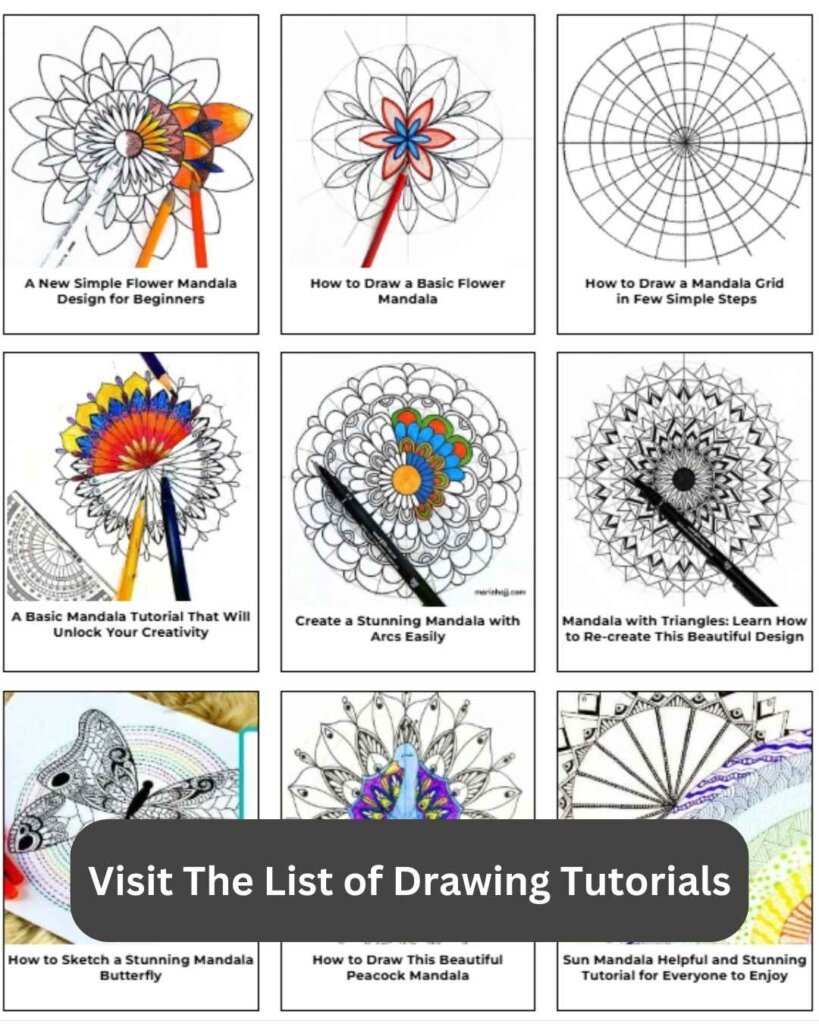
So, are you curious to try it out for yourself? I’ve put together a list of easy-to-follow drawing tutorials to help you get started. These tutorials are perfect for beginners and will guide you step by step through the process of creating your own beautiful mandalas. Then, why wait? Dive into the world of mandala drawing and discover more about yourself than you ever thought possible!
How to Draw This Basic Mandala Design
Are you ready to discover the wonderful art of mandalas?
In just three simple steps, you’ll learn how to create your own beautiful designs: prepare you materials, draw the mandala grid, and fill the grid with basic shapes.
Let’s dive into this meditative and creative journey together!
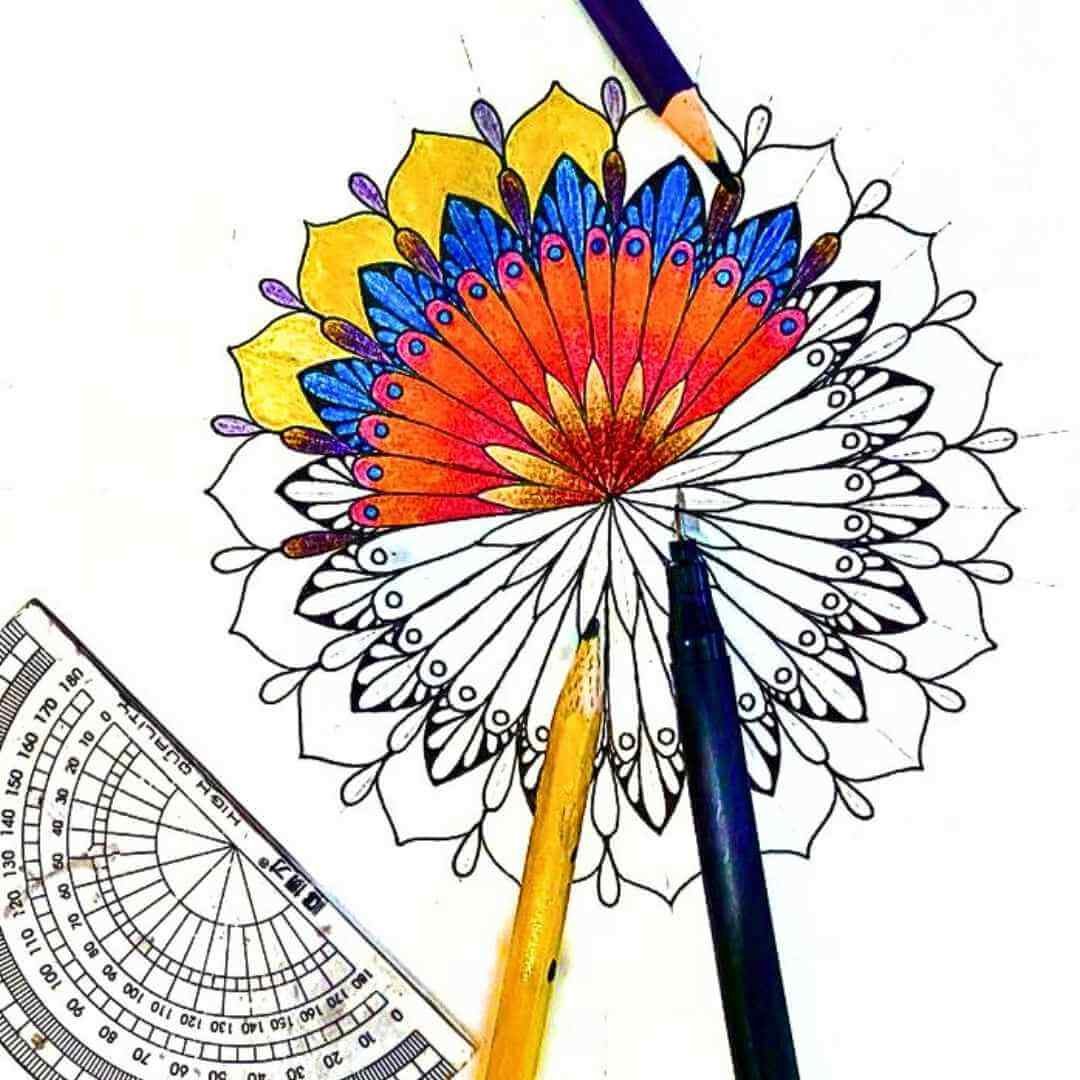
1- Materials Needed
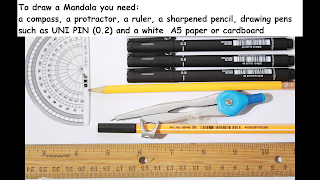
- A white paper or cardboard
- a ruler
- a compass
- a protractor
- a sharpened pencil
- fine drawing pens such as Uni Pin, Micron, etc.
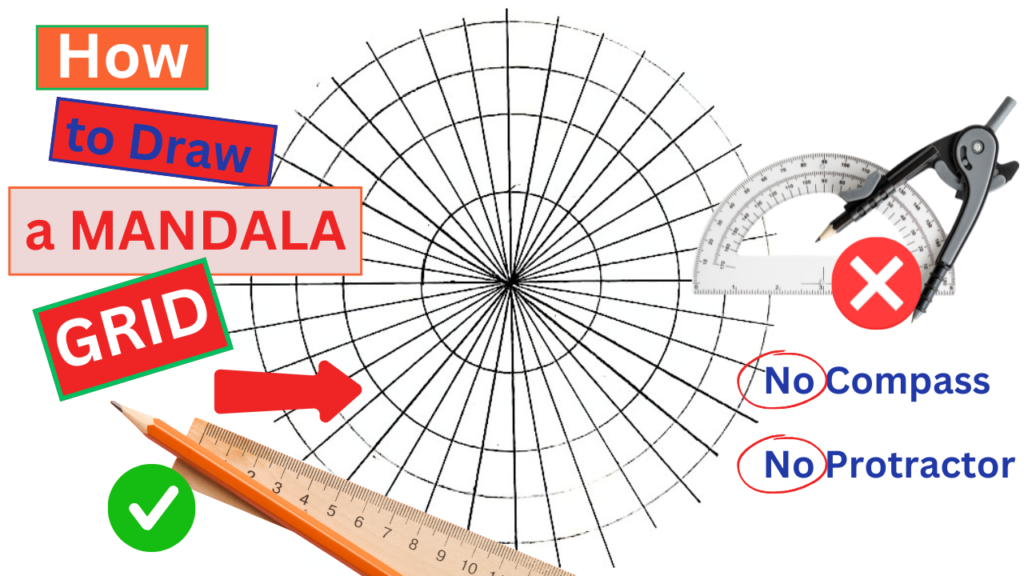
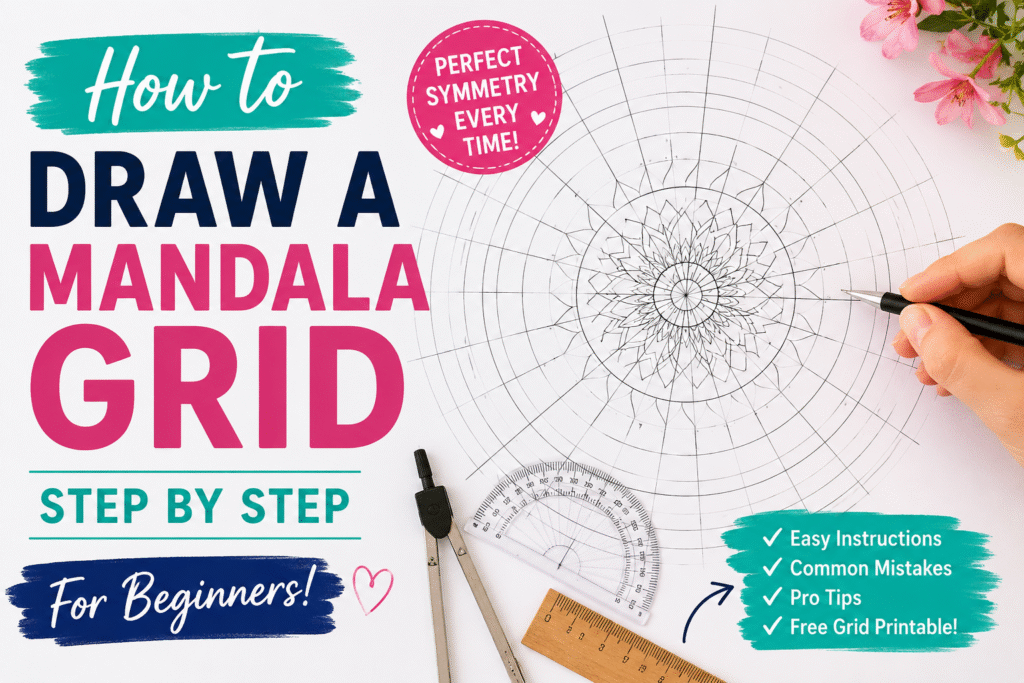
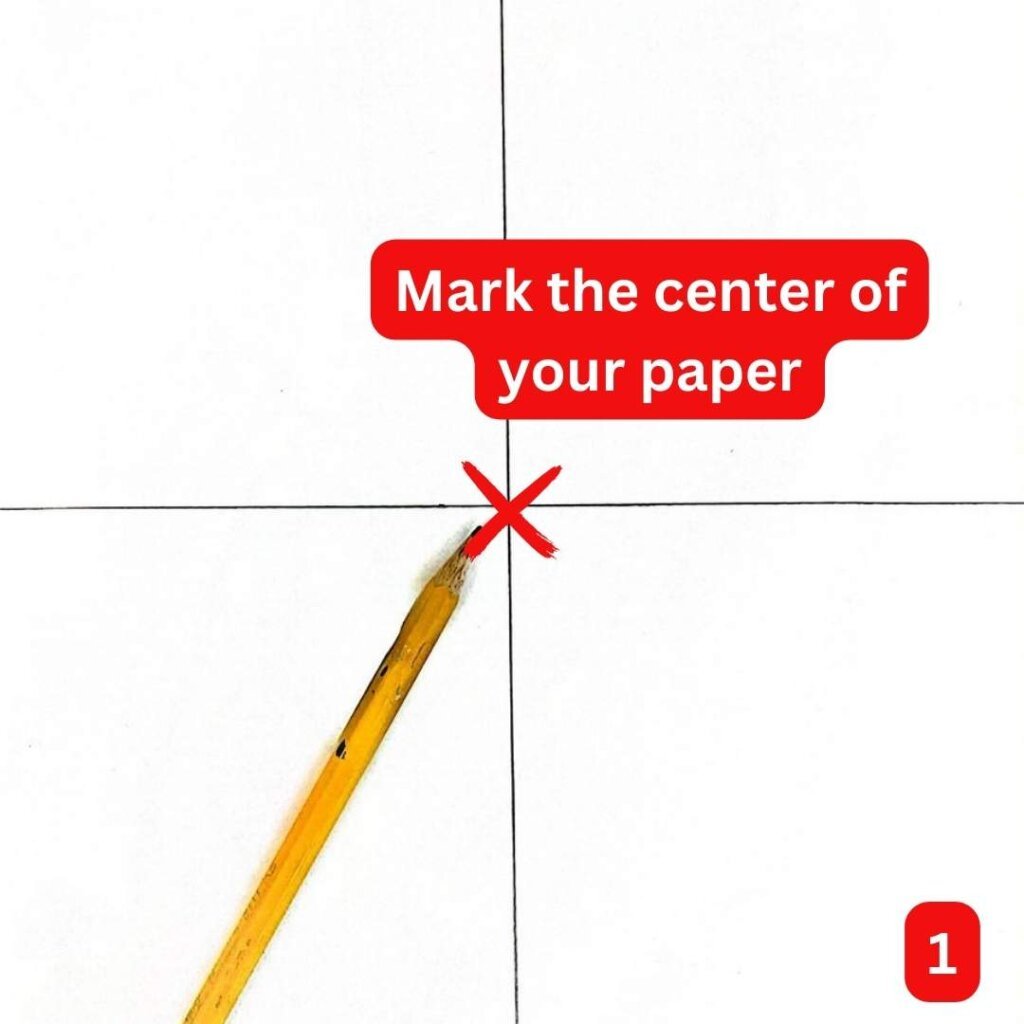
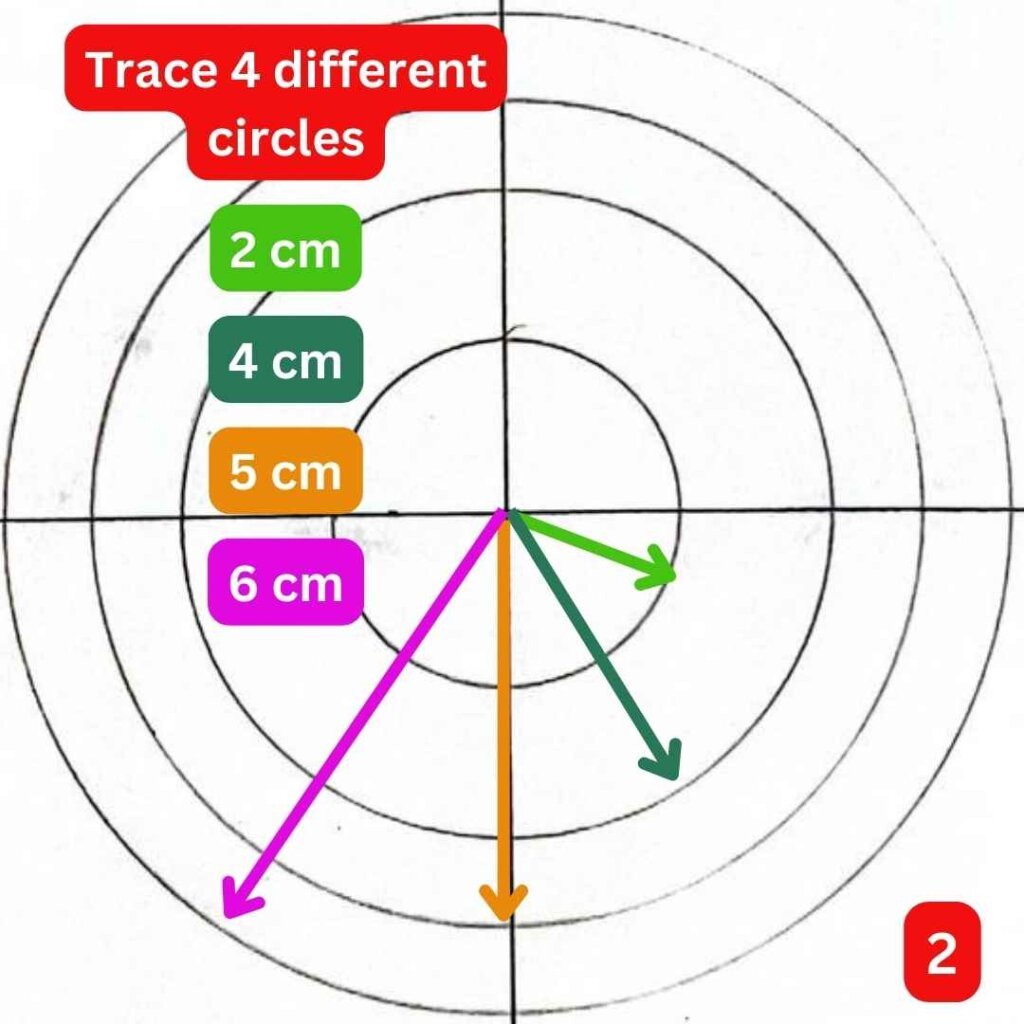
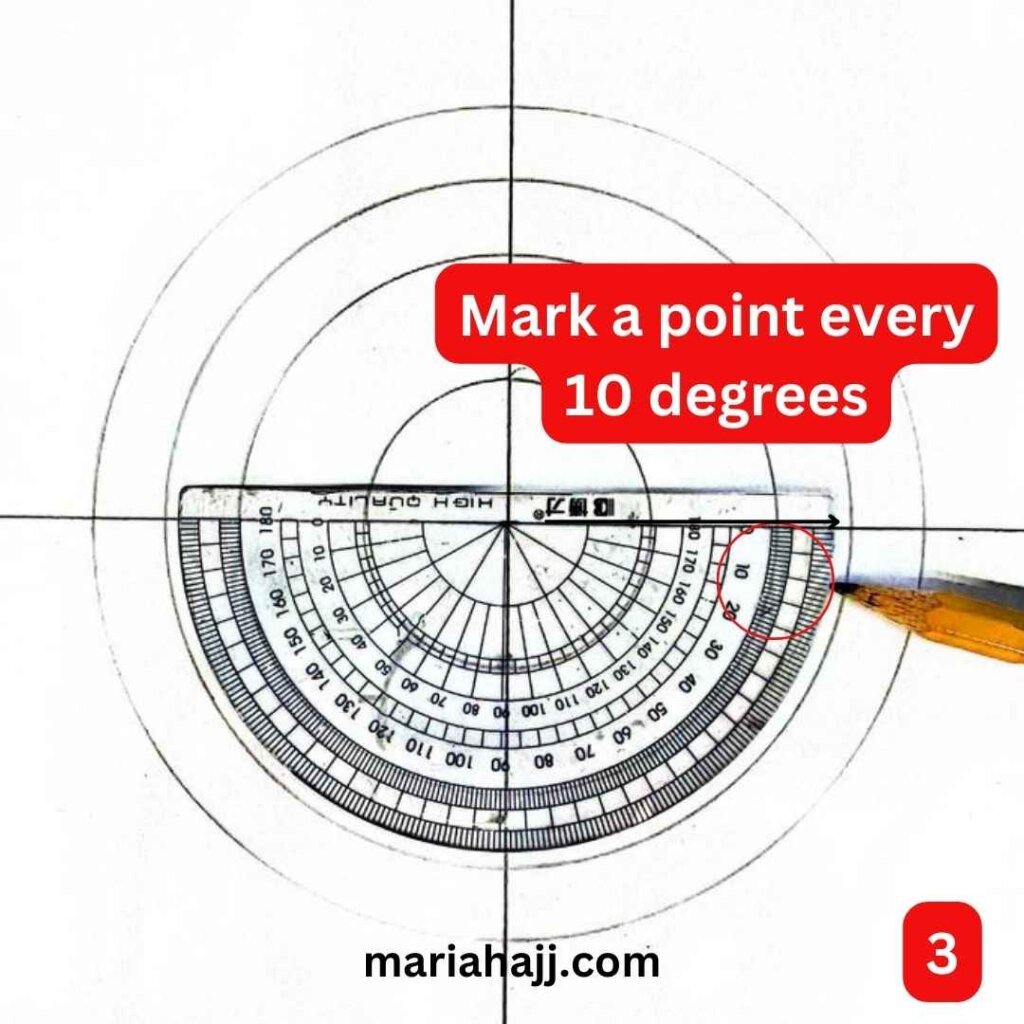
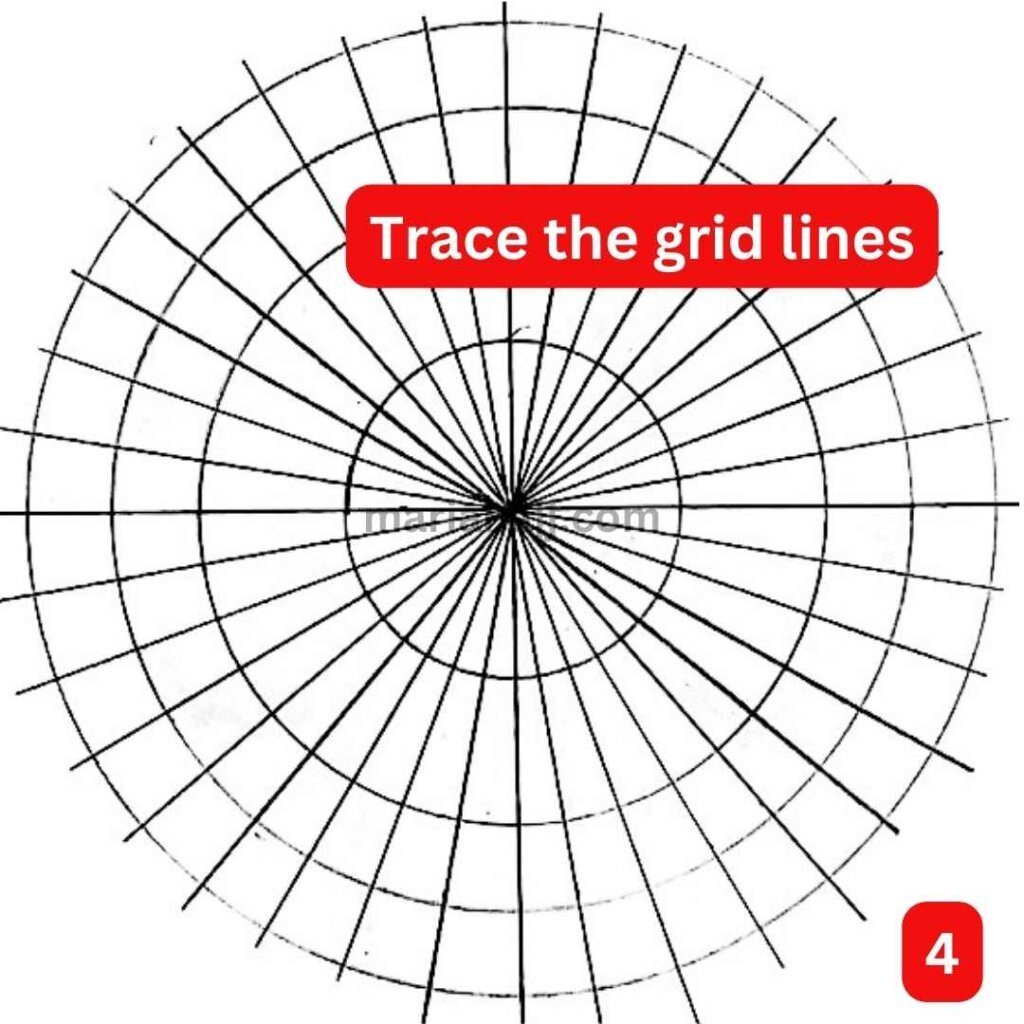
2- How to Draw the Mandala Grid of This Basic Mandala
The mandala grid is the foundation of your design, providing balance, symmetry, and structure. It acts as a guide, helping you create harmonious patterns with precision. Without a grid, the design can lose its proportion, making it harder to achieve the meditative flow that mandala drawing offers. By mastering the grid, you set the stage for creativity to unfold effortlessly!
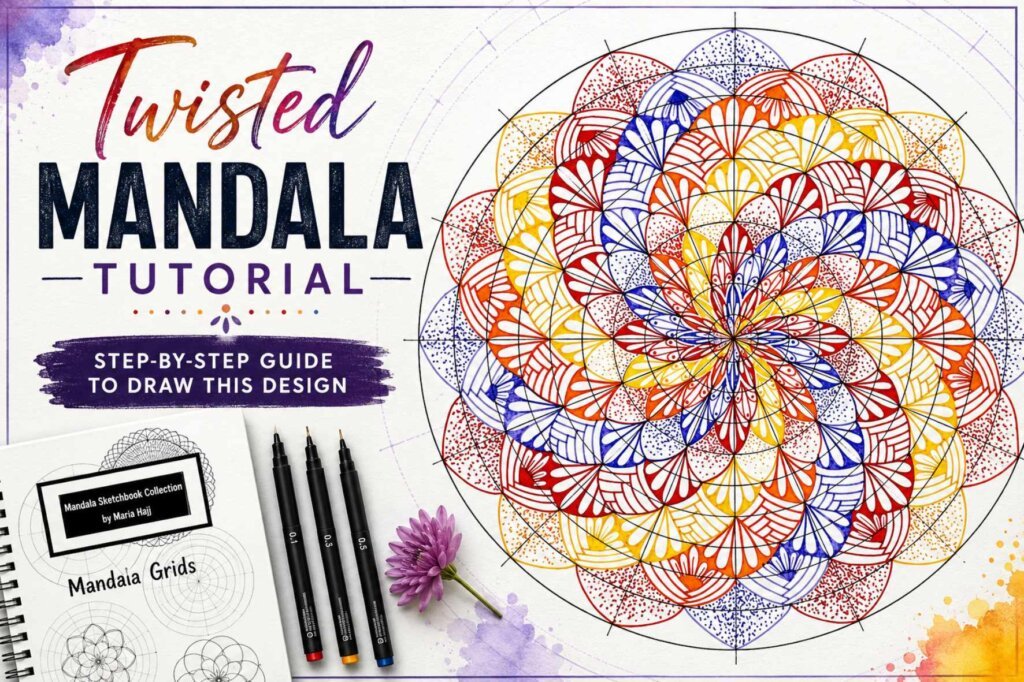
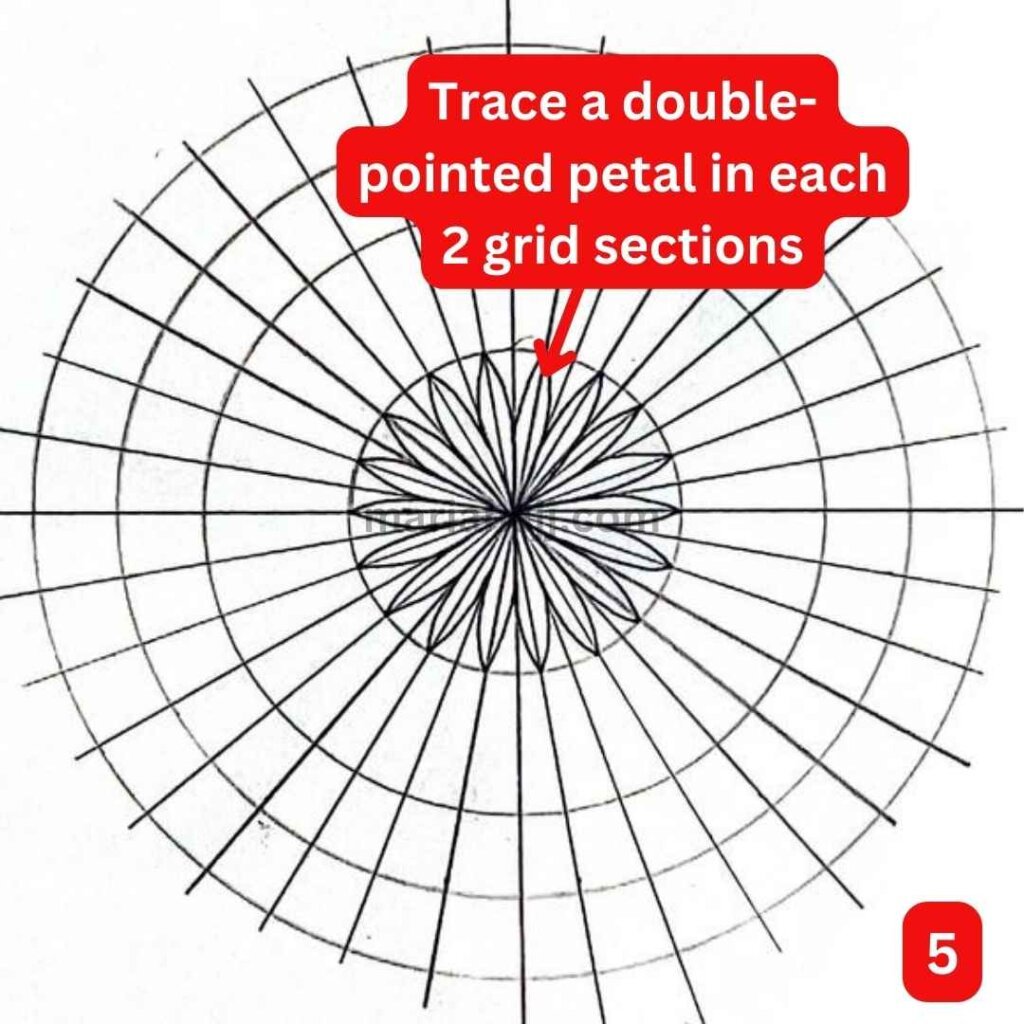
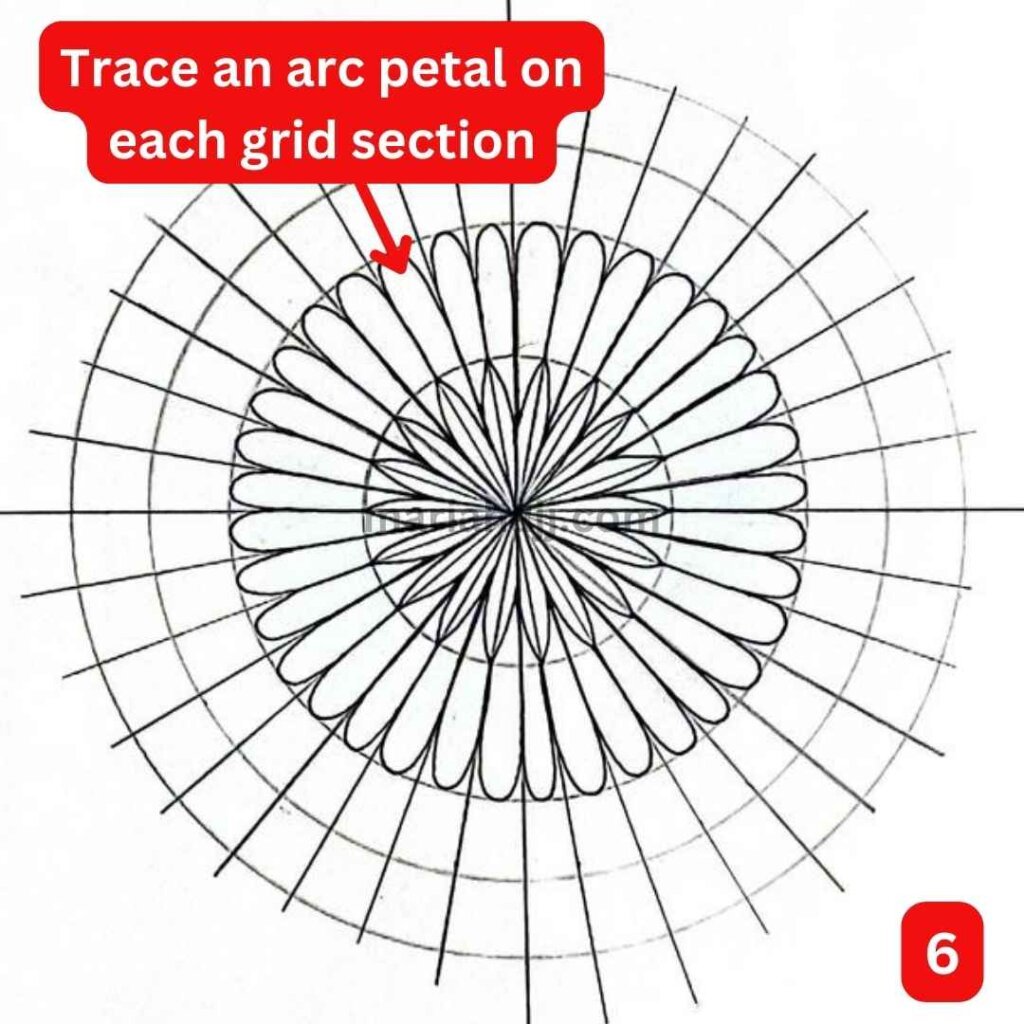
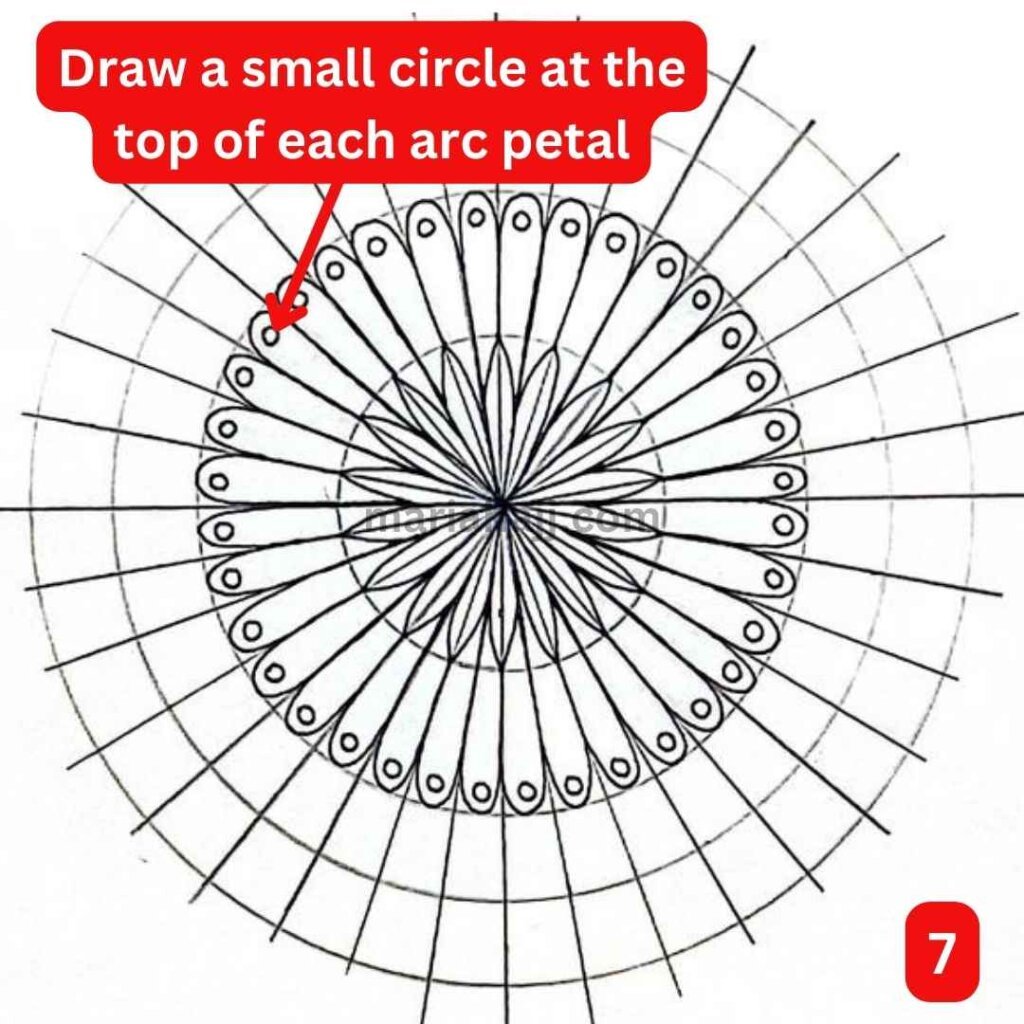
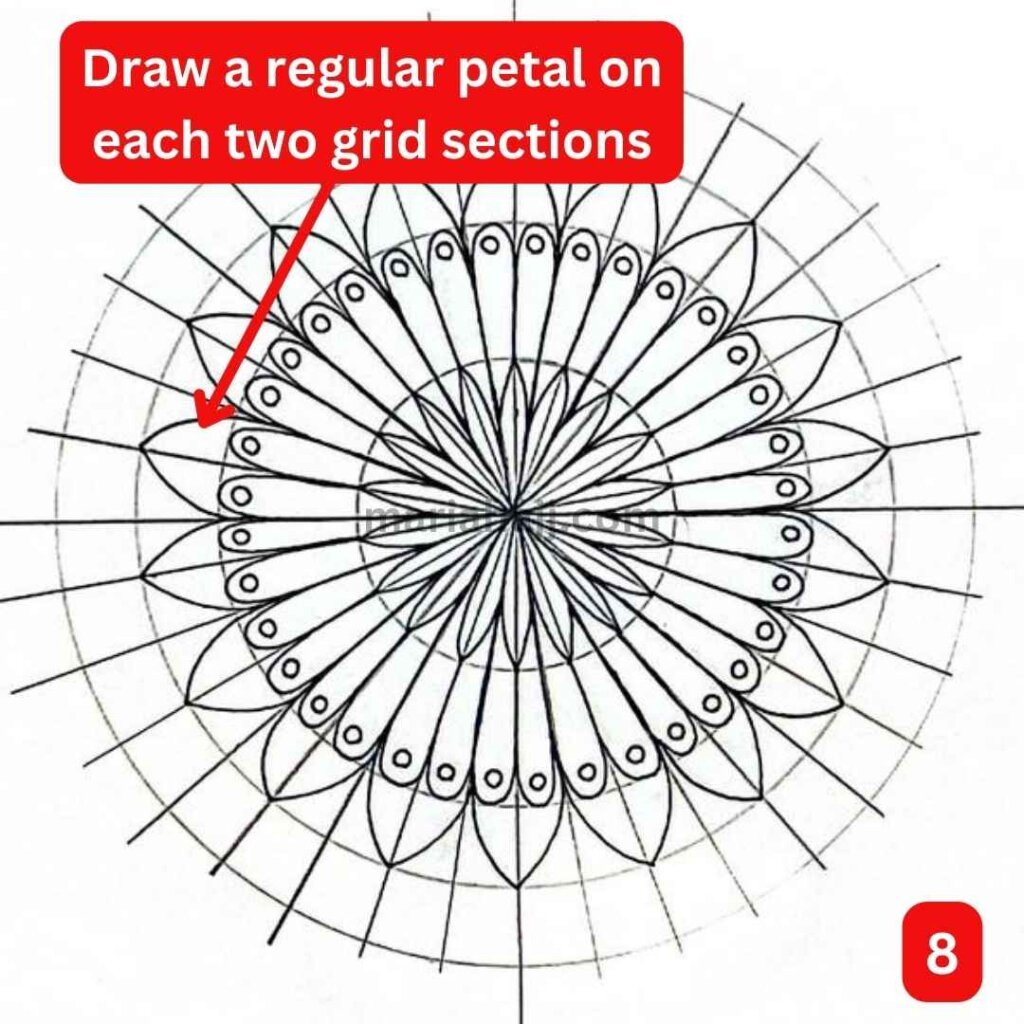
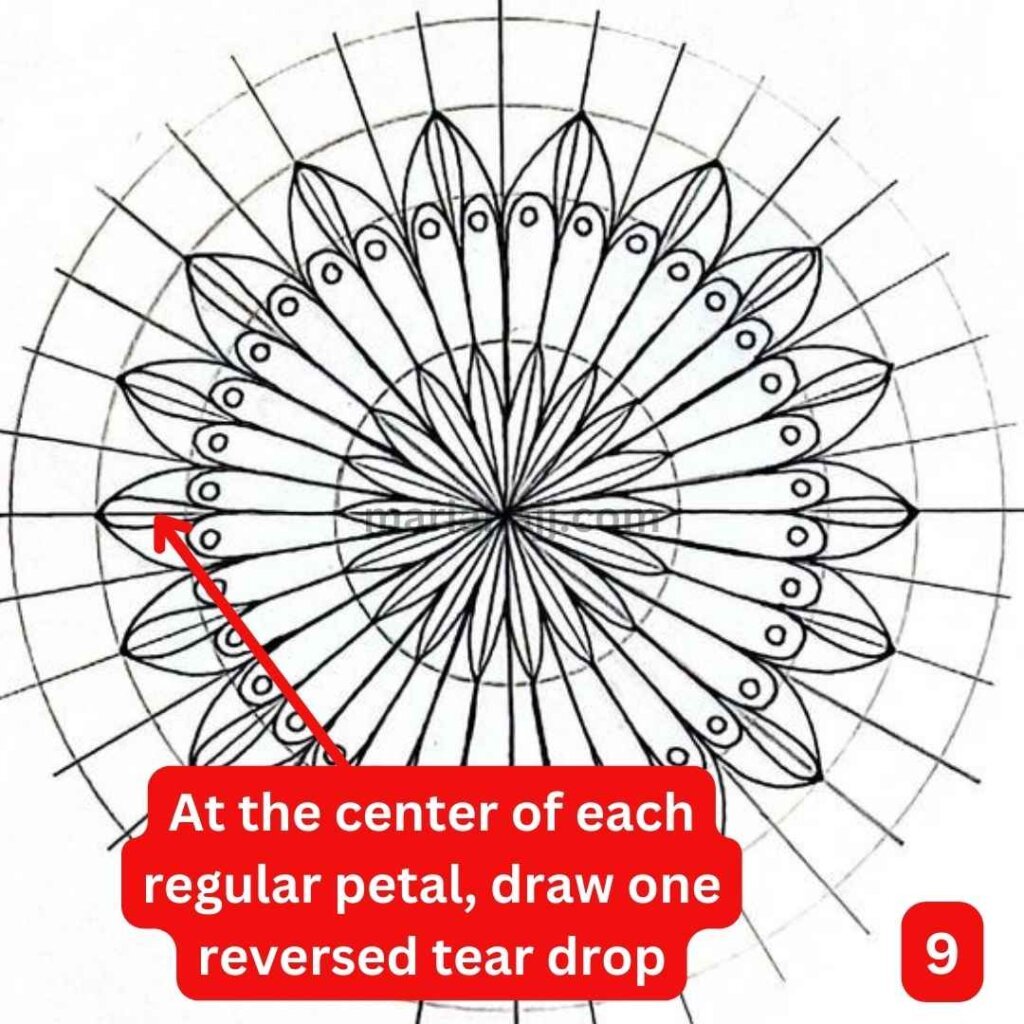
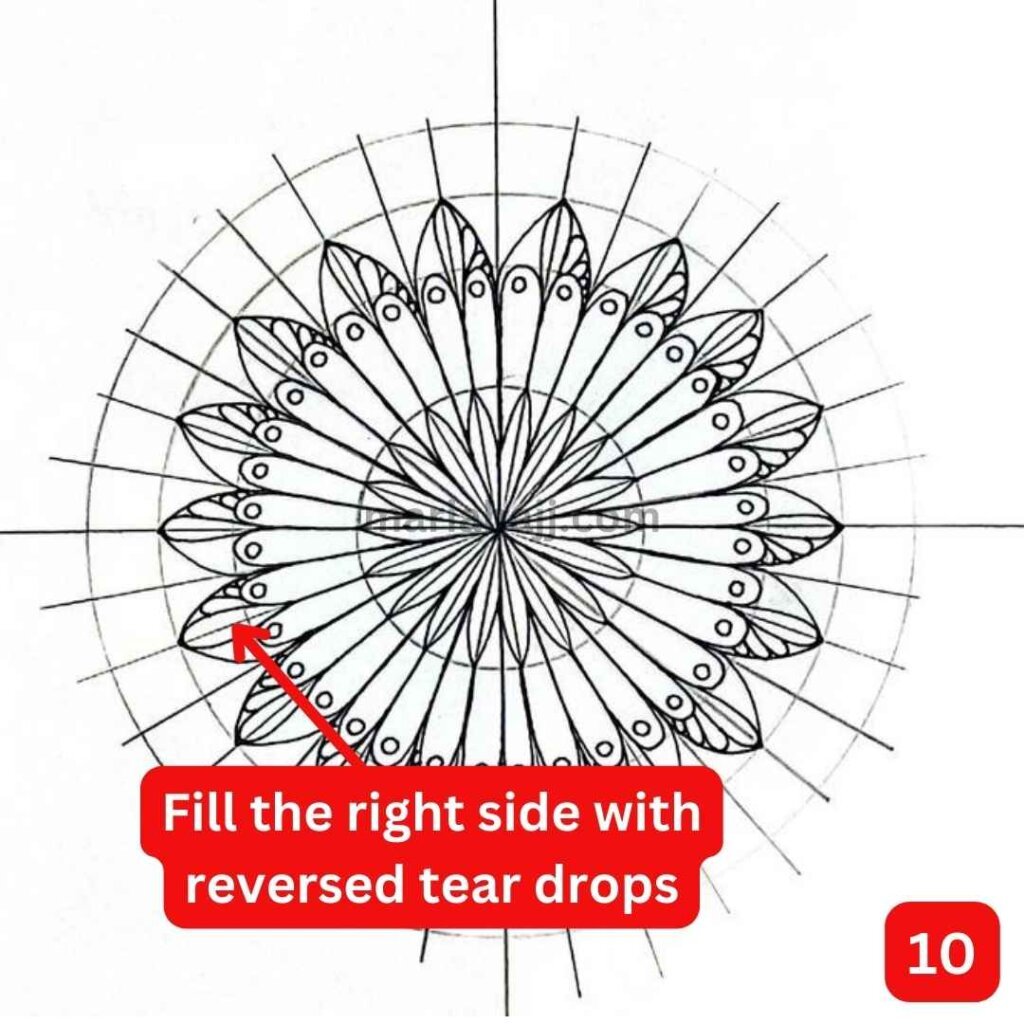
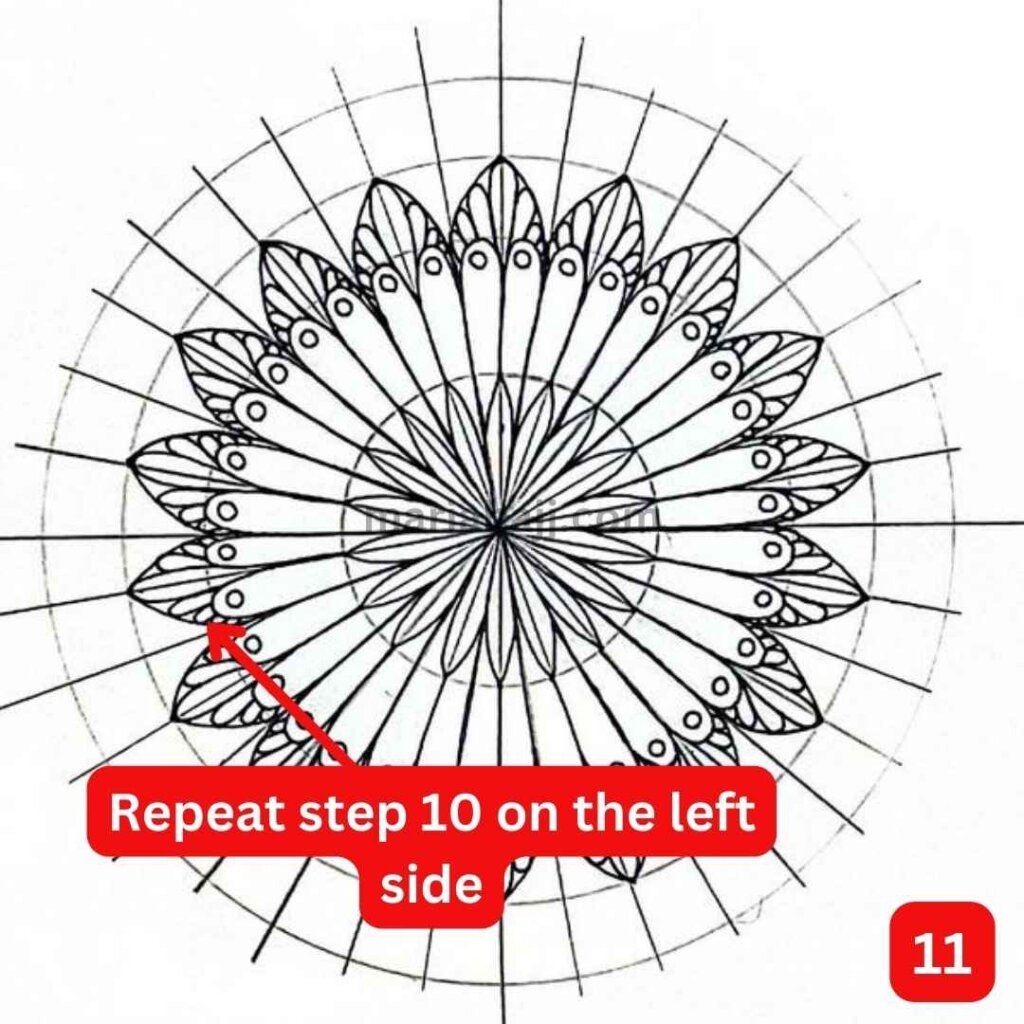
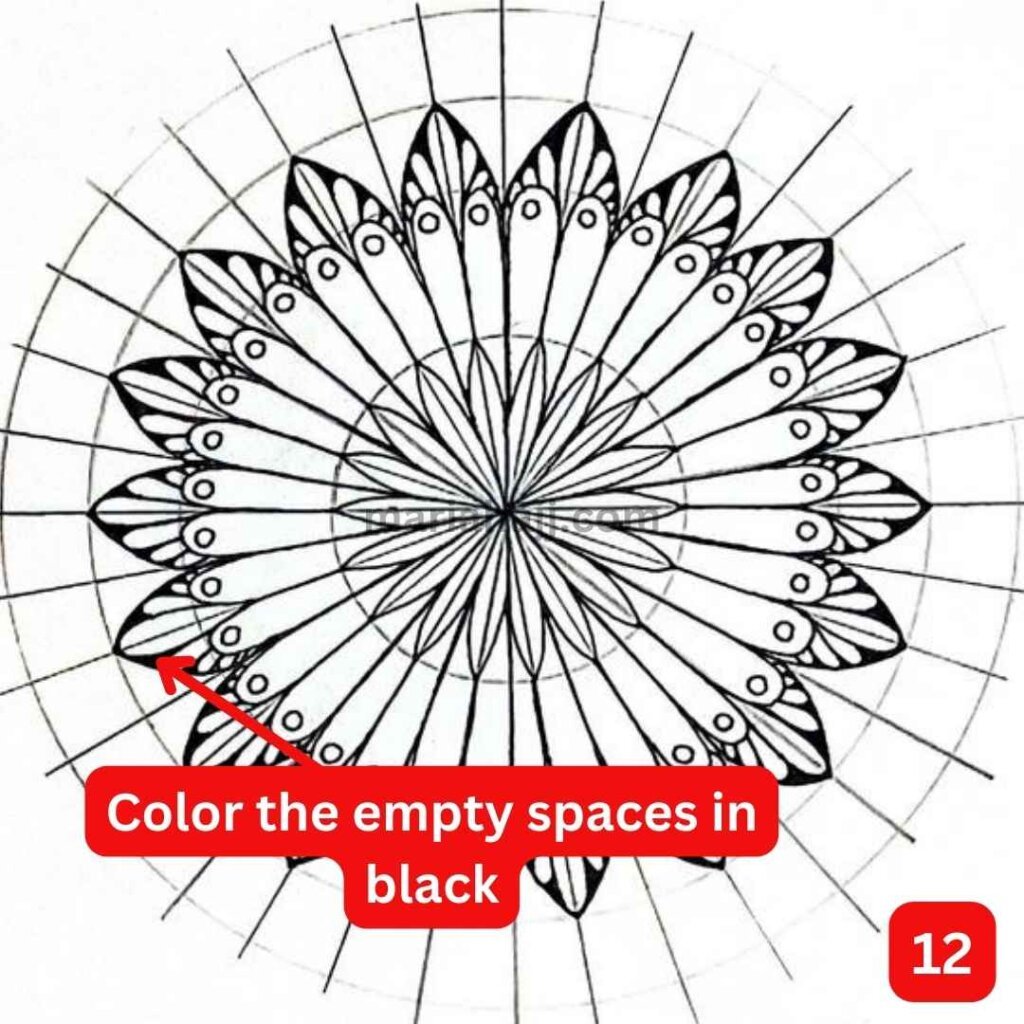
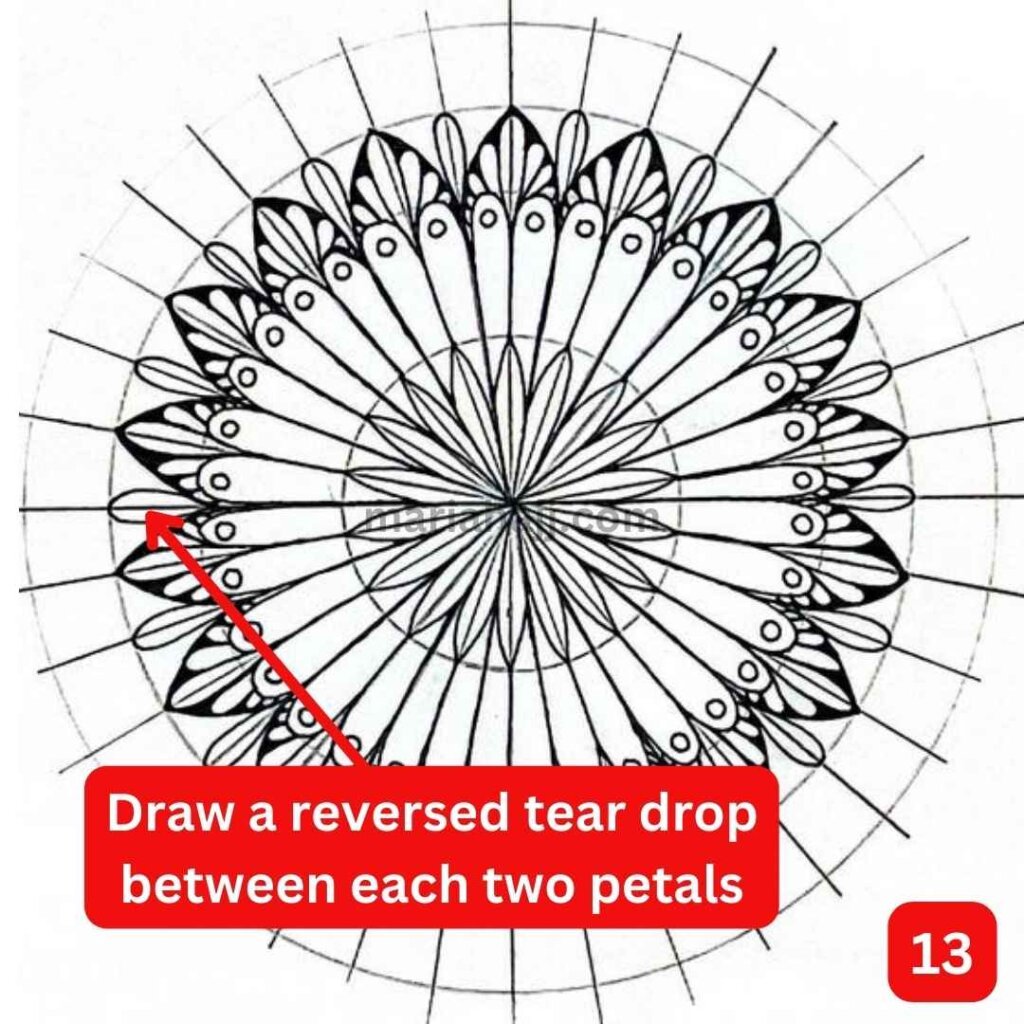
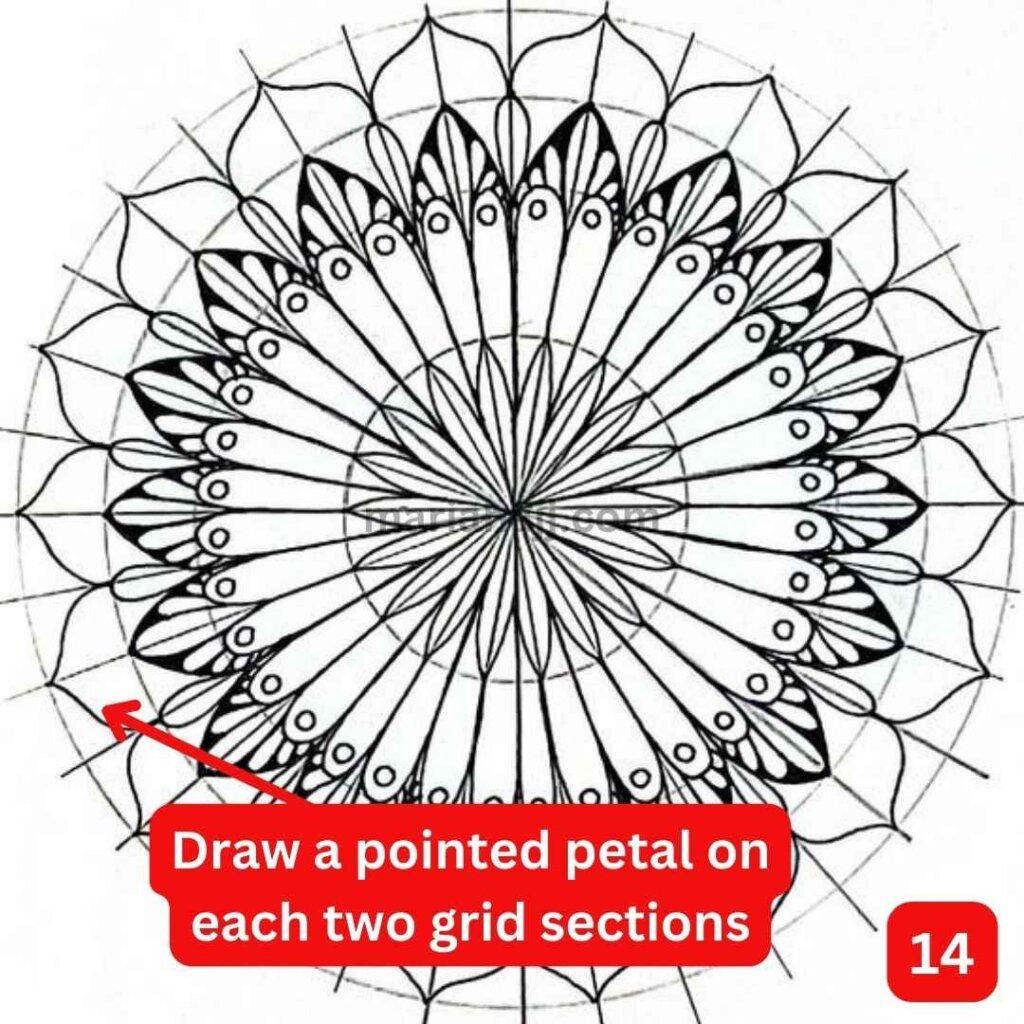
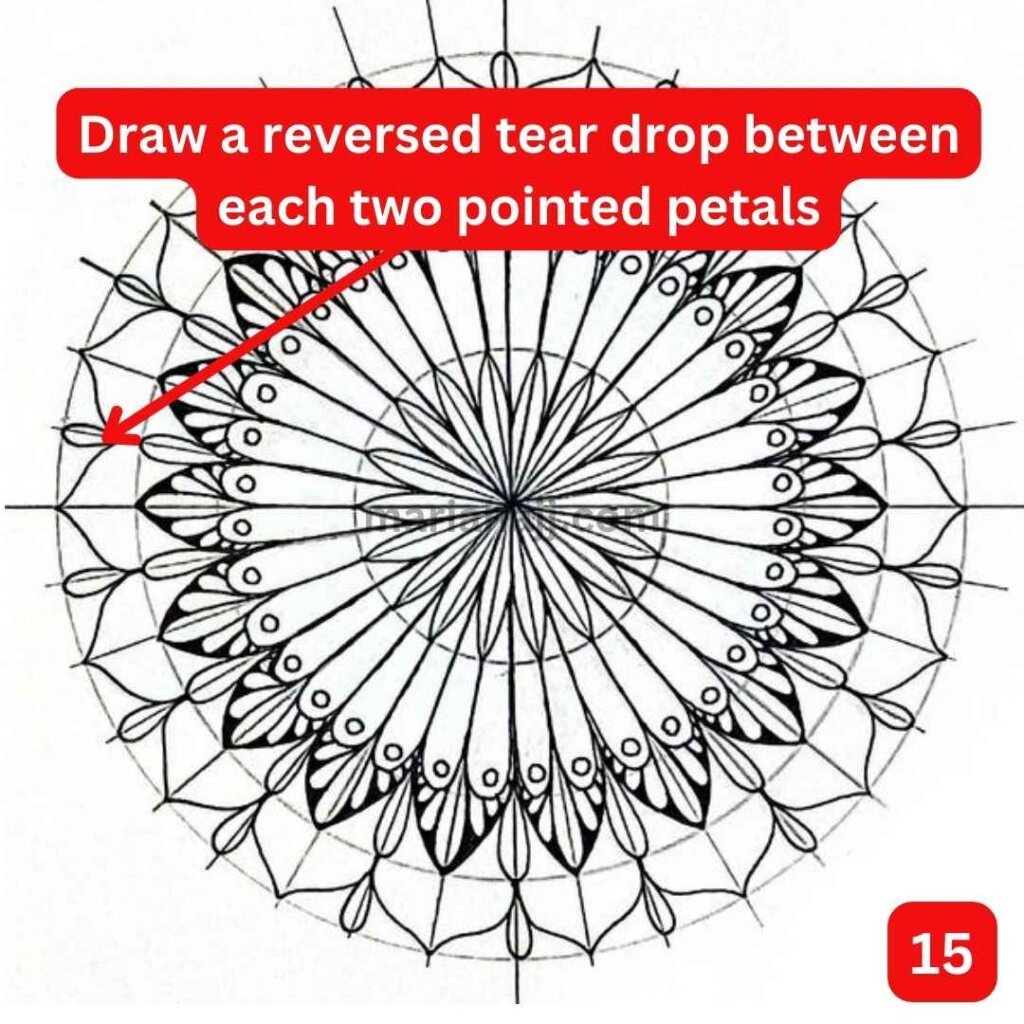
3- Fill the Mandala Grid with Basic Shapes
Watch the full video
Creating a mandala is a beautiful and meditative process, but understanding the steps can make all the difference! So, that’s why I’ve prepared a detailed video tutorial to guide you through each stage with ease.
In this video, you’ll not only see how to prepare your materials, but you’ll also learn how to draw the perfect mandala grid—an essential step for balance and symmetry. Then, step by step, you’ll discover how to fill your grid with simple shapes, gradually transforming it into a mesmerizing design.
Moreover, watching the process in action will help you grasp the techniques more clearly, making it easier for you to create your own mandalas with confidence. So, if you’re ready to dive deeper into this artistic journey, click on the video and follow along. Let’s bring your creativity to life—one stroke at a time!