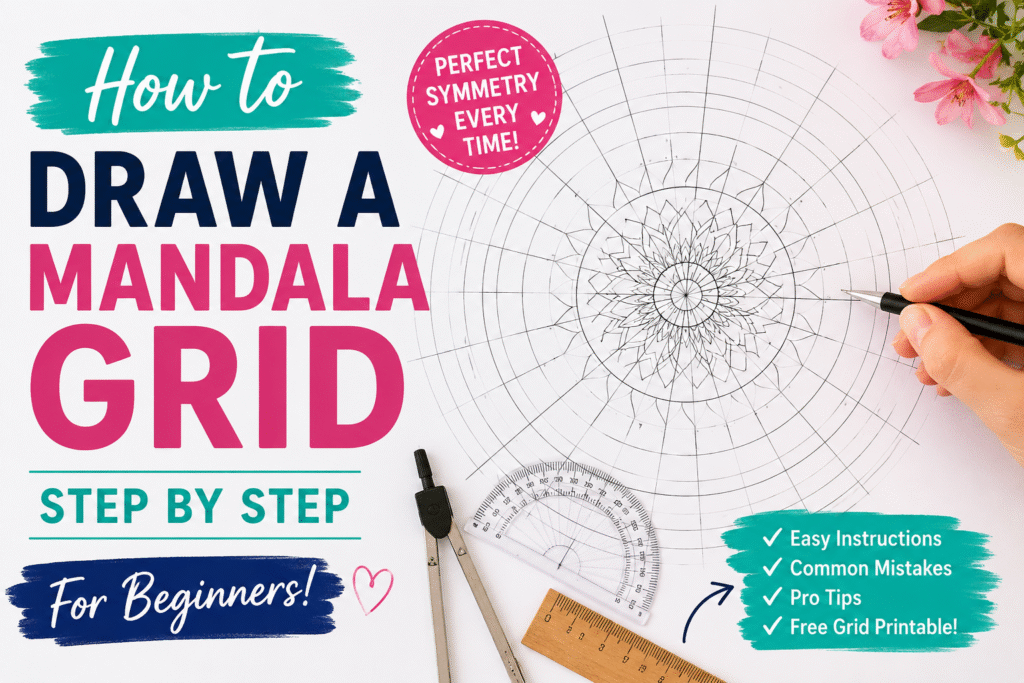
An easy mandala tutorial is a wonderful way to start exploring art while relaxing your mind. First of all, drawing mandalas is a calming activity that helps you focus and express your creativity. Moreover, it’s a fun and peaceful way to take a break from your daily routine.
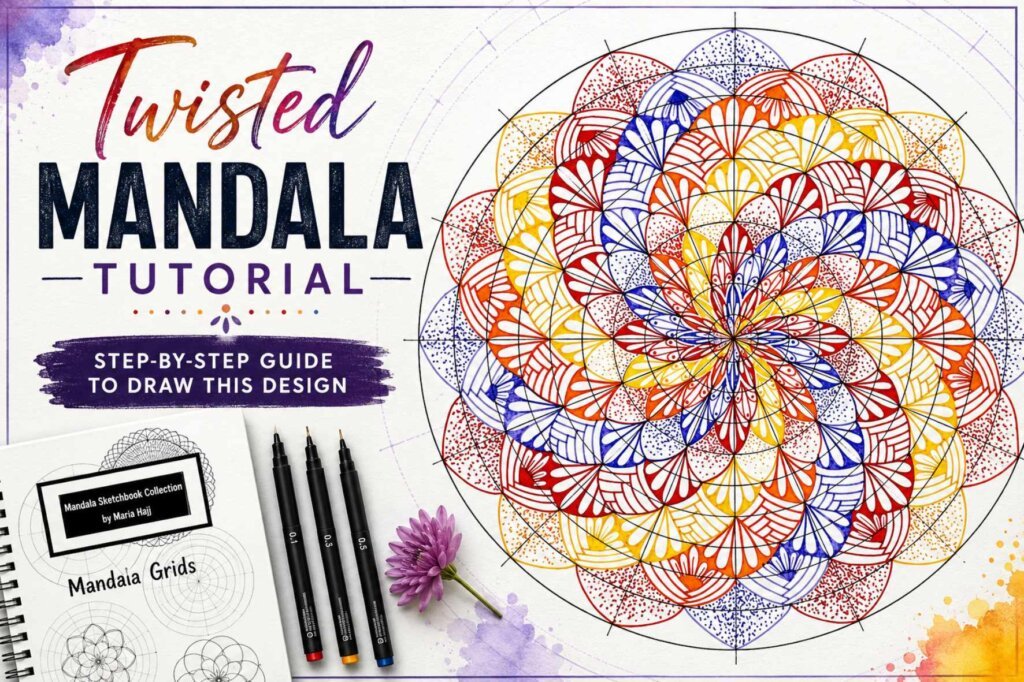
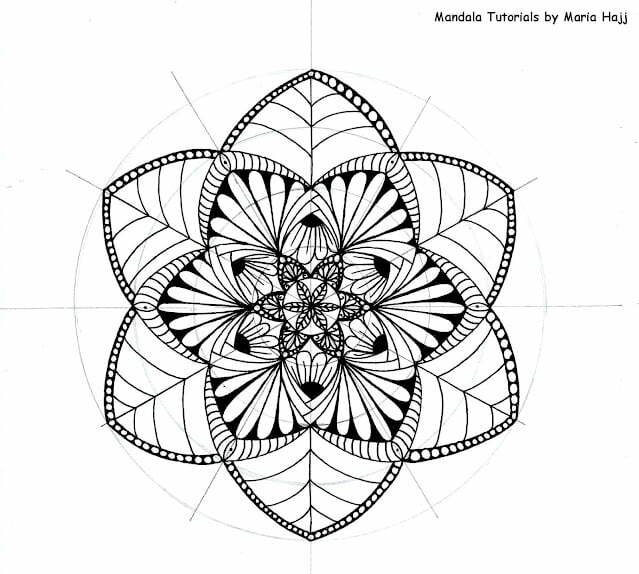
In this tutorial, you’ll discover how to create a simple mandala using a beautiful leaf pattern. Don’t worry if you’re new to this! Step by step, I’ll guide you through the process so you can follow along with ease. Exactly like I did in the previous tutorial where I showed you how to trace five different easy mandala patterns based on the regular petal basic shape. These easy mandala patterns come in handy when you face a creativity block while drawing, and they can help beginners create their own mandalas.
Additionally, learning new skills, like drawing mandalas, is a great way to challenge yourself and grow. So, let’s get started and enjoy this relaxing yet creative journey together!
Prepare your tools and let’s get started
When starting easy mandala tutorials, it’s important to know that you don’t need expensive or professional materials. For example, you can use simple tools like a pencil, eraser, and ruler for your design. Additionally, fine-tip pens or markers work perfectly for outlining and adding details. However, as a beginner, you don’t have to buy professional brands right away. Instead, you can simply use whatever you already have at home. Moreover, using basic materials allows you to focus on learning the process without worrying about fancy tools. Overall, starting with simple supplies makes the experience less stressful and much more enjoyable!
The list of needed materials:
- Compass
- Fine black drawing pen
- Sharpened pencil
- Eraser
- Protractor
- Ruler
- A4 white paper or cardboard
Prepare the Mandala Grid
What is a Mandala Grid?
A mandala grid is an essential tool for anyone learning to create beautiful and balanced mandalas. First of all, it acts as a guide, helping you draw symmetrical patterns with precision. Moreover, it simplifies the process, making it less overwhelming, especially for beginners. By using a mandala grid, you can focus on one section at a time, ensuring your designs stay proportional and well-organized.
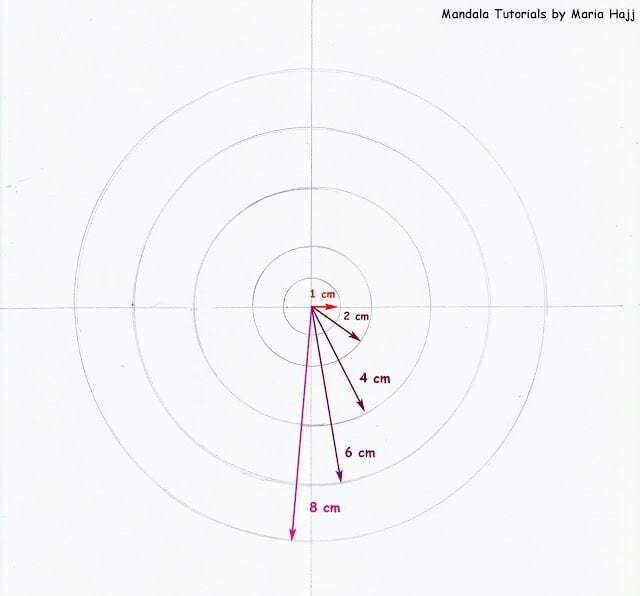
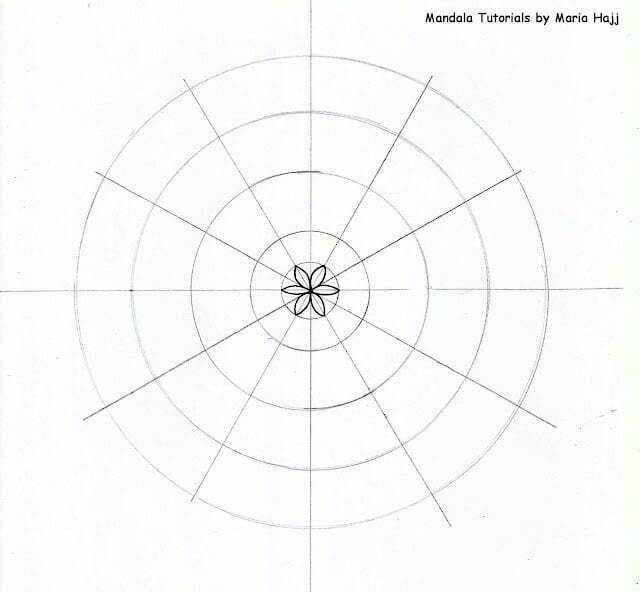
When following an easy mandala tutorial, a grid is often the starting point. For example, you begin by drawing a large outer circle, which sets the boundary for your design. After that, you add smaller concentric circles inside to create layers for your patterns. Next, divide the circle into equal sections with straight lines radiating from the center. As a result, you have a framework that allows you to create intricate designs without losing symmetry.
Additionally, using a grid encourages creativity. For instance, you can experiment with petals, leaves, or geometric shapes within each section of the grid. Furthermore, the structured layout makes it easier to repeat patterns, which is key to a cohesive mandala design. Also, whether you are using professional tools or simple materials at home, a grid ensures your work looks polished and balanced.
In conclusion, a mandala grid is not only practical but also inspiring. With its help, you can confidently create stunning designs, even if you’re just starting out. Most importantly, it turns the process into a fun and rewarding experience!
So let’s start!
Three Easy Steps to Follow


The Second Step in This Easy Mandala Tutorial
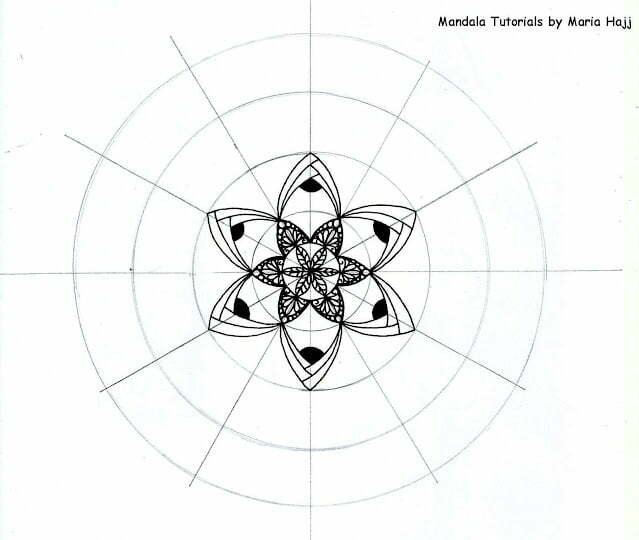
Now that your mandala grid is ready, it’s time to bring it to life with simple shapes and patterns. I will divide the next nineteen steps into two categories to make this easy mandala tutorial simple to follow.
Fill the Two First Rows of the Mandala Grid with Easy Shapes and Patterns


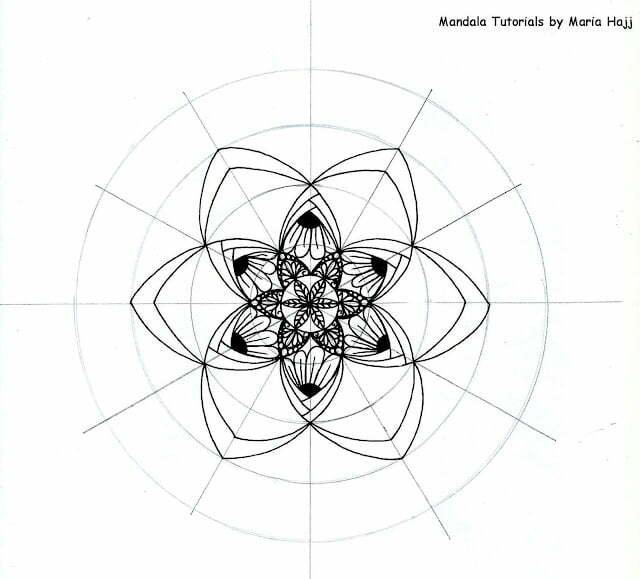
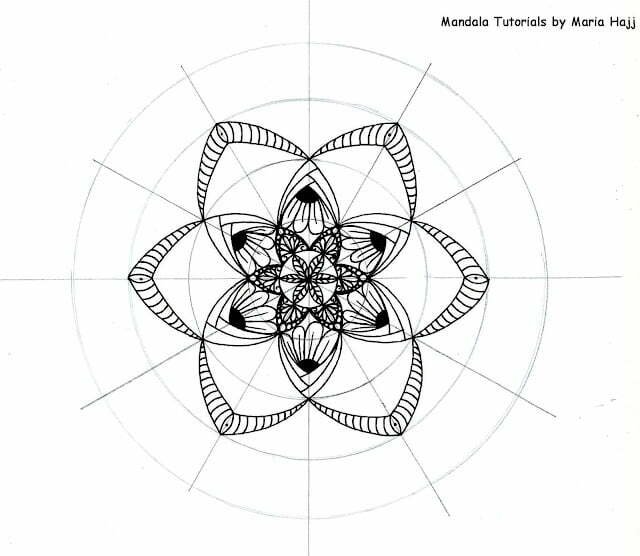
Start Filling the Two Last Rows


Share Your Work with Me!
Congratulations on completing your mandala! I hope you enjoyed following this easy mandala tutorial and found it both relaxing and rewarding. Now, it’s your turn to share your creativity! I would love to see the beautiful mandalas you’ve created using this guide. Feel free to share your designs with me on Instagram by tagging me or sending a message. Let’s inspire each other and celebrate the joy of mandala art together!