Drawing a mandala with arcs is a creative and rewarding experience. Whether you’re a beginner or a seasoned artist, mastering this technique can take your designs to the next level. Arcs add elegance, symmetry, and flow to mandala patterns. They transform simple shapes into intricate works of art.
In this tutorial, I’ll guide you step by step through the process of creating a mandala with arcs. From choosing your tools to drawing flawless curves, I’ve got you covered. You’ll learn easy tips and tricks to create stunning designs with confidence.
So, grab your materials and let’s dive in. By the end of this tutorial, you’ll be able to draw a mandala with arcs that’s both unique and mesmerizing. Let’s get started!
The Needed Materials
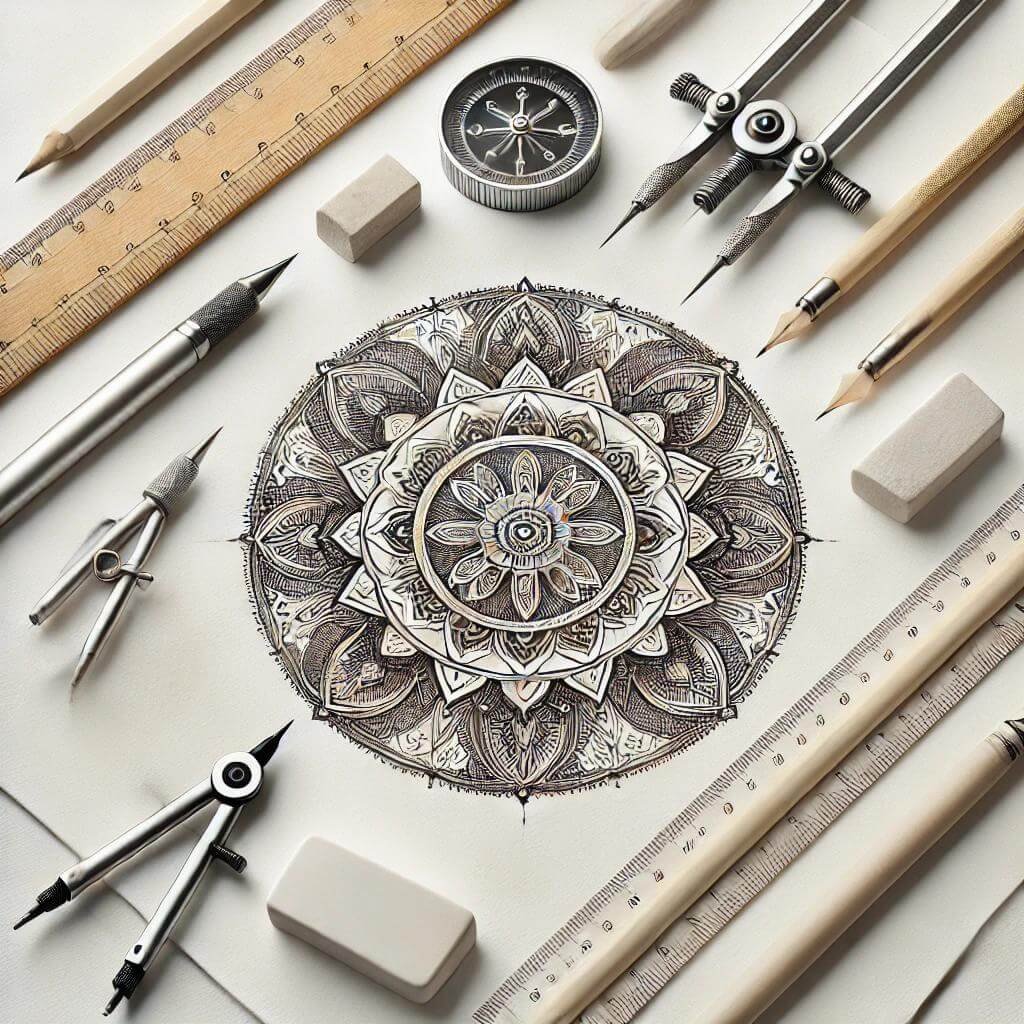
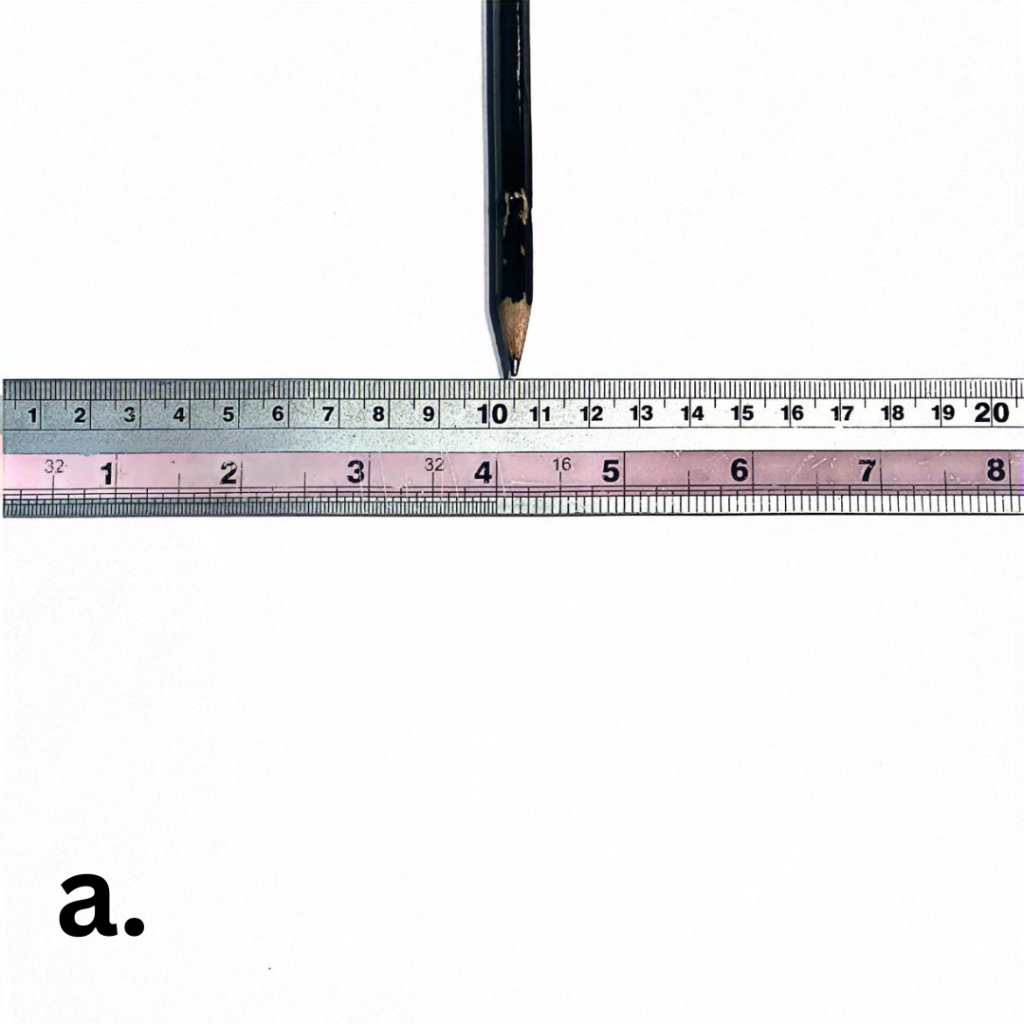
Sketching a mandala doesn’t require any complicated art supplies. All you need as a beginner is a piece of white paper, a drawing pen (if the drawing pen is not available, you may at first use any fine writing pen you have around), a compass to trace the circles, a protractor to mark the angles of the grid lines, a ruler (preferably a 30 cm long ruler), a sharp pencil and an eraser.
Shall We Start Drawing the Mandala with Arcs?
Before we begin, take a moment to gather all the drawing materials you’ll need for this creative journey. Don’t forget to bring along your positivity and an open mind. A mandala with arcs is not just about shapes—it’s about embracing the process and enjoying the flow.
Once you’re ready, let’s dive into this exciting project together!
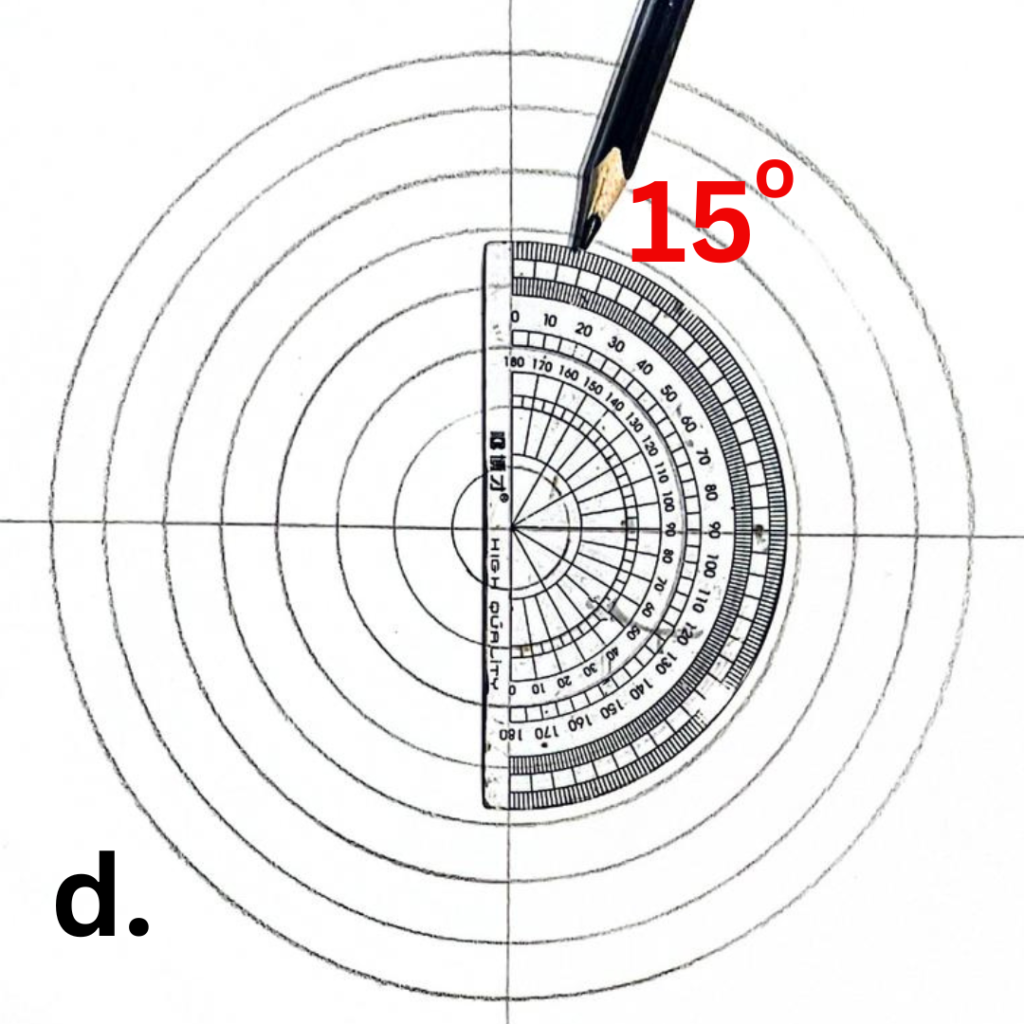
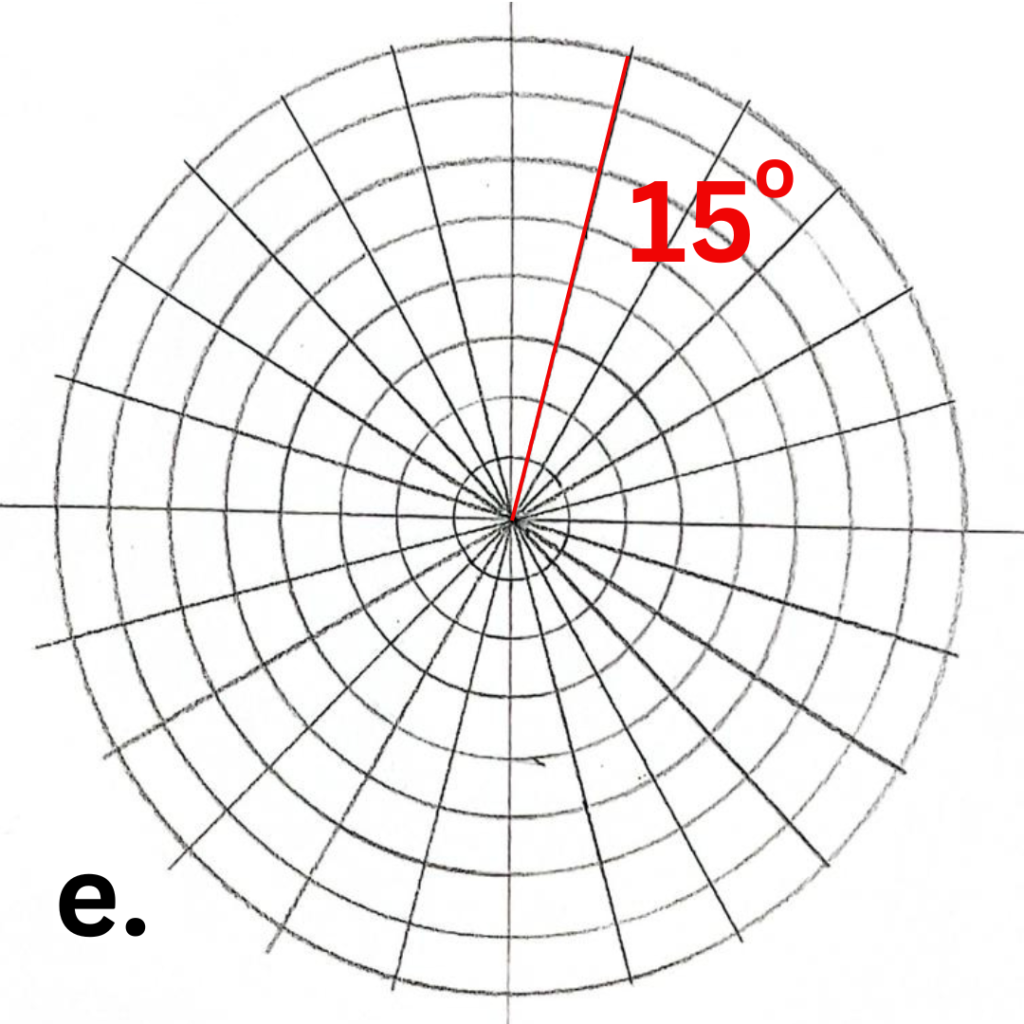
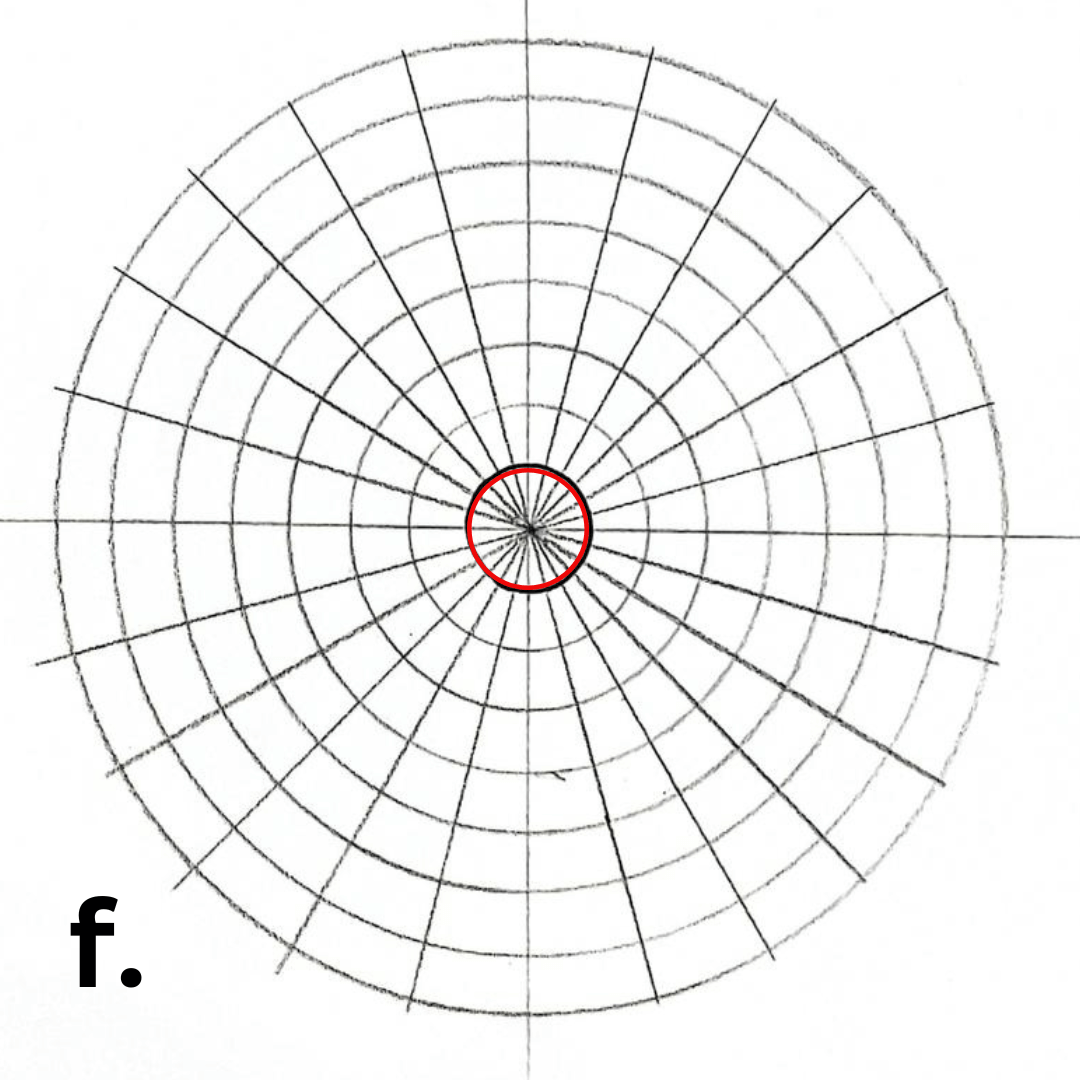
Let’s Get the Mandala Grid Ready!
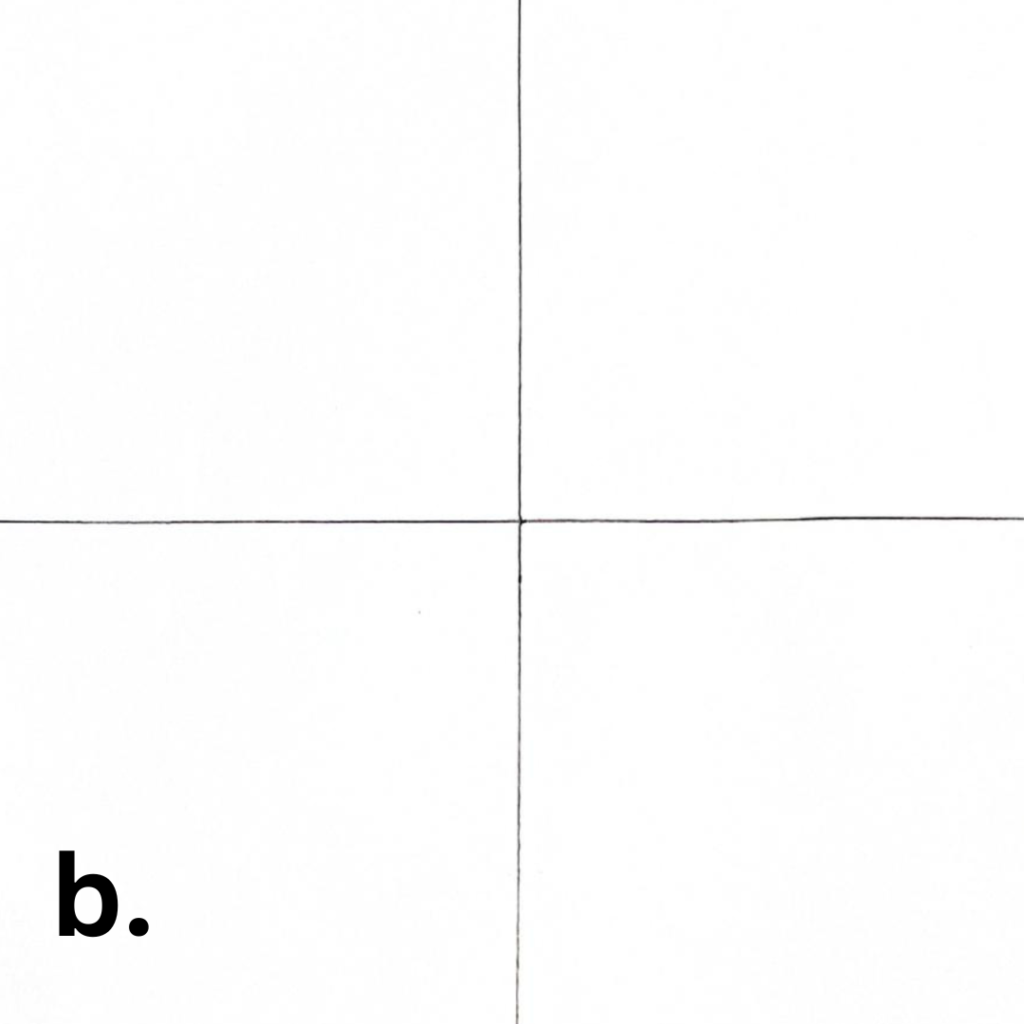
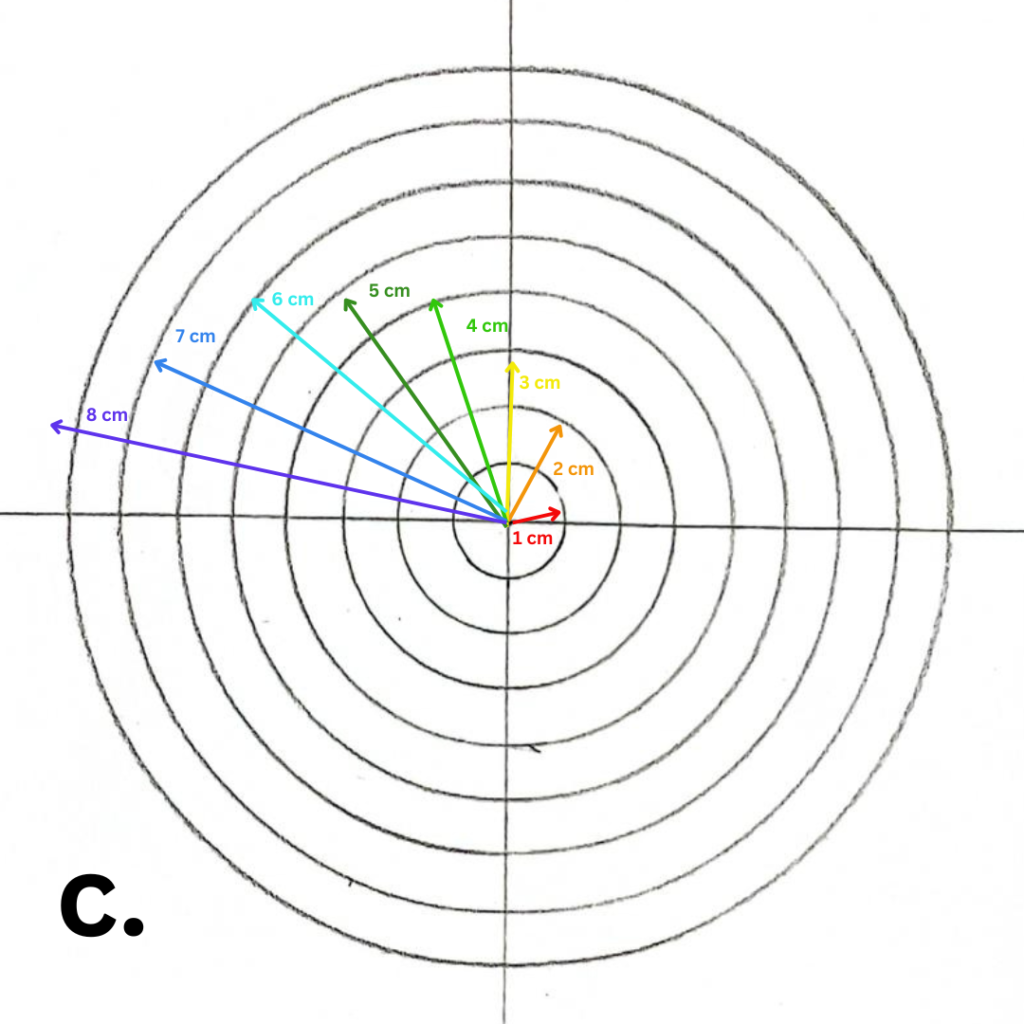
A mandala grid is the foundation of any well-structured mandala design. It acts as a guide, ensuring balance, precision, and harmony throughout your creation. Without a grid, it can be challenging to maintain symmetry, which is essential in a mandala with arcs. It saves time, minimizes errors, and elevates the final result. In short, the grid is the blueprint of your mandala, bringing structure and beauty to your artwork.
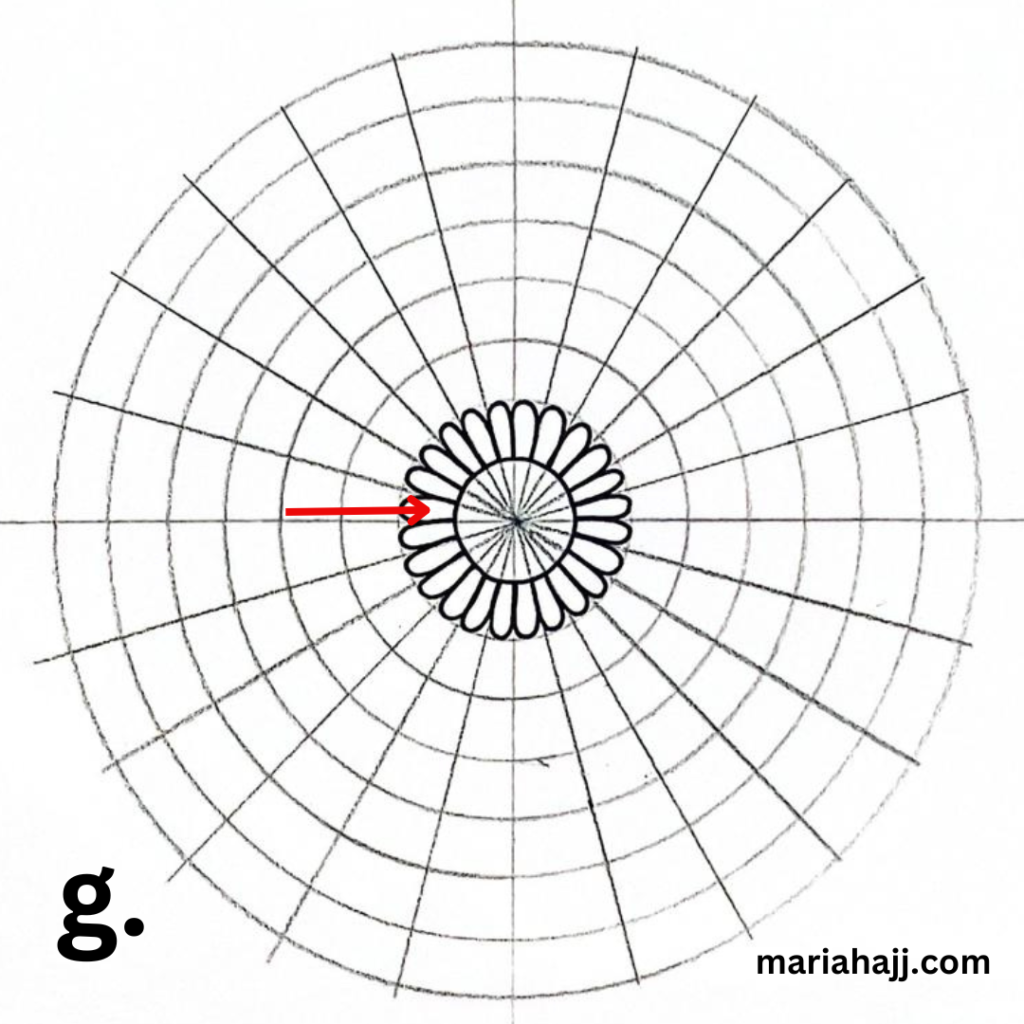
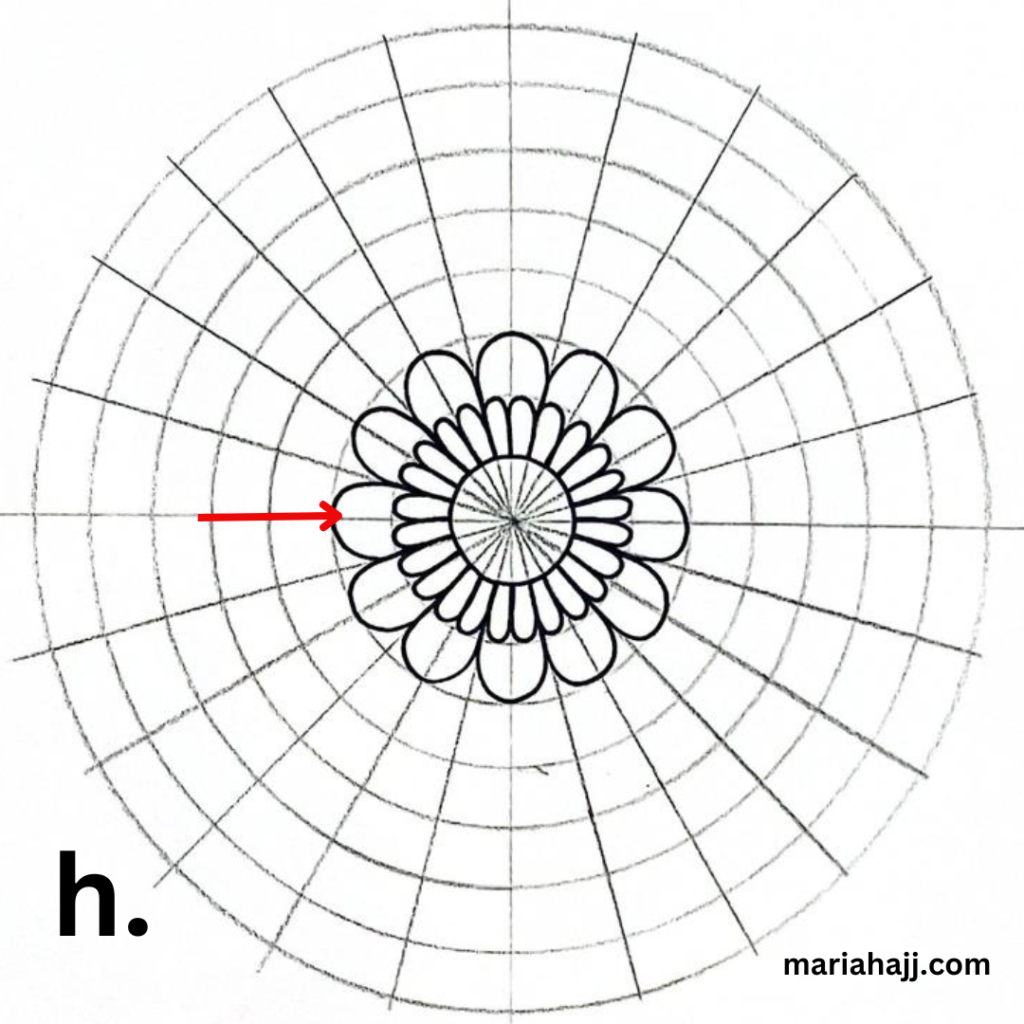
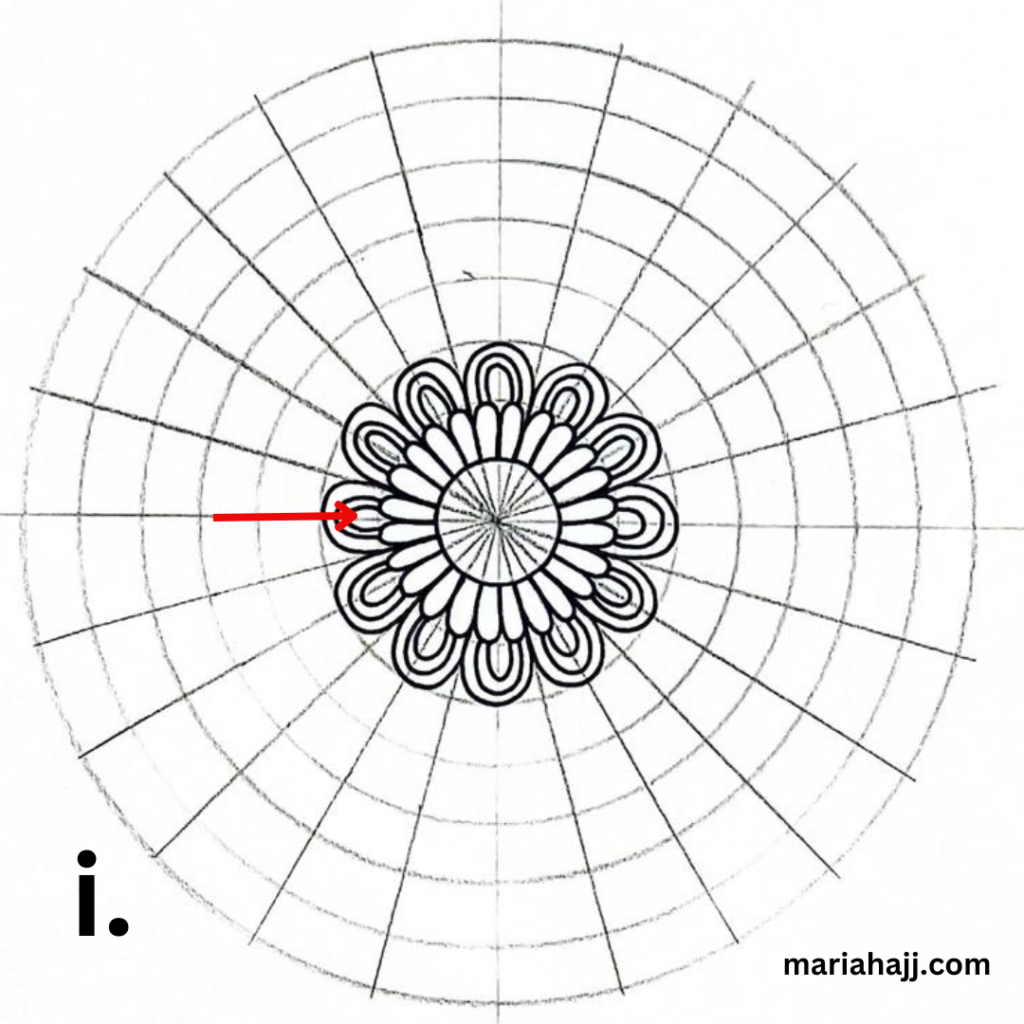
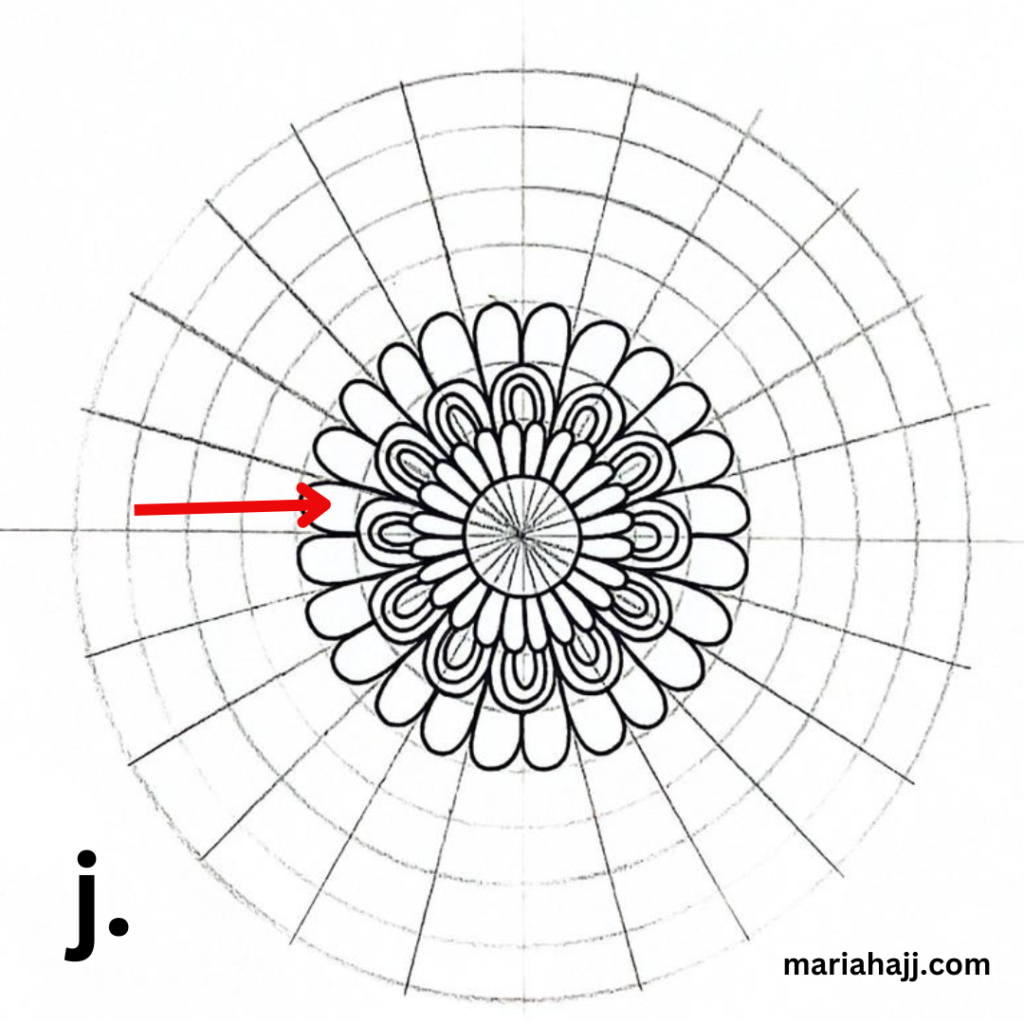
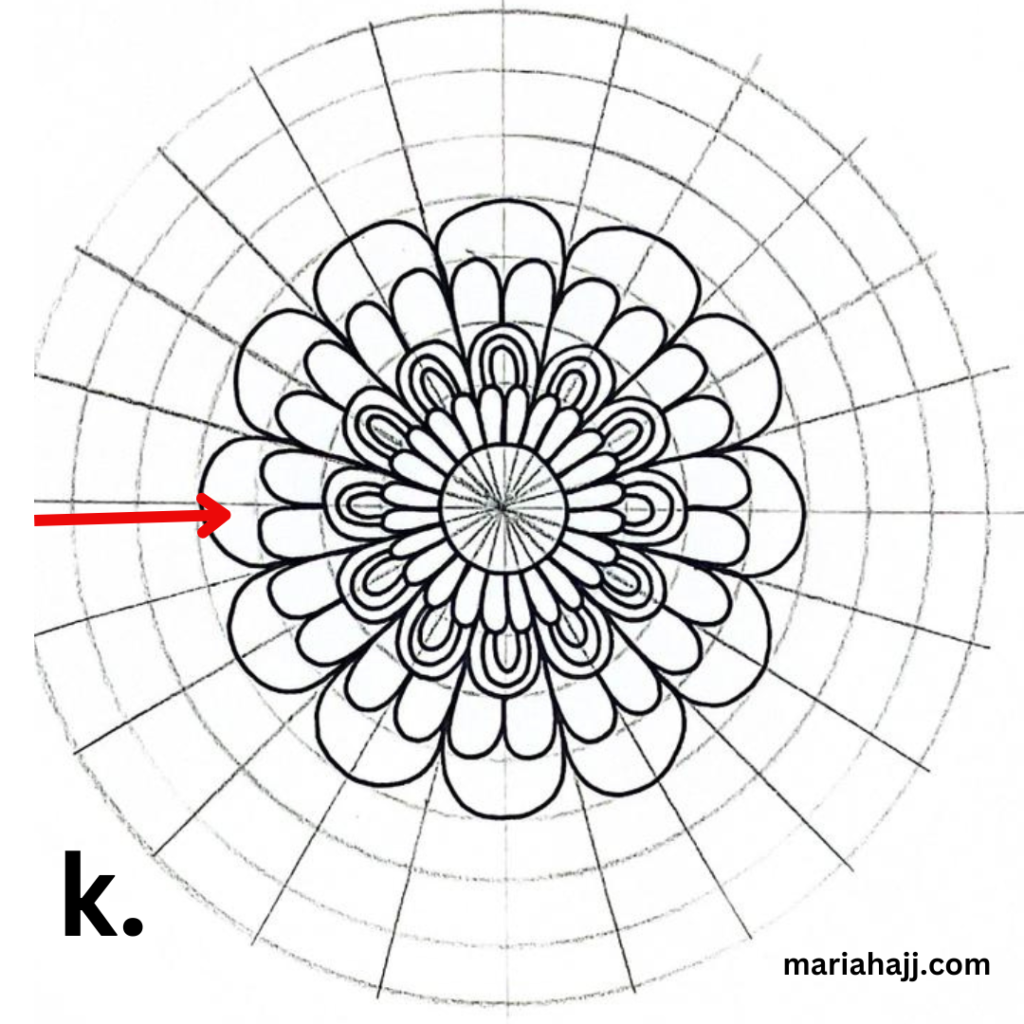
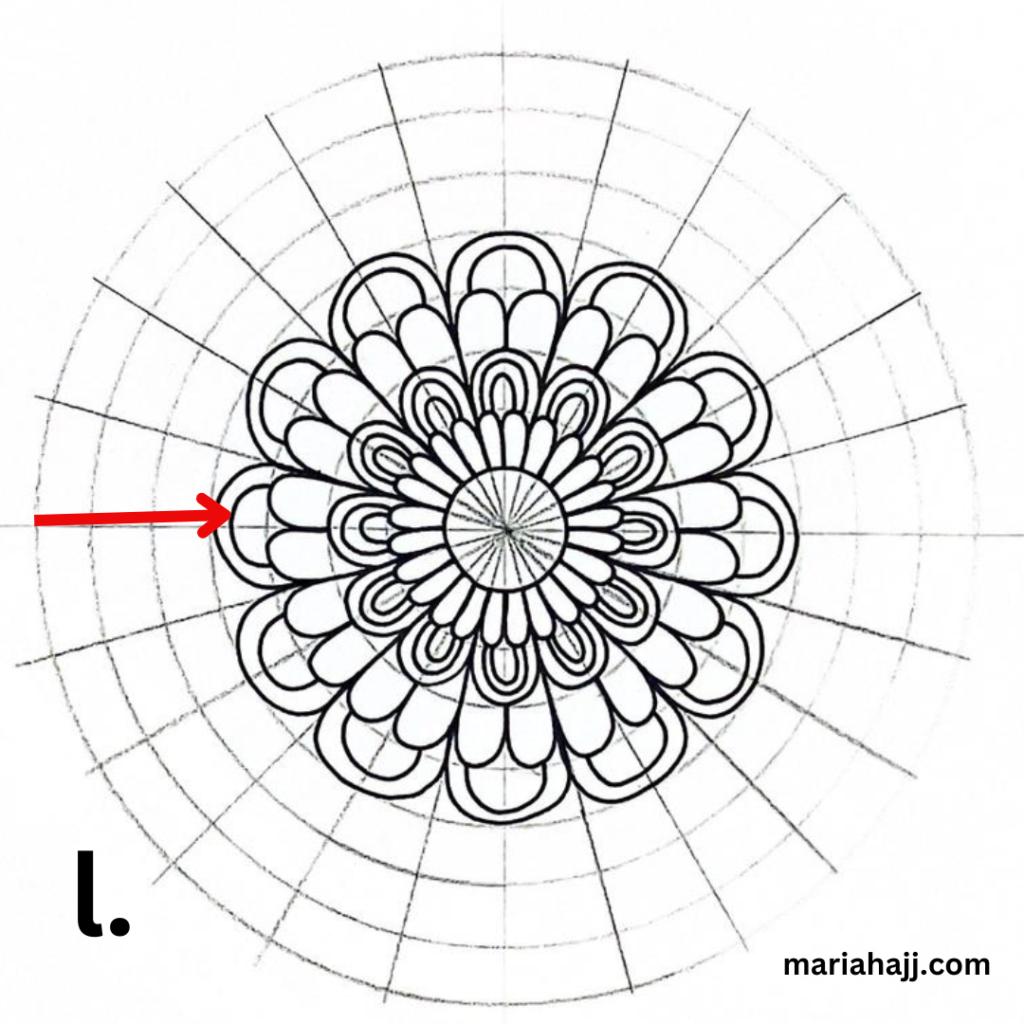
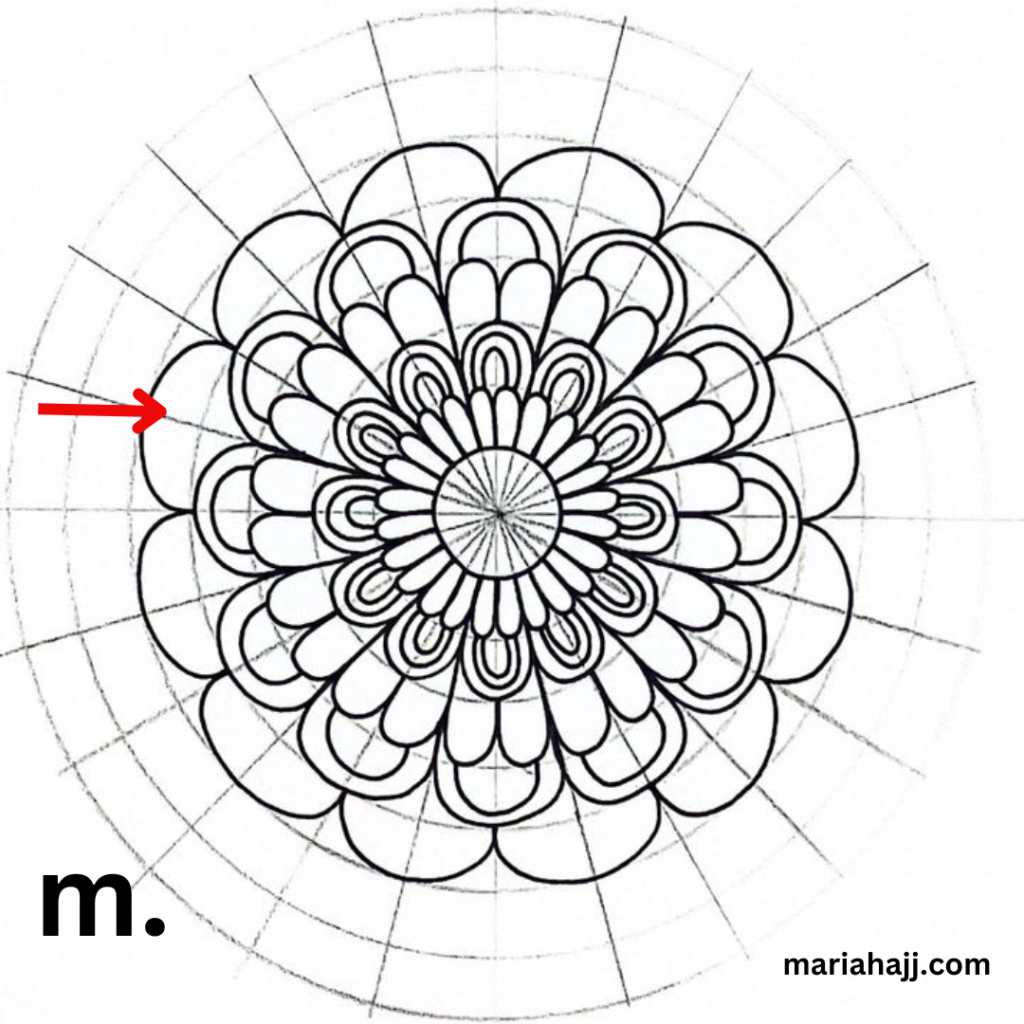
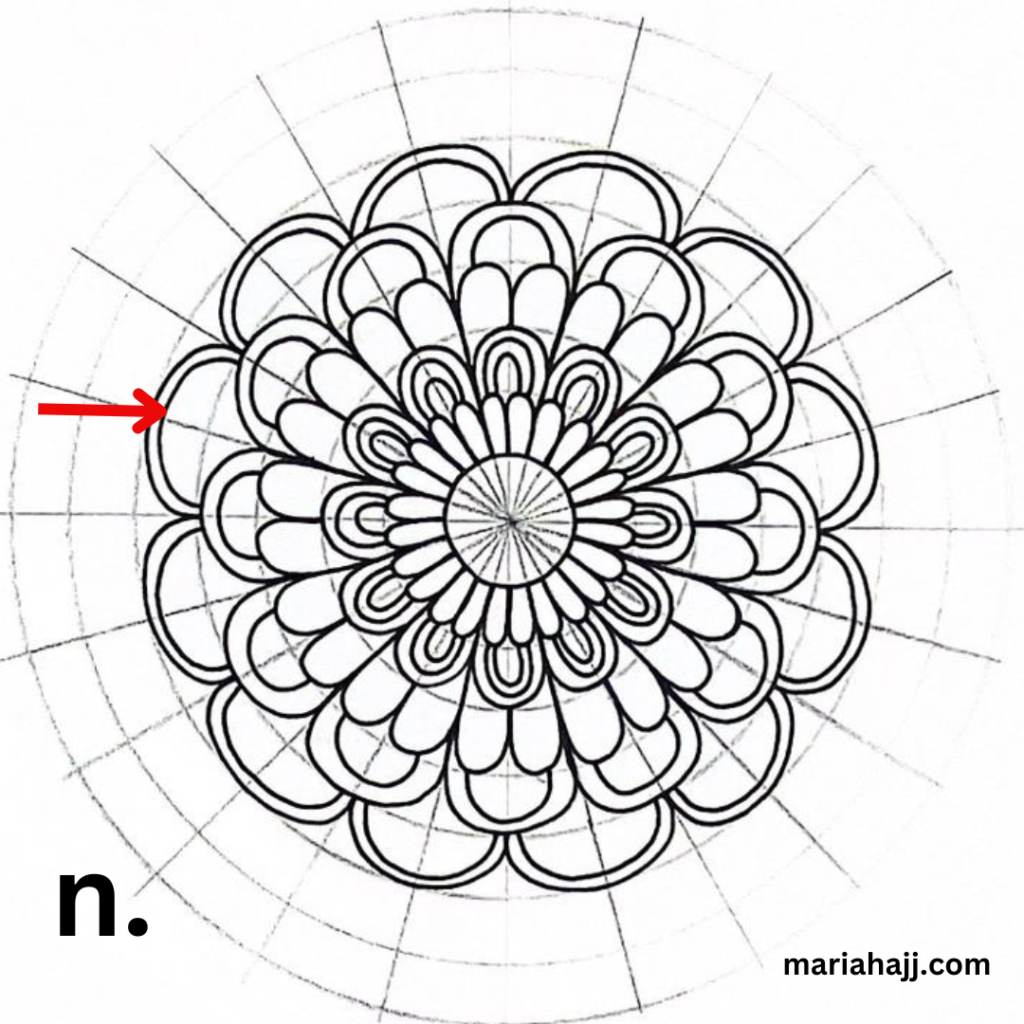
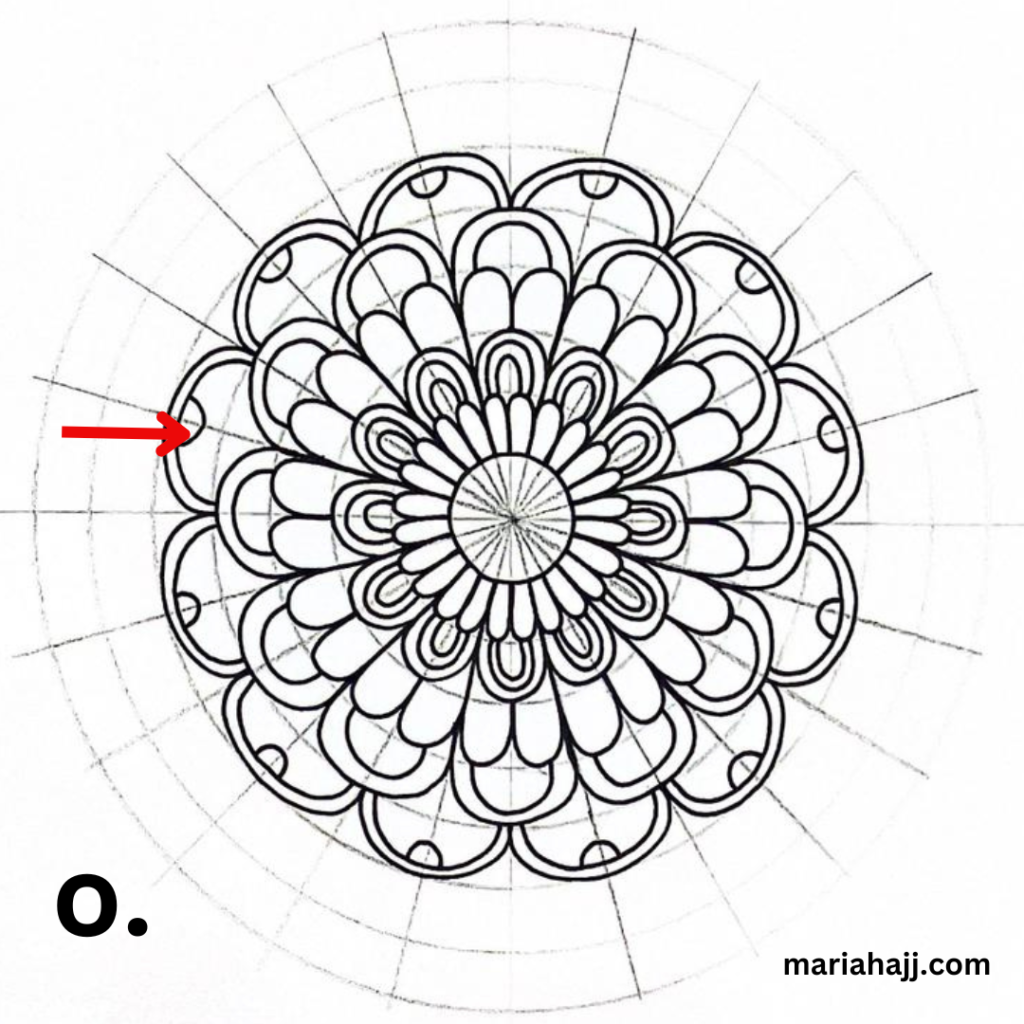
Let’s Fill the Grid Mandala with Arcs!
Video Tutorial of The Mandala with Arcs
If you’re ready to take your creativity to the next level, I invite you to watch my video tutorial. It’s packed with step-by-step guidance to help you master the art of creating a mandala with arcs. Whether you’re just starting or looking to refine your skills, this video is designed to make the process simple and enjoyable.
But that’s not all! On my YouTube channel, you’ll find a treasure trove of 160 lessons waiting for you. Each lesson is crafted to teach unique techniques, spark inspiration, and boost your confidence in drawing mandalas. From beginner-friendly tutorials to advanced tips, there’s something for everyone.
Moreover, my channel is all about helping you grow as an artist. You’ll discover new ideas, creative methods, and fun projects to try. Transitioning from one skill to the next is seamless with these lessons. Step by step, you’ll see how easy it is to create intricate designs.
So, why wait? Grab your drawing tools and start exploring! Watch the tutorial, browse through the lessons, and begin your journey to becoming a mandala expert. Don’t forget to subscribe to the channel to stay updated with new content.
With just a click, you’ll unlock endless possibilities for your mandala art. I can’t wait to see you there! Let’s create something beautiful together!
Why Should You Try to Explore Mandala Drawing?
Exploring mandala drawing is a journey worth taking for many reasons. First and foremost, it’s a creative outlet that helps you express yourself. Unlike other art forms, mandalas encourage you to focus on patterns, shapes, and symmetry, making the process both structured and liberating. Moreover, the act of drawing a mandala can be deeply meditative. It allows your mind to slow down, promoting relaxation and mindfulness.
In addition, mandala drawing is accessible to everyone. You don’t need to be an experienced artist to create something beautiful. With simple tools and a little guidance, anyone can start. Furthermore, experimenting with mandalas helps you develop patience and attention to detail. Each step, from creating the grid to adding intricate designs, fosters concentration and improves focus.
On the other hand, mandala art is more than just a personal hobby. It connects us to cultures around the world, as mandalas have been a significant part of art and spirituality for centuries. Learning about their symbolism adds depth and meaning to your designs.
Lastly, trying mandala drawing offers endless possibilities. Whether you want to create for relaxation, decorate your space, or explore a new skill, mandalas are a versatile choice. So why not give it a try? Gather your materials, set aside some quiet time, and let the patterns unfold. You’ll discover not just an art form but a calming and inspiring practice that benefits both mind and soul.
Conclusion
In conclusion, creating a mandala with arcs is not only a rewarding artistic journey but also a calming and meditative experience. By following the steps in this tutorial, you’ve learned how to bring symmetry, balance, and beauty into your designs. Furthermore, you’ve gained valuable techniques that you can apply to future projects.
As you continue exploring the world of mandalas, remember that practice makes perfect. Additionally, don’t hesitate to experiment with new patterns and ideas. On the other hand, if you feel stuck, revisit the tutorial or check out the 160 lessons available on my YouTube channel for fresh inspiration.
Moreover, keep in mind that art is a process, and each design reflects your growth. Therefore, take your time, enjoy the journey, and celebrate your progress. After all, creating mandalas is about finding joy and peace in the creative process.
Finally, thank you for taking the time to join me in this tutorial. I hope it has sparked your creativity and inspired you to keep drawing. So, go ahead and share your work, try new techniques, and most importantly, have fun with every design you create. Until next time, keep drawing and stay inspired and share your creations with me on Instagram!
