
Most of the tutorials I post on my blog are originally video tutorials posted on my Youtube channel. Today, I made a small change. I prepared a special detailed illustrated tutorial that will be posted uniquely on my blog. I truly hope that you will find it easy to follow. You are more than welcome to post the result of your creation in the comment box or send it to me by email.
Materials Needed
- A4 white paper
- Compass
- Protractor
- Ruler
- Pencil
- Eraser
- Fine drawing pen (black)
Directions
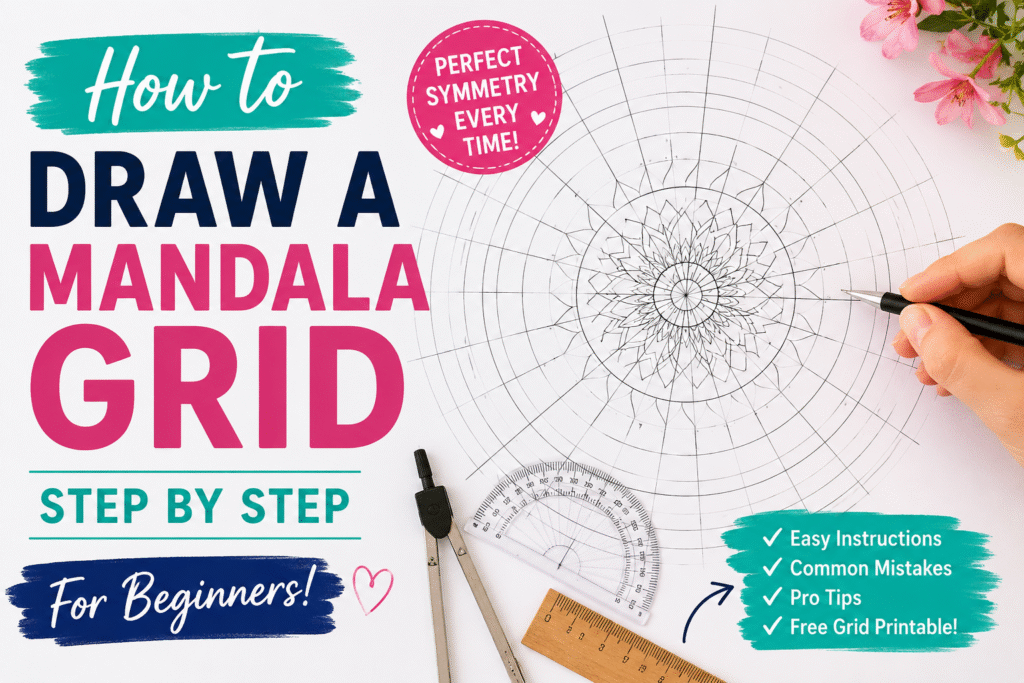
In every Mandala, you have to start by tracing a Mandala grid.
What is a Mandala grid?
A Mandala grid is a base structure that simplifies the drawing procedures and eases our task in keeping symmetry.
The mandala grid measures are not standard. They totally depend on the design you are creating. But the only unchanged fact is that the grid lines must be equally divided so the gap between each line will be equal.
In this tutorial the Mandala grid needed has the following features:
The distance between grid lines: 22.5 degrees (use a protractor to trace them)
The 11 circles requires has the following radius, respectively: 0.5,1, 2, 2.5, 2.8, 3.5, 3.8, 4.2, 5, 6, and 7 cm. (use a compass)

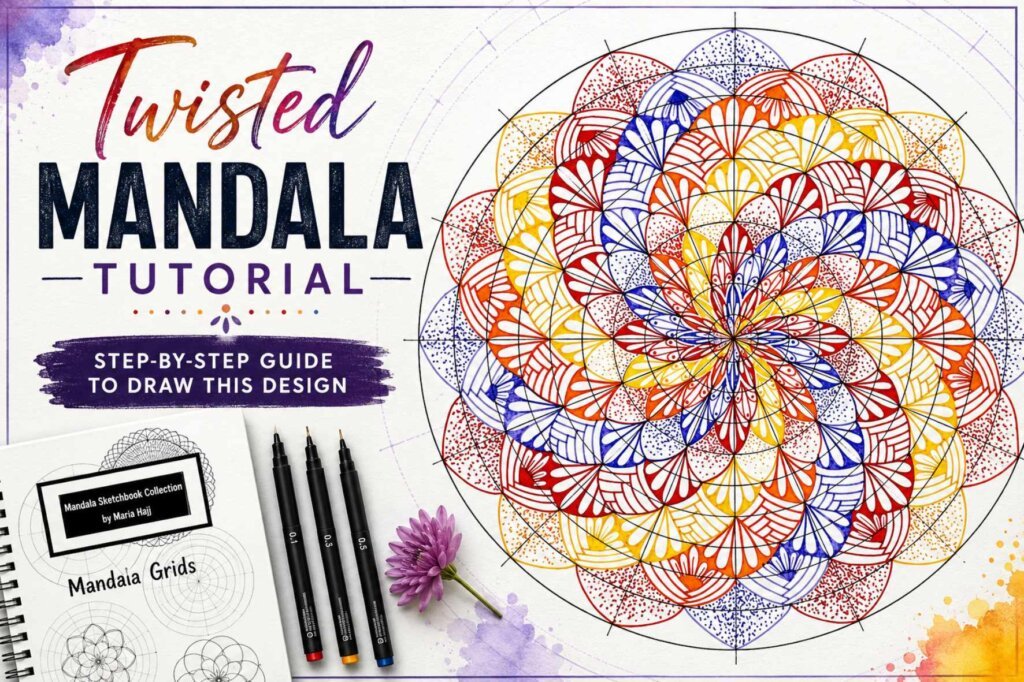
In the picture below I show you an idea of the patterns we will be using in this Mandala, but at every different step, I will explain what shape to draw and how to fill it with designs.

Ready to start? Come on prepare the materials needed, trace the Mandala grid and let’s start drawing!
Step 1:
To draw a Mandala we always start from the center.
I have posted a small picture of the basic shapes of the Mandala. You can check the following video for more details about the basic shapes of a Mandala.
Start by drawing a regular petal on each 2 grid section. Fill each petal with a small petal arc.

Step 2:
Trace the outline of the first circle.. Draw a Petal Arc on each grid section.. Add a small line in each arc petal.

Step 3:
In the third circle, trace a regular petal on each 2 grid section.
Inside of each drawn petal, trace another petal that is smaller. Trace a few shadowing lines around the summit.


Step 4:
Between each two petals trace curves, from big to small, starting from the outside in.

Step 5:
In the distance between the outline of the third circle and the outline of the fifth circle trace petal arcs going from big to small.
To get a better result, start from the center, trace the biggest petal arc, then draw petals on the right and petals on the left as shown in the picture.

Step 6:
Trace the outline of the 4th and 5th circle, making sure not to overwrite on the petal arcs.
Fill the gap with vertical lines.

Step 7:
In the gap between the 5th and 6th circles, trace a pointed petal on each grid section.

Step 8:
Trace a regular petal on the space between the 6th and 8th circles. The petal is drawn between two pointed petals.

Step 9:
Draw a swirl on each internal bottom side of the petal.

Step 10:
Taking the swirls as a base, trace a small petal reaching by its summit the outline of the 7th circle.
Trace the outlines of the 7th and 8th circle making sure you don’t overwrite the drawn designs.

Step 11:
On the gap between the 7th and 8th circle, and between every 2 big petals, trace a small petal

Step 12:
Trace the outline of the 8th circle

Step 13:
On the space extended between the 8th and last circle, trace a triangle, starting from the summit of one small petal and ending on the summit of another small petal.
Then trace a vertical line in the center of this triangle or simply retrace the gridline already drawn.
Decorate the left side of the triangle with diagonal lines.

Step 14:
Trace the outline of the 9th and 10th circles.

Step 15:
As the last step, trace petal arcs in the gap between the 9th and 10th circles.


Loved the way you described minute details with colour pens. It was very easy to understand Mandala art.
I am glad it helped ❤️❤️