How to Join a Flower Mandala and a Circular Zentangle

Flower Mandala is a symbol of beauty, balance, and harmony. In fact, drawing mandalas is more than just creating art; it’s a peaceful journey that brings relaxation and clarity to our minds. In today’s fast-paced world, taking time to slow down and focus on the rhythmic patterns of a mandala can feel like a deep breath for the soul.
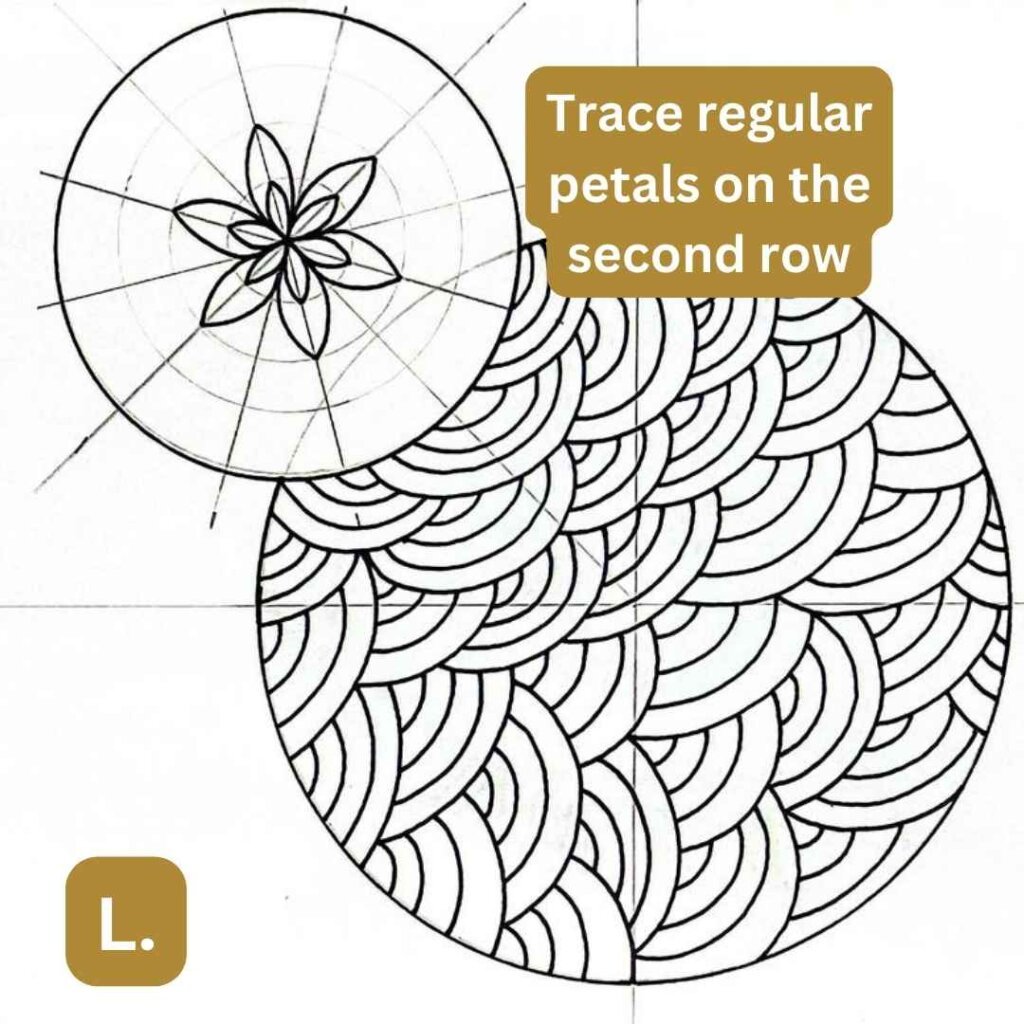
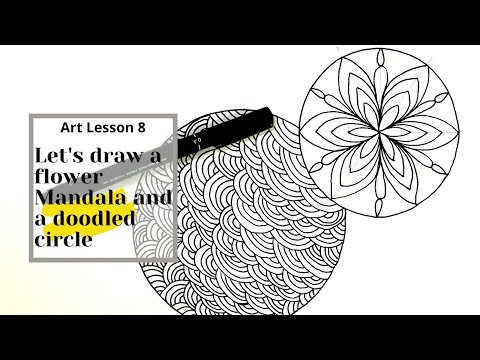
In this tutorial, we’ll explore how to merge a Flower Mandala with a circular Zentangle, blending organic floral elements with intricate, flowing patterns. Whether you’re new to mandala drawing or have been creating for a while, this guide will help you connect with your creativity and experience the meditative power of patterns.
Moreover, I invite you to check all MY WRITTEN TUTORIALS that will definitely be very useful for you.
Grab your pen, find a quiet space, and let’s begin this relaxing artistic journey together!
Can Anyone Draw a Flower Mandala and a Zentangle? Or Do We Need Artistic Skills?
The short answer? Yes! Anyone can draw a flower mandala and a Zentangle, even if you think you have no artistic skills.
Many people believe that drawing mandalas or Zentangles requires talent, but the truth is, these art forms are all about patterns, repetition, and relaxation—not perfection. In fact, they don’t need fancy techniques or years of practice. You just need a pen, some paper, and a little patience.
Additionally, a flower mandala is simply a mix of circles, petals, and shapes arranged in a balanced way. If you can draw a circle and a few lines, you can make a mandala! The same goes for Zentangles—they are made of simple, repeating patterns that anyone can doodle.
The best part? There are no mistakes in mandala and Zentangle drawing. Every line you draw becomes part of the design. It’s a process that calms the mind and helps you focus.
So, don’t worry if you’ve never drawn before. Just start with a simple shape, add some patterns, and enjoy the process. You might be surprised at how beautiful your creation turns out!
Are You Ready to Start Today’s Mandala Drawing?
Materials Needed
This project is simple and doesn’t require any complicated materials.
- A4 white paper
- pencil
- eraser
- compass
- protractor
- 30 cm ruler
- drawing pen
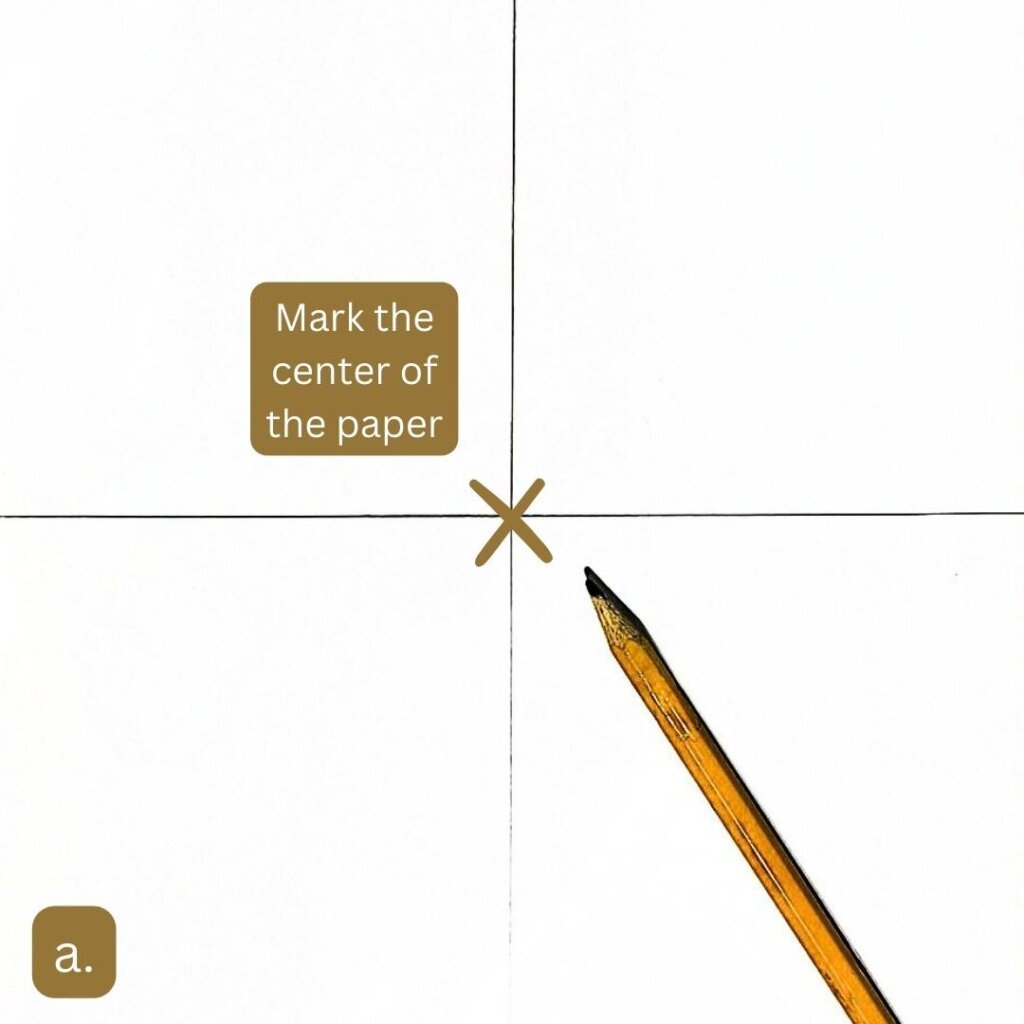
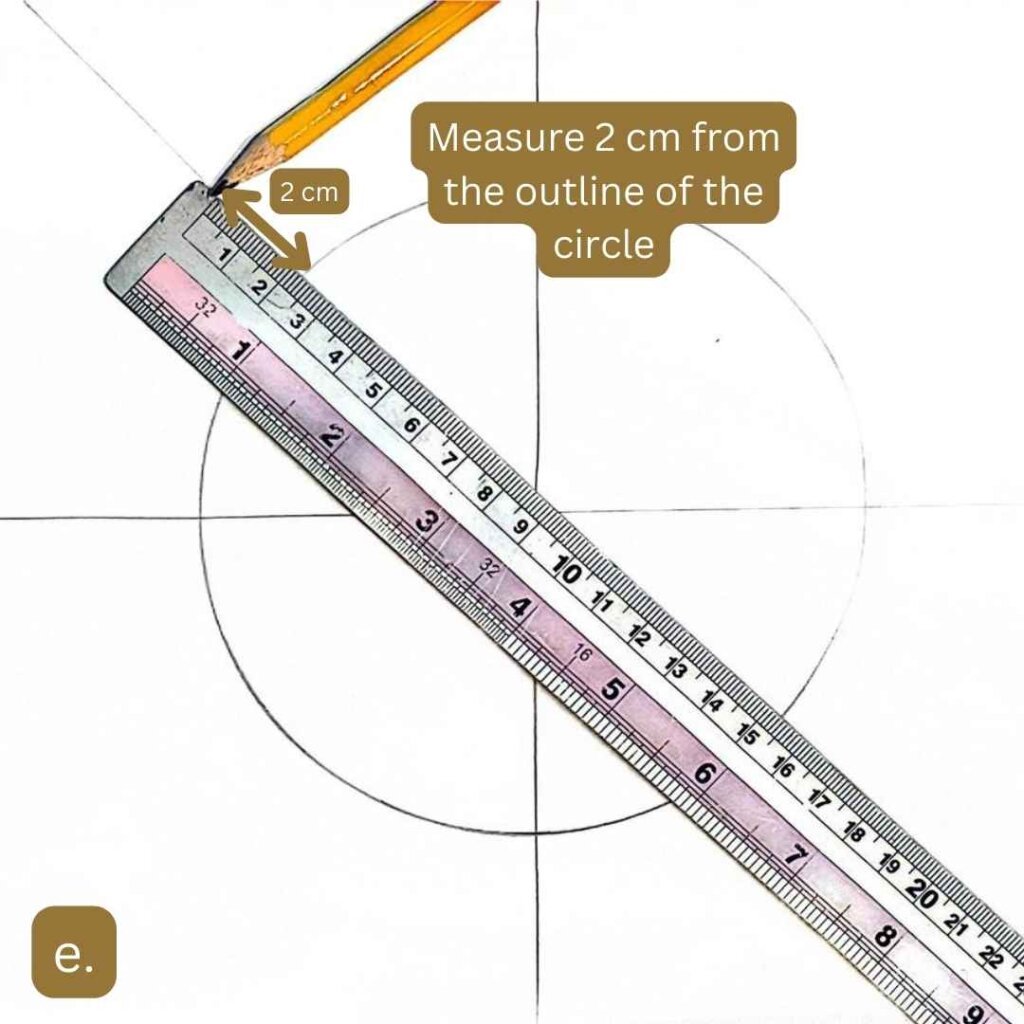
The Mandala Grid for Both the Flower Mandala and the Circular Zentangle
A mandala grid is like a guide that helps you keep your design balanced and neat. Without it, drawing a mandala can feel tricky, especially if you’re just starting. The grid acts like a map, making it easier to place shapes and patterns in the right spots.
First, it helps with symmetry, so your mandala looks even and beautiful. Second, it keeps your patterns organized, so you don’t get lost in the details. Lastly, it makes drawing more relaxing because you don’t have to guess where each element goes. With a mandala grid, creating becomes easier and more enjoyable!


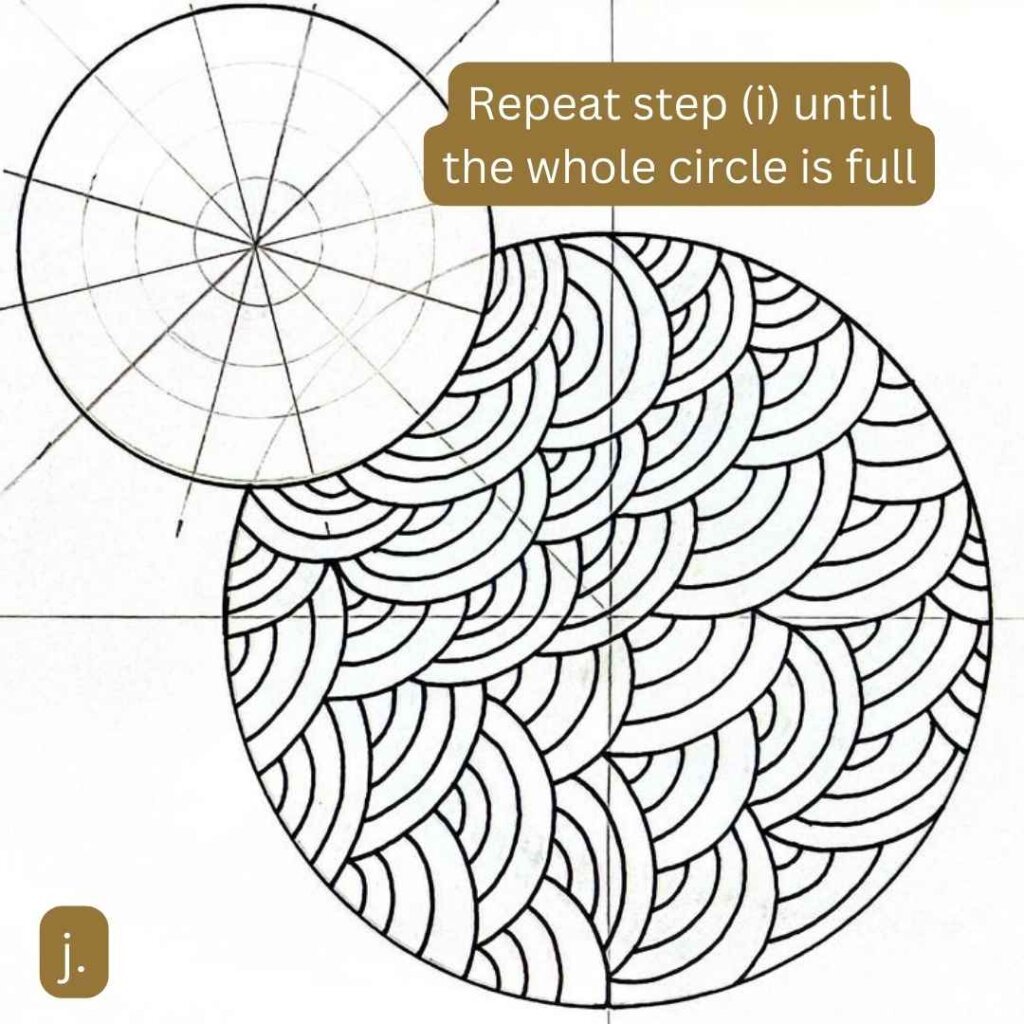
Start Filling the Mandala Grid with Easy Patterns
Mandala art is often associated with intricate details and complex patterns, but sometimes, simplicity holds the most beauty. Using easy mandala patterns can result in breathtaking designs, proving that less is often more.


What Abou Trying the Video Tutorial?
This video tutorial will make it even easier for you to achieve the drawing. So, what about clicking on it, watching the video and, most importantly, SUBSCRIBING to my YouTube channel. In fact, my YouTube channel is full with easy and simple tutorials that you will definitely enjoy!
I hope you truly enjoyed this easy mandala tutorial and found joy in the simplicity of the design. As you take a step back and admire your creation, why not add a splash of color? Not only will it bring your mandala to life, but the process of coloring will also allow you to unwind, relax your mind, and connect with your inner peace.
Furthermore, adding colors enhances the beauty of your artwork, making each piece uniquely yours. Whether you choose calming blues, energizing yellows, or grounding earth tones, every shade will contribute to a deeper sense of relaxation and self-expression.
Most importantly, I would love to see your beautiful mandalas! So, if you feel inspired, don’t hesitate to share your masterpiece with me on Instagram. Simply tag me or use the dedicated hashtag so that I can admire your creativity and celebrate your artistic journey with you.
Finally, if you enjoyed this tutorial, feel free to share it with others who might love the meditative magic of mandalas. After all, creativity is even more fulfilling when it’s shared! Thank you for joining me on this artistic adventure—I can’t wait to see your colorful creations!