Thank you for choosing this tutorial and I hope that you will enjoy drawing this beautiful Mandala design. The tutorial is available in pictures, text, and video which you can see at the bottom of the article.
All my mandala tutorials are destined for beginners. And for those who are pro at drawing, you can always be inspired by these designs to come up with your own beautiful and wonderful Mandalas.
Drawing a Mandala doesn’t require having any artistic skills. You could be a person who is been repeating to himself ” I can’t draw” “I can’t draw” and guess what? This art will surprise you.
Because in meditative arts every person is an artist. So come one get those pens ready and let’s start!!
There are a few materials that you always have to have by your side when drawing a Mandala.
Materials Needed:
- A4 white paper
- Compass
- Protractor
- Ruler
- Pencil
- Eraser
- Fine drawing pen (black)
Directions
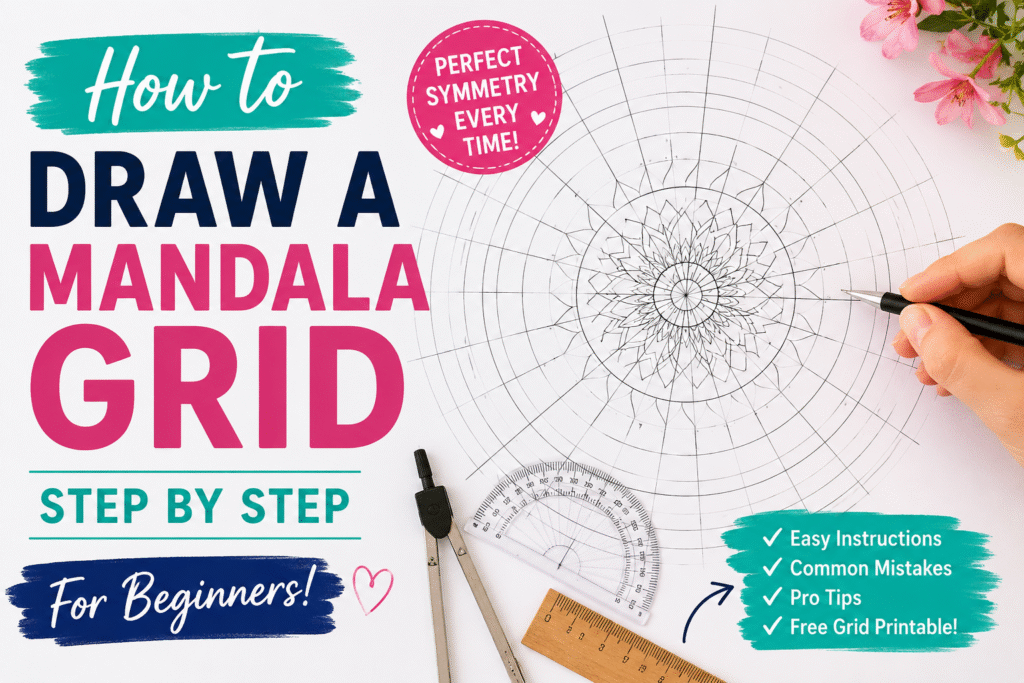
You can draw a free-handed Mandala or a Mandala with a grid as a base. In my tutorials, I always start with a Mandala grid as it makes it easier for you to understand, and for me to explain the different steps required.
A mandala grid is formed from a number of circles and grid lines. The idea is to use these lines, circles, and sections to place the patterns and shapes of your choice. This will help you maintain symmetry.
A mandala grid doesn’t have standard measures. It depends fully on the design you have in mind.
These are the measures required for this Mandala design:
Circles: (radius) 2cm, 3.5 cm, 4 cm, 5 cm, 7 cm, and 8 cm.
Gridlines: 20 degrees.
Find below a sketch of the required Mandala Grid for this project.

This tutorial has 13 different easy steps.
Step 1:
In this step Start by drawing intersected curves in the center of your Mandala. Remember the video at the end of this article will show you how the curves are done.

Step 2:
In this step, start by retracing the outline of the first circle, the 2 cm radius circle. Then draw regular petals in the space between the first and second circle, taking the outline of the 3.5 cm radius circle as a borderline for your petals. Each petal will be traced on 2 grid sections.
*The intersection between the circles and gridlines makes small sections. These sections are what we will take as a landmark for placing our patterns.
Step 3:
In this step, add a double outline to the petal you drew in step 2. In order to do so, start from the same start point as the previous petal but make it reach the outline of the third circle ( 4 cm radius circle).
Step 4:
Between the petals, add a curve that reaches the outline of the 3.5 cm circle, and on top of this curve add a circle to make it look like a flower bud.
Step 5:
Retrace the outline of the 4 cm radius circle.

Step 6:
Now trace arc petals in each grid section in the space between the 3rd and 4th circles.

Step 7:
Inside each petal arc, you drew in step 6, draw a curve starting from the left bottom side and reaching the top right side of the arc petal.

Step 8:
Decorate the space created between the curve and the arc. Add a number of arc petals going from large to small. Color in black the empty spaces.

Step 9:
Trace regular petals in each grid section. Each regular petal is above one arc petal and its summit reaches the outline of the 7 cm circle.

Step 10:
Between each petal, add a teardrop reaching the outline of the 7 cm circle.

Step 11:
Taking the summit of the petals drawn in step 9 as a starting and ending point, trace regular petals between the space of the 7 cm and 8 cm circle.

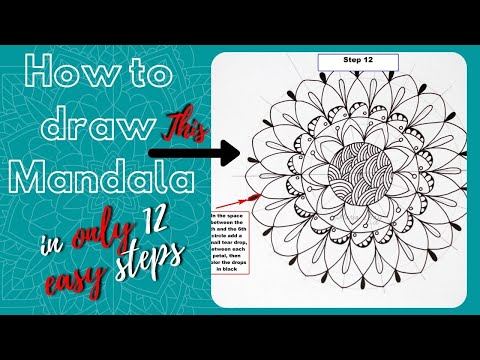
Step 12:
Between the petals you just traced, add black teardrops.

Step 13:
Trace the outline of the last circle. Add a very small drop on the top of each petal trace in step 11.

If you like to see how it was done step by step, you can also watch the video below. It is extremely helpful. And with both methods (video tutorial and pictures tutorial) I am sure you will come up with an extremely beautiful Mandala. I will be very very happy if you share the result with me.
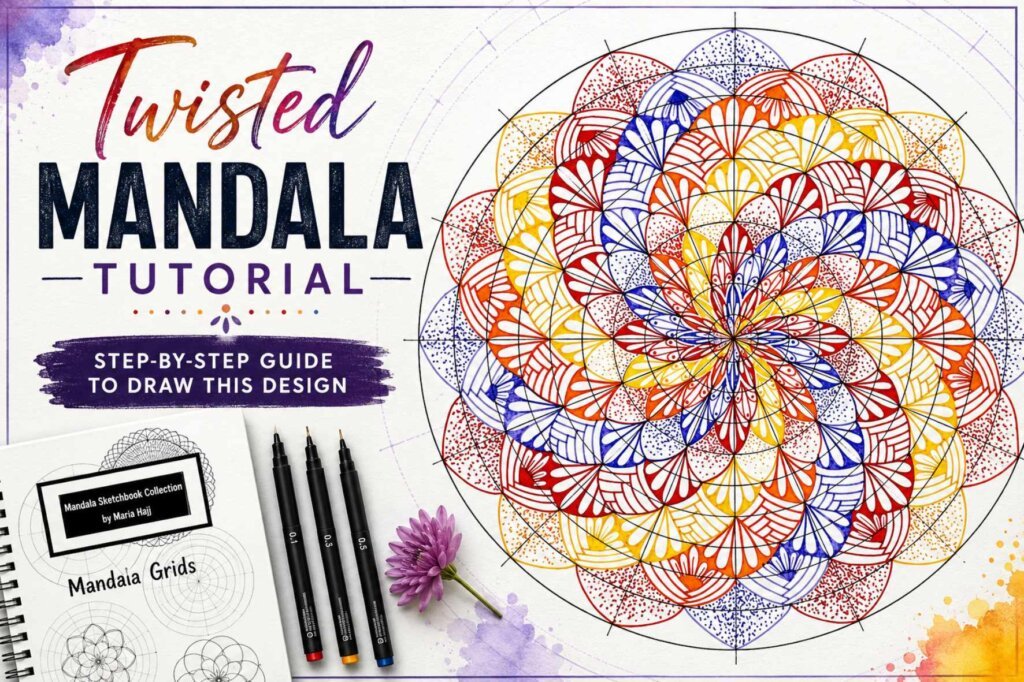
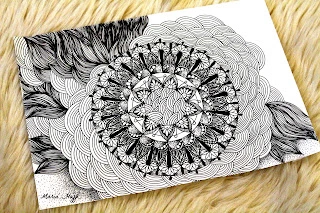
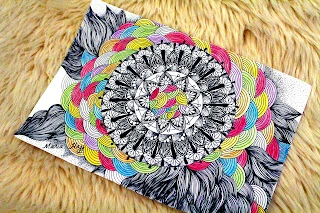
After I drew this Mandala, I felt like adding few more details to it. And I made a black and white copy and a colored copy. Which one do you prefer?
Video Tutorial