If you are a new visitor to my blog then allow me to welcome you and wish that you can find what you came looking for, and if you are a returned visitor then allow me to thank you for your follow and trust.
This tutorial is both pictures and videos. In my opinion, these Mandala art tutorials are very powerful as they complete all gaps one can have in understanding some of the required steps. This mandala was highly requested by my followers on YouTube, and I sure hope you are one of these subscribers or would be one of these subscribers as in my YouTube channel we are all, me and the subscribers, a big family, trying to spread joy through art.
Materials needed:
- A4 white cardboard
- Fine drawing pen
- Stabilo fine
- Compass
- Protractor
- 12″ ruler
- Pencil
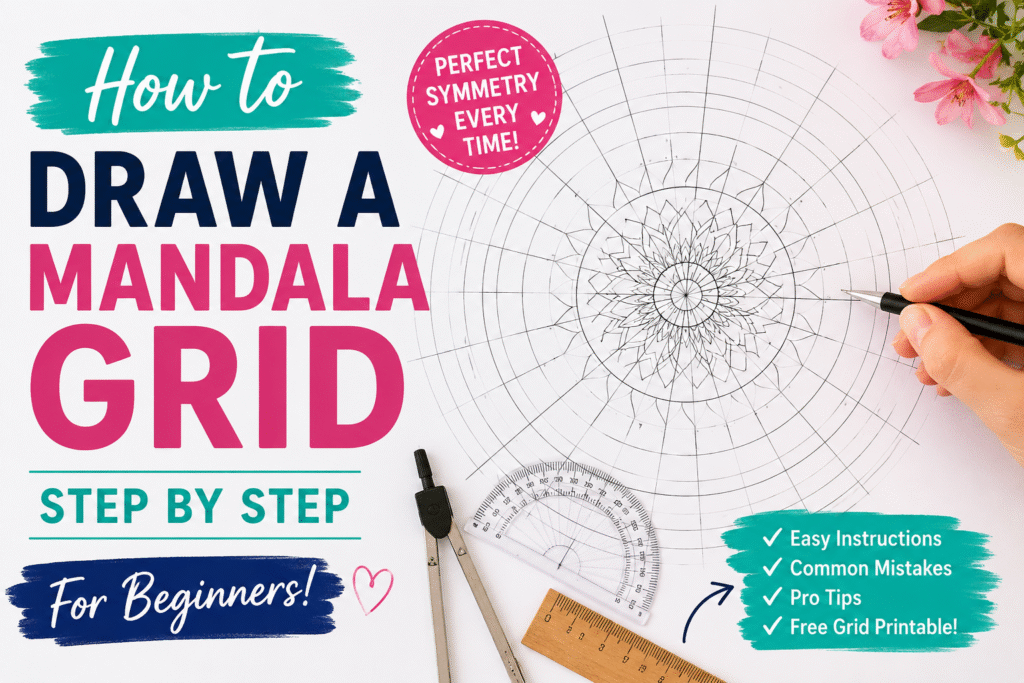
The very first step in Mandala art is to draw a Mandala grid. Now, if you have a design in mind you can figure out in a way the measures you need, or if you are following a certain tutorial then follow the measures I give, but if you feel like drawing a Mandala and don’t have a design in mind then trace a random Mandala grid and let this random grid inspire you.
For this tutorial, this is the Mandala grid needed. So the grid is almost covering the whole page. The circles are required are of 1, 3, 5, 7, 9, 11, and 13 cm radius. As for the grid lines, they are separated by 30 degrees. This means that when you use the protractor, you place the lines of the protractor on the crossed axes you have drawn across your circles. Then you mark on the 30 degrees, 60, 120, and 150. And you trace lines by joining the mark of the 30 degrees with the center of the circle, the mark of the 60 degrees with the center of the circles and so go on.

Step 1:
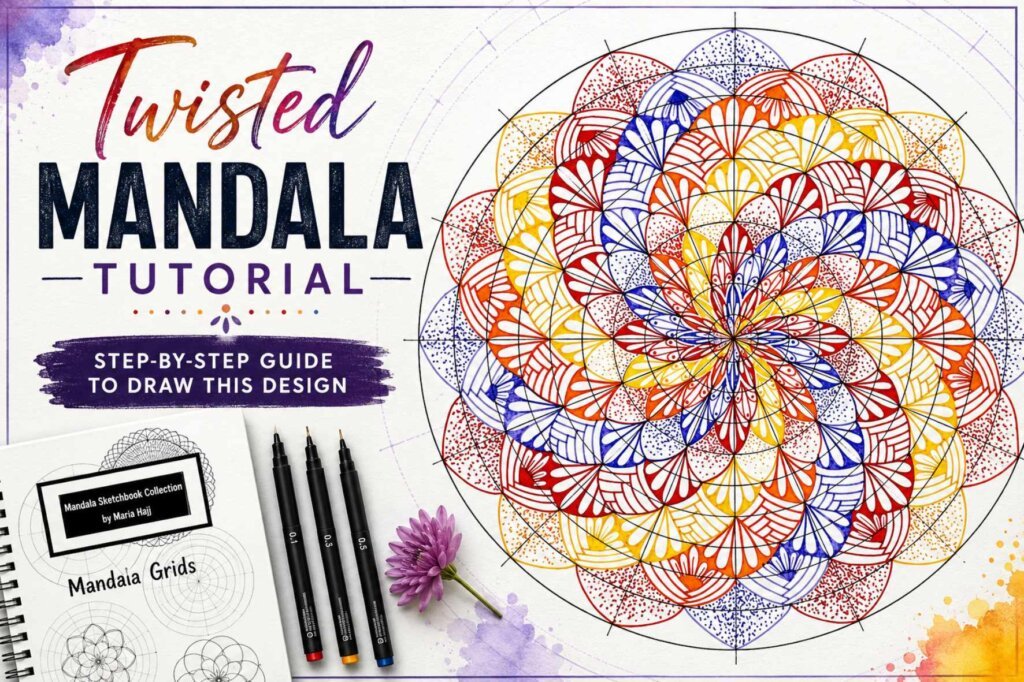
The steps in this tutorial, are in fact very easy but you have to watch out for the small trick needed in order to have twisted colors in your mandala. So as a first step trace, in the center circle, regular petals, each on 2 grid sections, following the color order I adopted.

Step 2:
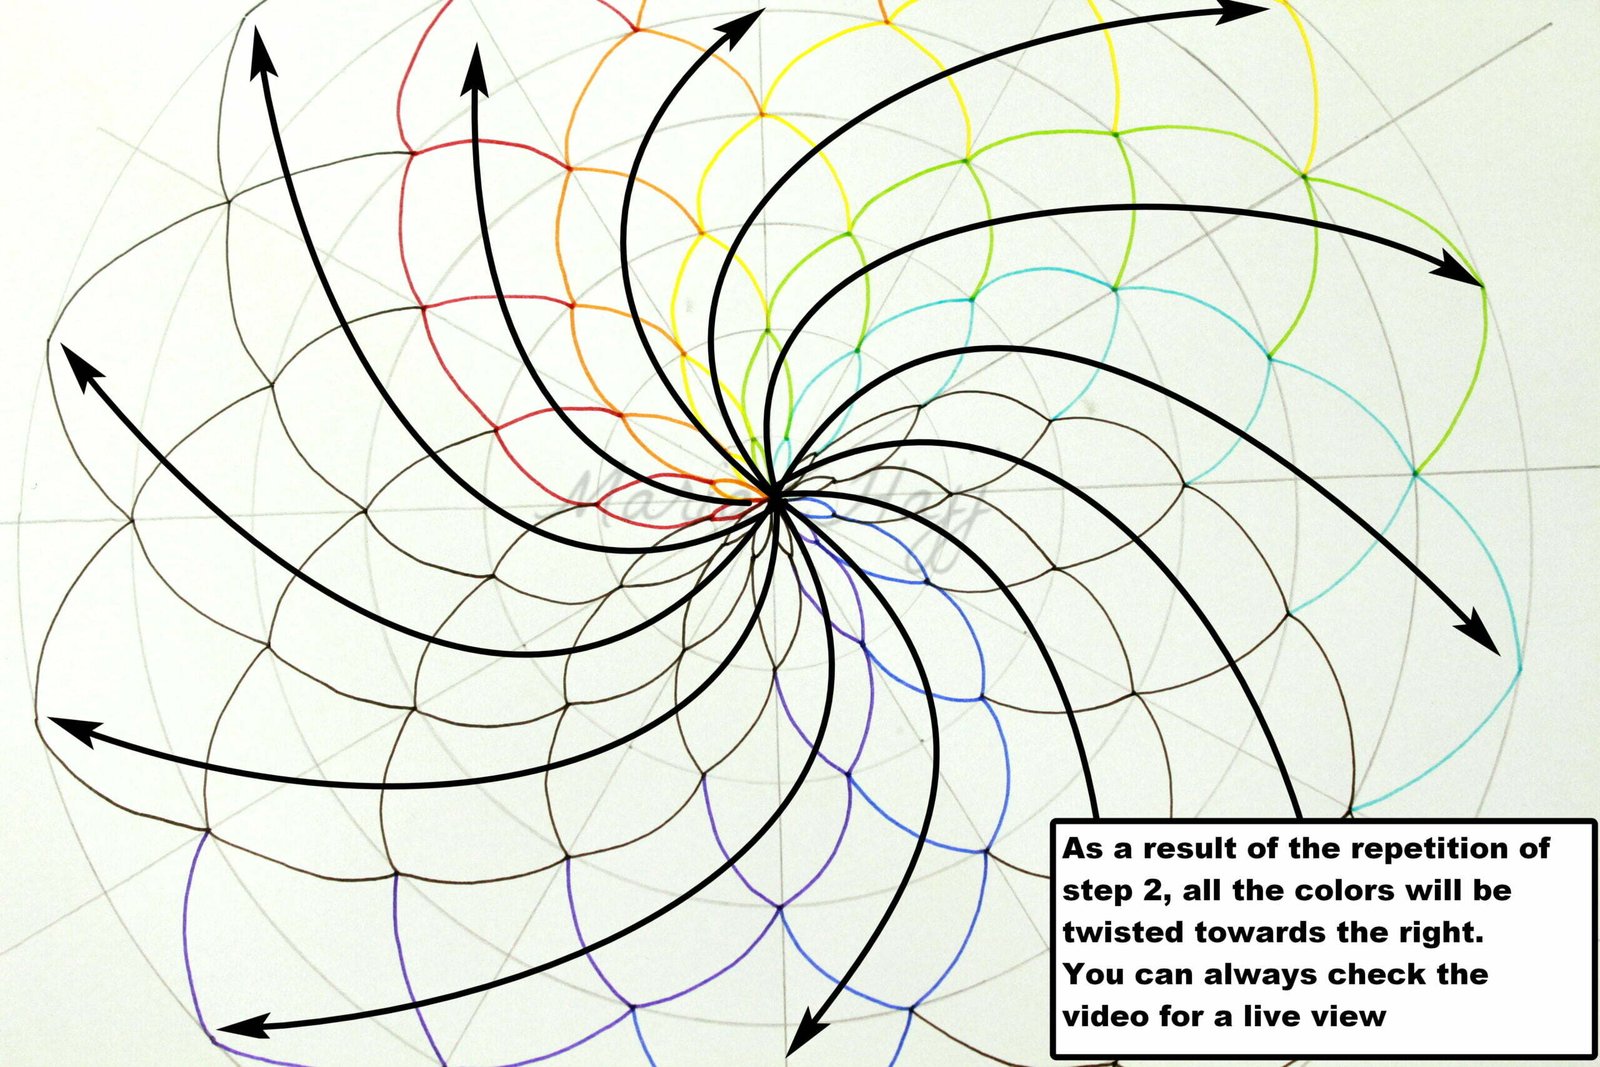
In the second row of your Mandala grid- the space between the first and the second circle- you will be repeating the first step, but, and this is a very important BUT, instead of tracing the red petal right above the previous red petal, you trace it shifted towards the right. This means that you start your red petal, in the second step, from the summit of the red petal drawn in the first step, and you land it on the summit of the orange petal drawn in the first step. And so go on. *The pictures include all the required details.

This is a picture representing the twist of each color.
Final Steps:
In the following steps, I will start filling the shapes with patterns to decorate the Mandala. Each picture has a clear explanation of what should be done in order to get the pattern right. For more about this tutorial, watch the video shared below.


Watch the video below and subscribe to the channel to receive a notification about the daily posted tutorials.