I am so happy to announce the beginning of a new category created especially for beginners and first-timers. I know that drawing a mandala might look pretty challenging to newbies but once you learn the basic steps you will discover that drawing a mandala, is in fact, a pretty relaxing art. This category of tutorials will be posted almost every day for the upcoming month.
What makes those tutorials more suitable for beginners?
- The mandala grid is very easy to draw
- Only basic shapes are used with slight additions
- No complicated patterns or tricky techniques
- The video is very slow and contains explanation about every step taken
Materials Needed

There are common materials you need for every Mandala, and this mandala doesn’t need anything more than the basic materials.
- Compass
- Protractor
- Pencil
- Eraser12′ Ruler
- Black fine drawing pen
*Drawing pens come in different tip sizes, usually from 001 to 08. As a beginner, a 02 pen will be perfect for all simple Mandalas.
Directions
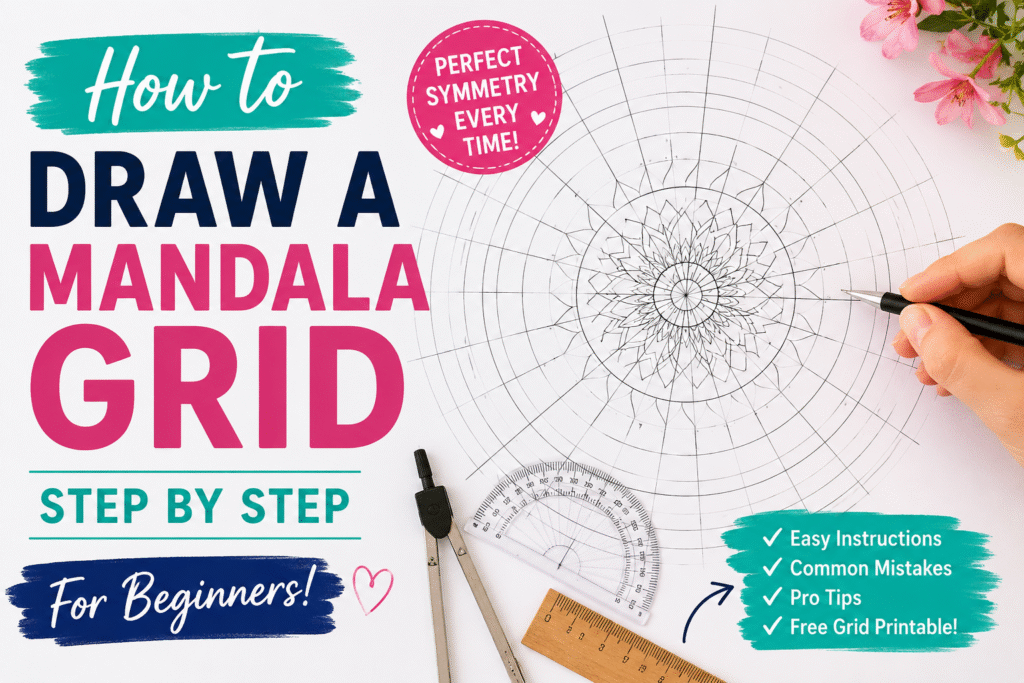
Let me give you few pointers that are very important for a beginner to understand. A mandala is based on circular rotation, repetition, and symmetry. Keeping this symmetry for a beginner might seem pretty tricky, therefore the best method is to start with a Mandala grid. What is a Mandala grid? It is a base structure that we use to place our patterns. It is formed from circles and equally separated lines, hence the compass and protractor. Once you line are drawn, the structure will be divided into a number of sections that will be used as a reference to trace our shapes.
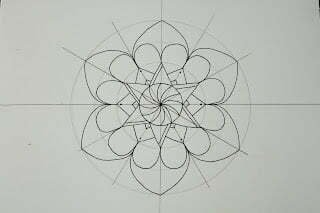
Step 1: Trace a Mandala grid
Mark the center of the paper. Trace a horizontal line and a vertical line crossing the center. Place your protractor on the lines you just drew coinciding with the horizontal line of the protractor with the traced horizontal line, the 90 degrees line with the vertical line you drew, and the center of the protractor with the center you marked. Using your compass, trace four circles having as a center the center of the paper you marked and with the following radii: 2, 4, 6, and 8 cm. N.B. The grid lines should be erased when we accomplish our drawing so please trace the line very lightly.

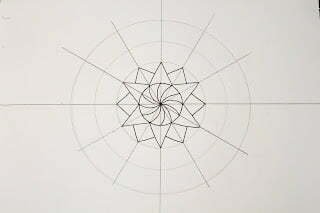
Step 2: Draw shapes in the center.
In a mandala, you ALWAYS start from the center. Trace curved lines that start from the center and reach one of the points joining the lines with the outline of the first circle. Retrace the outline of your circle.

Step 3: Trace shapes in the second row.
Draw triangles on each two grid sections. Each triangle will start from the outline of the first circle and end there, as for the summit it should reach the outline of the 2nd circle.
In between every 2 main triangles, trace another triangle ending on their sides.
Step 4: Draw shapes on the third row
Trace one arc petal on each grid section. So, start each arc petal from the summit of one main triangle and end it at the summit of a second triangle.

Step 5: Draw shapes on the 4th and last row.
Trace large regular petals on each 2 grid sections, wrapping within two arc petals drawn previously.

Step 6: Start decorating the shapes you drew with simple designs.
a- Trace a double inner line on one side of each main triangle.

b- Draw a tiny triangle at the bottom of each secondary triangle.

c- Draw a point at the summit of each secondary triangle.
d- Color the tiny triangles with black.

e- Retrace the vertical line in the center of each large regular petal and fill one of its sides with diagonal lines.
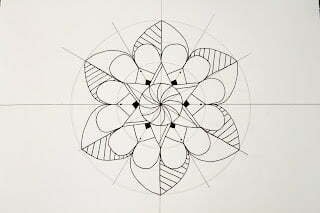
f-Draw double-pointed teardrops between every 2 large petals on the last row.
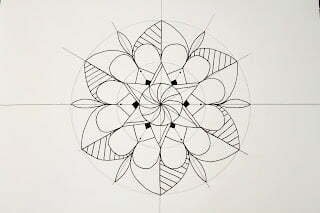
g- At the bottom of each arc petal, on one side, trace a line parallel to the triangle’s side and color it in black.

h- Draw a circle in the center circle between every 2 curved lines.
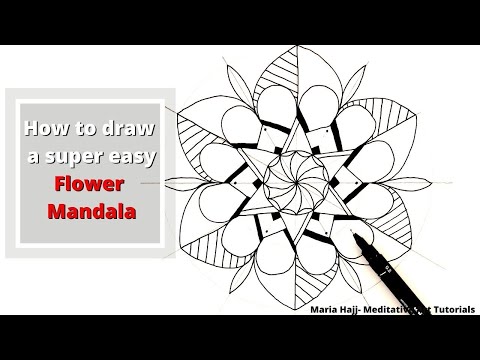
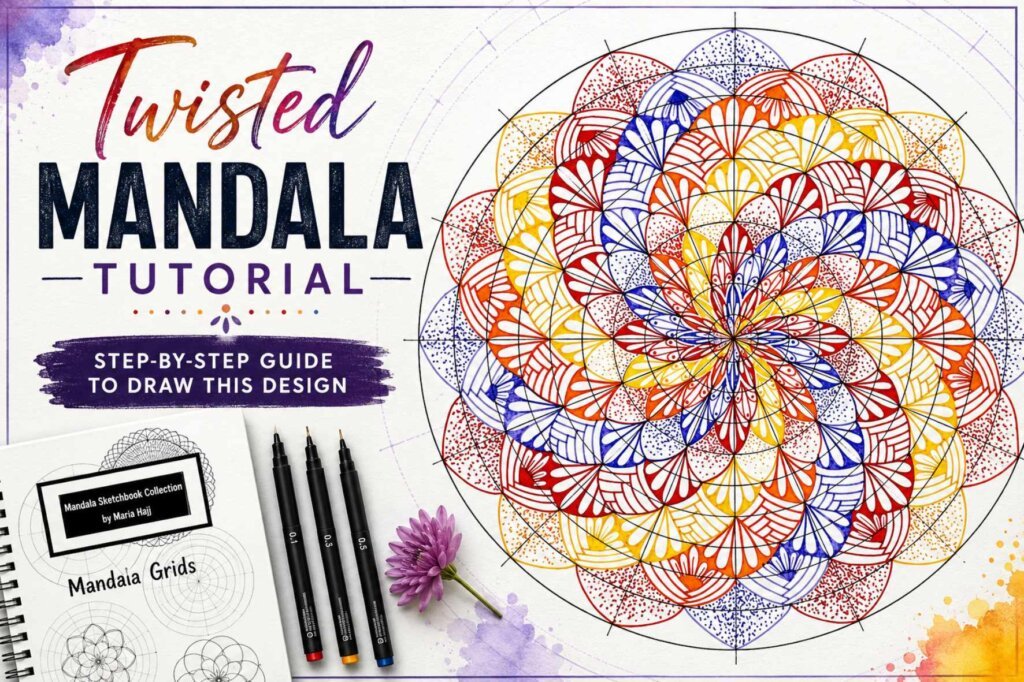
Video Tutorial
The best tutorials are those that have illustrations, explanations, and a video as they allow you to get a super clear idea of how to draw a simple mandala.